
Your 5 Steps to a Perfect Fit
Experience from a bespoke tailoring atelier.
Advanced training in fit and pattern adjustments. Stefan Wimmer shares the system he has refined over decades for complex fitting questions, from the first assessment of the body to the final check.
Passed down through generations and refined through thousands of client fittings, this knowledge comes from Stefan’s many years as the owner of the renowned Salzburg tailoring atelier “Wimmer schneidert”.
Stefan shares this knowledge so it can be preserved and passed on.
Explore the course
The 5-Step System for a Perfect Fit
Lessons released over 6 weeks
With Stefan Wimmer’s proven fitting system
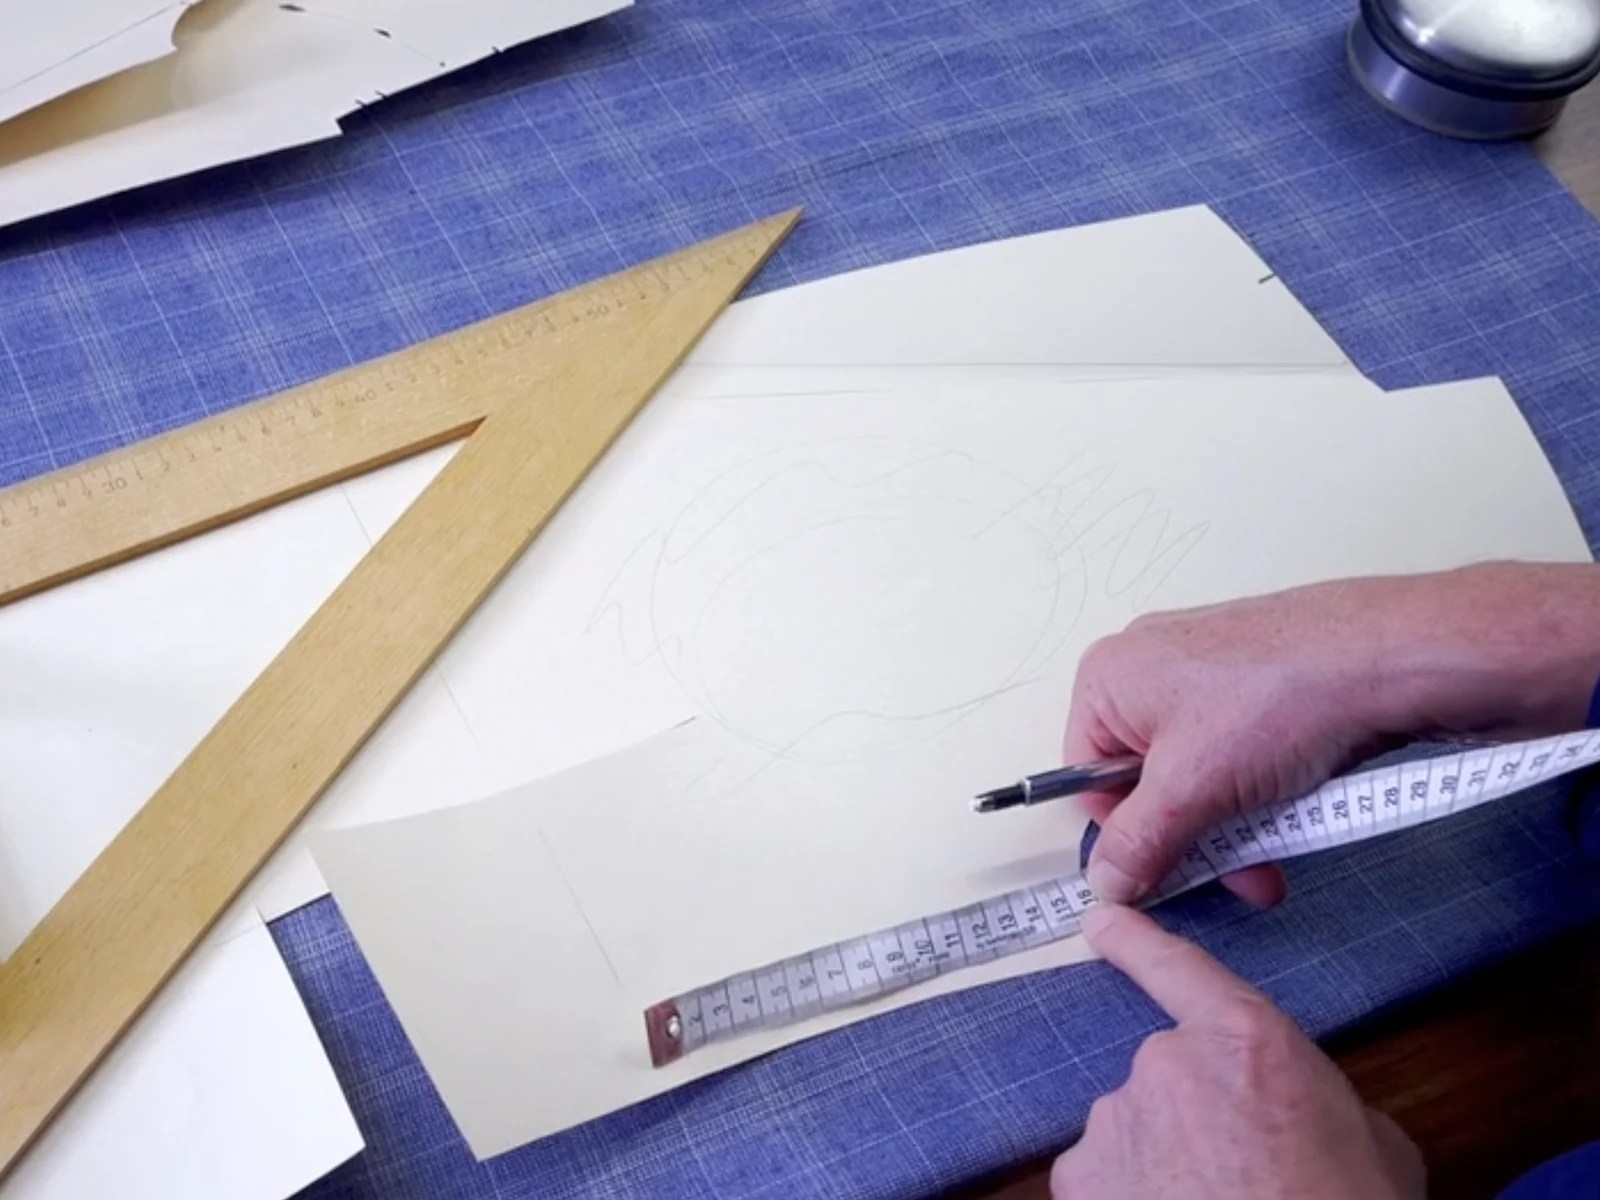
Stefan’s practical example
Checking measurements and lines on the pattern.
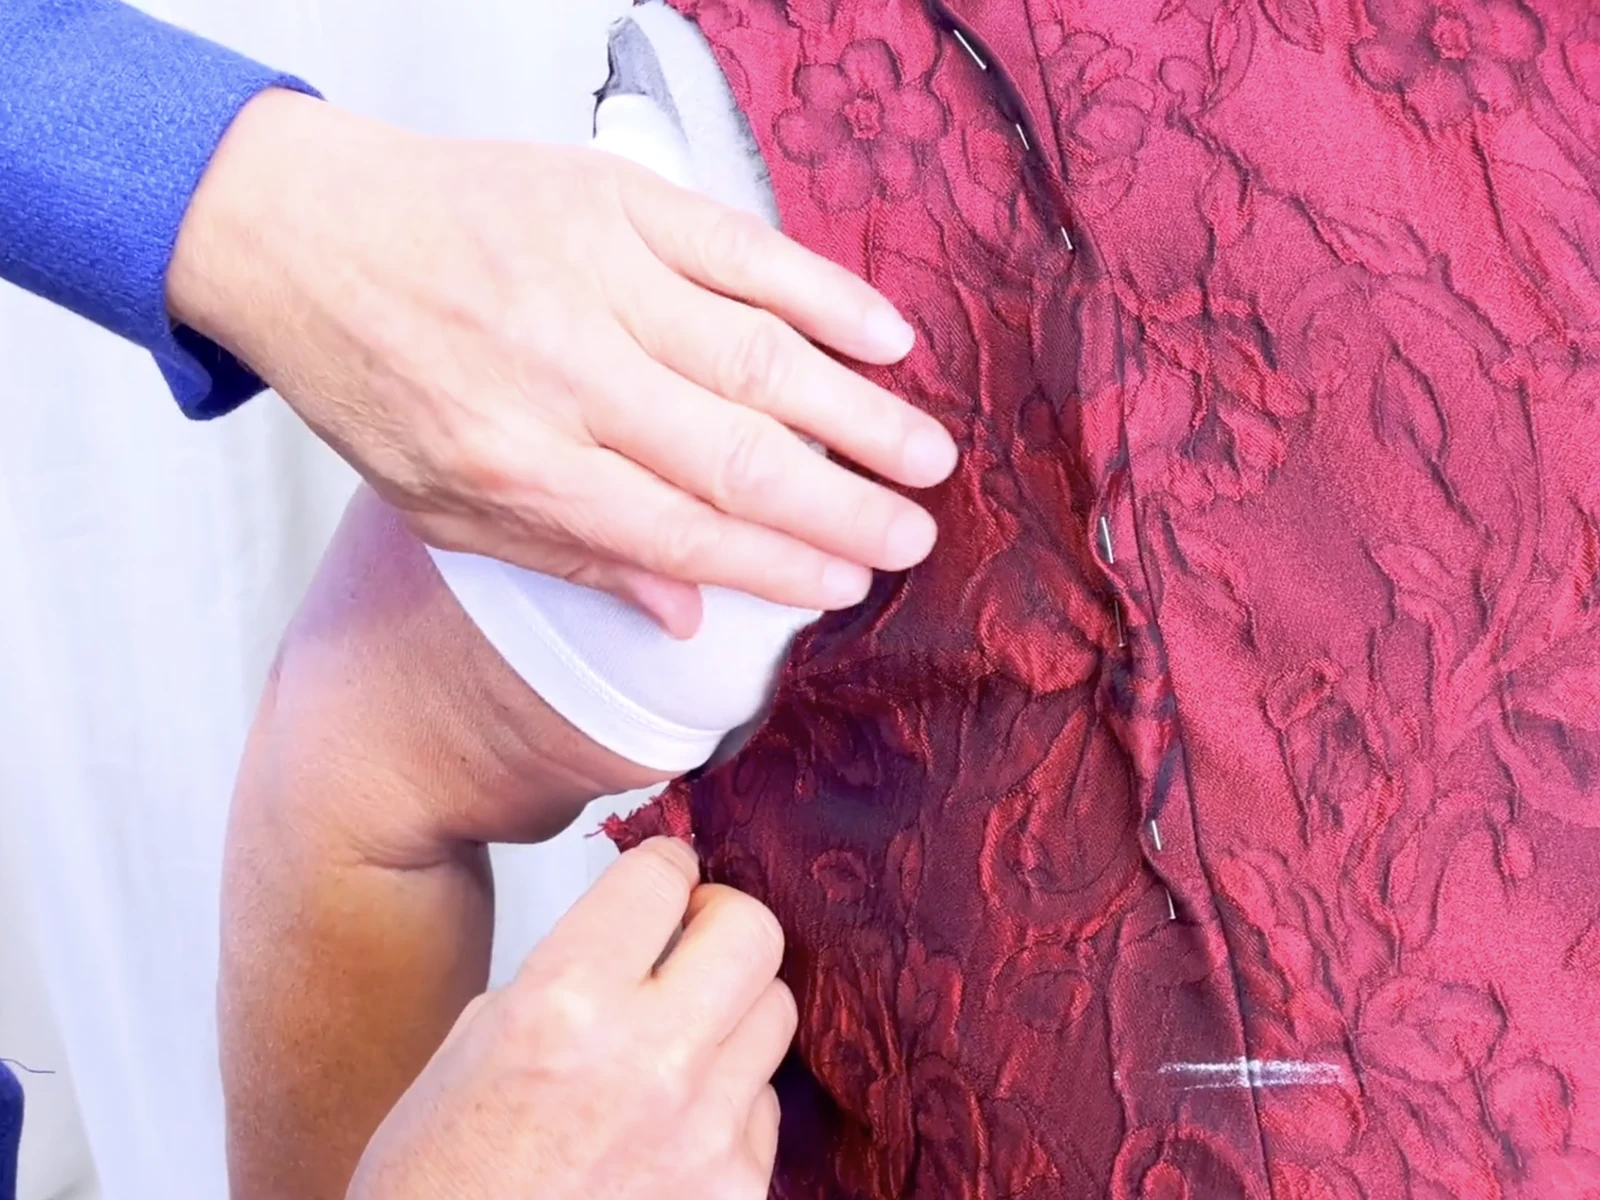
Sharpen your eye
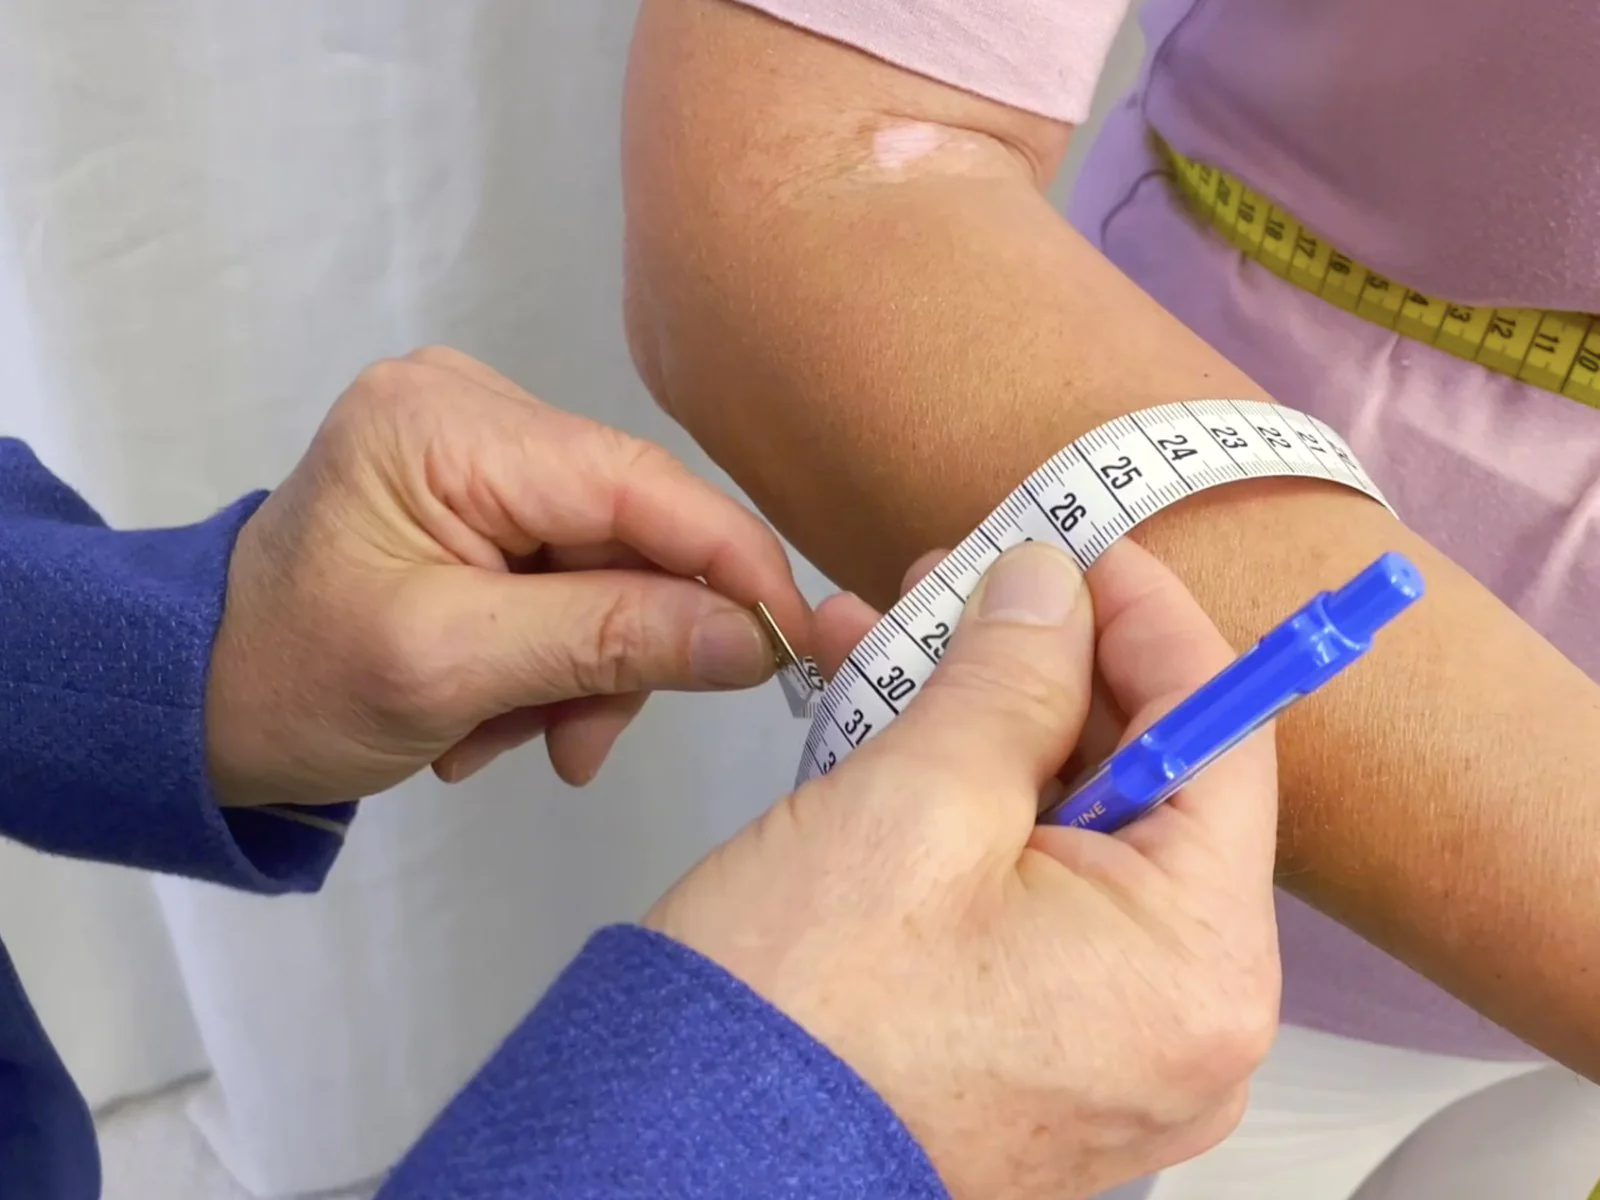
Take accurate measurements
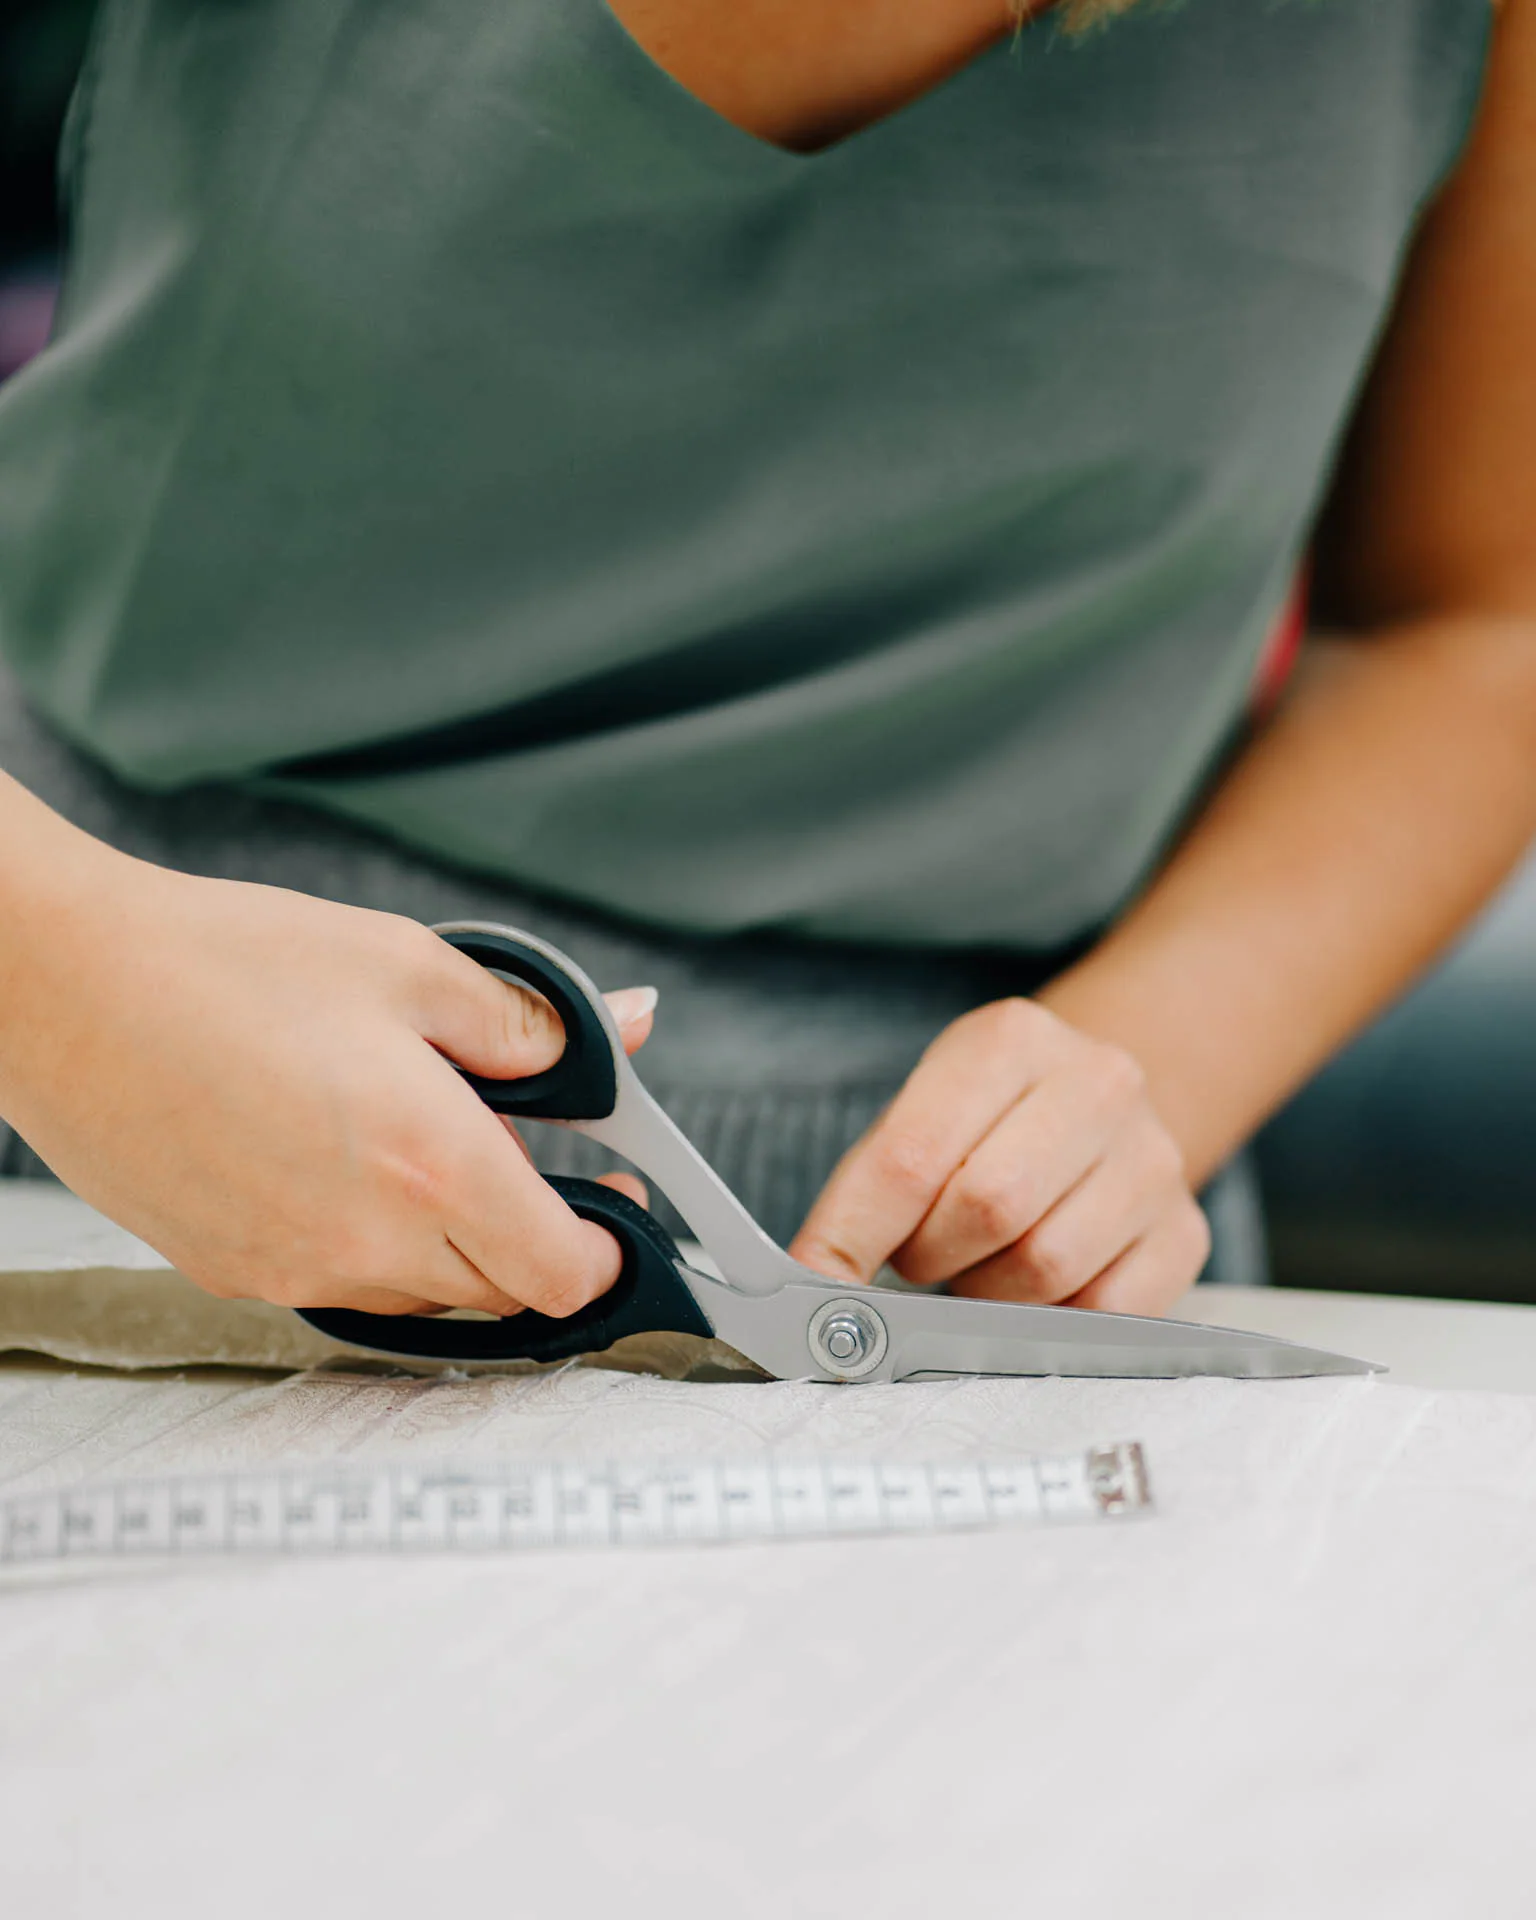
Adapt the pattern and cut the fabric
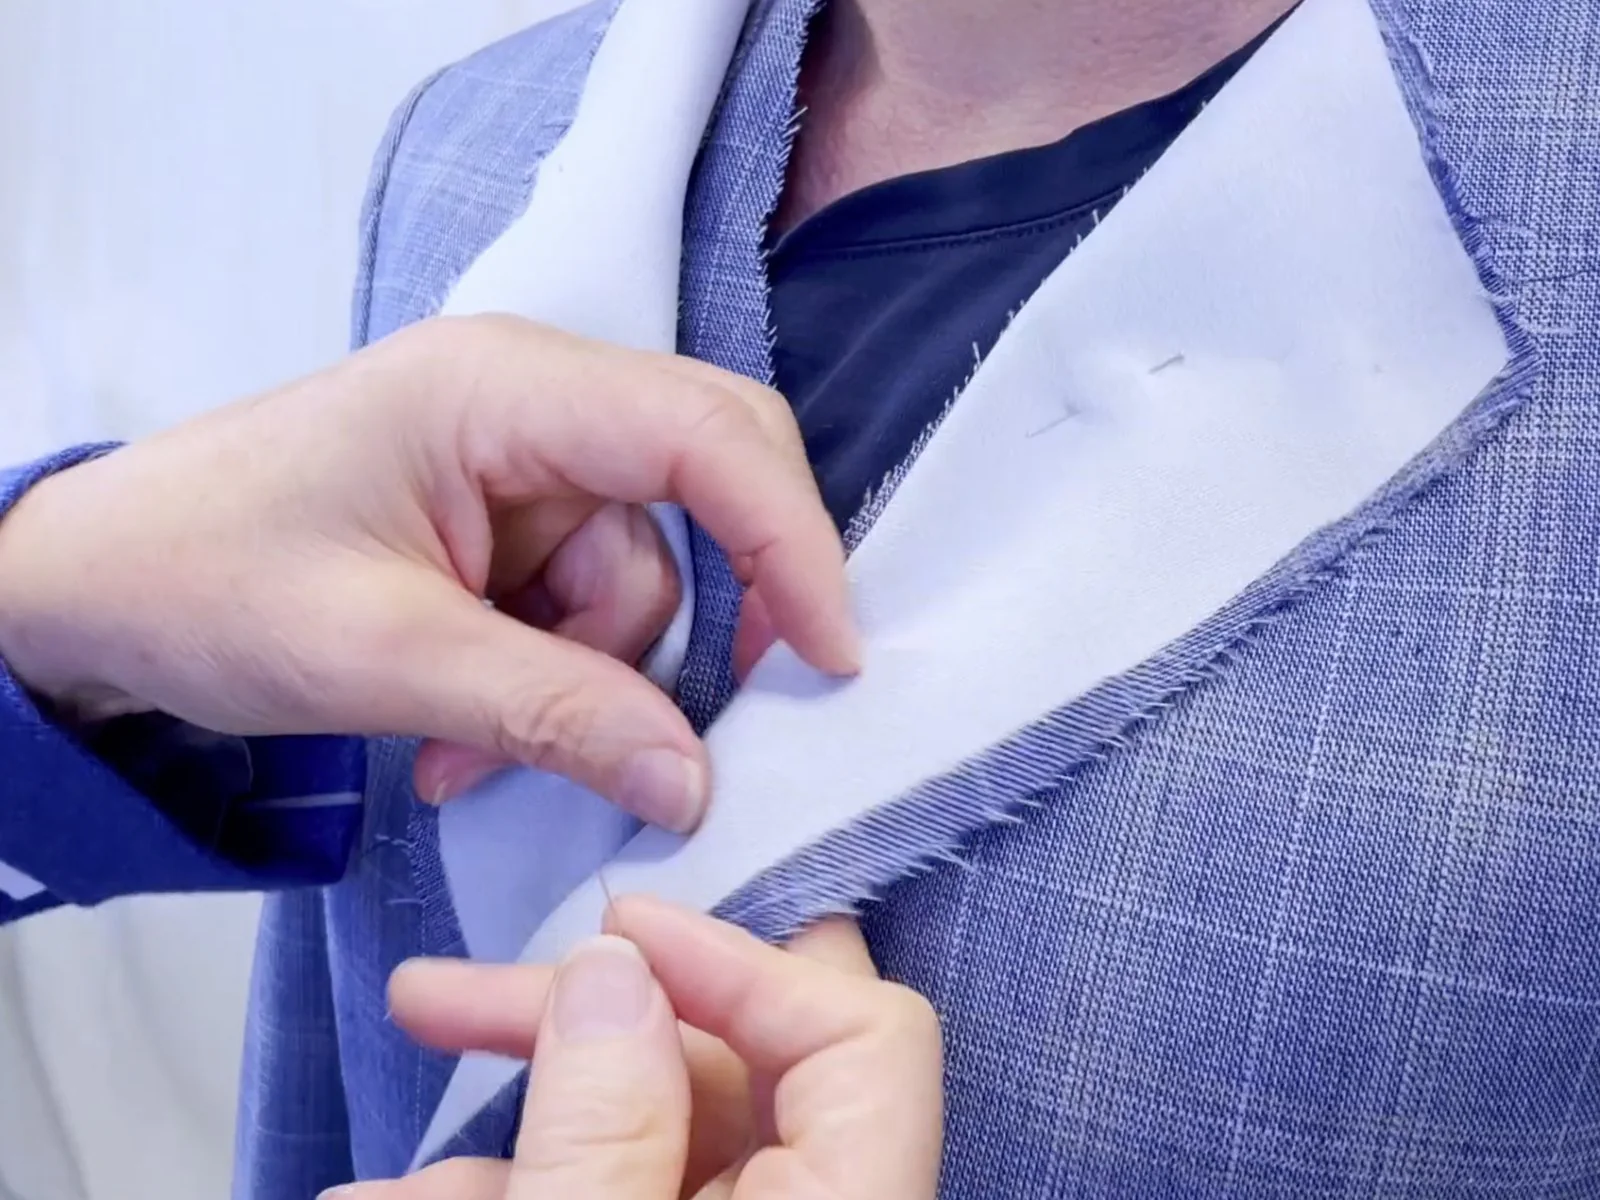
Fit with precision
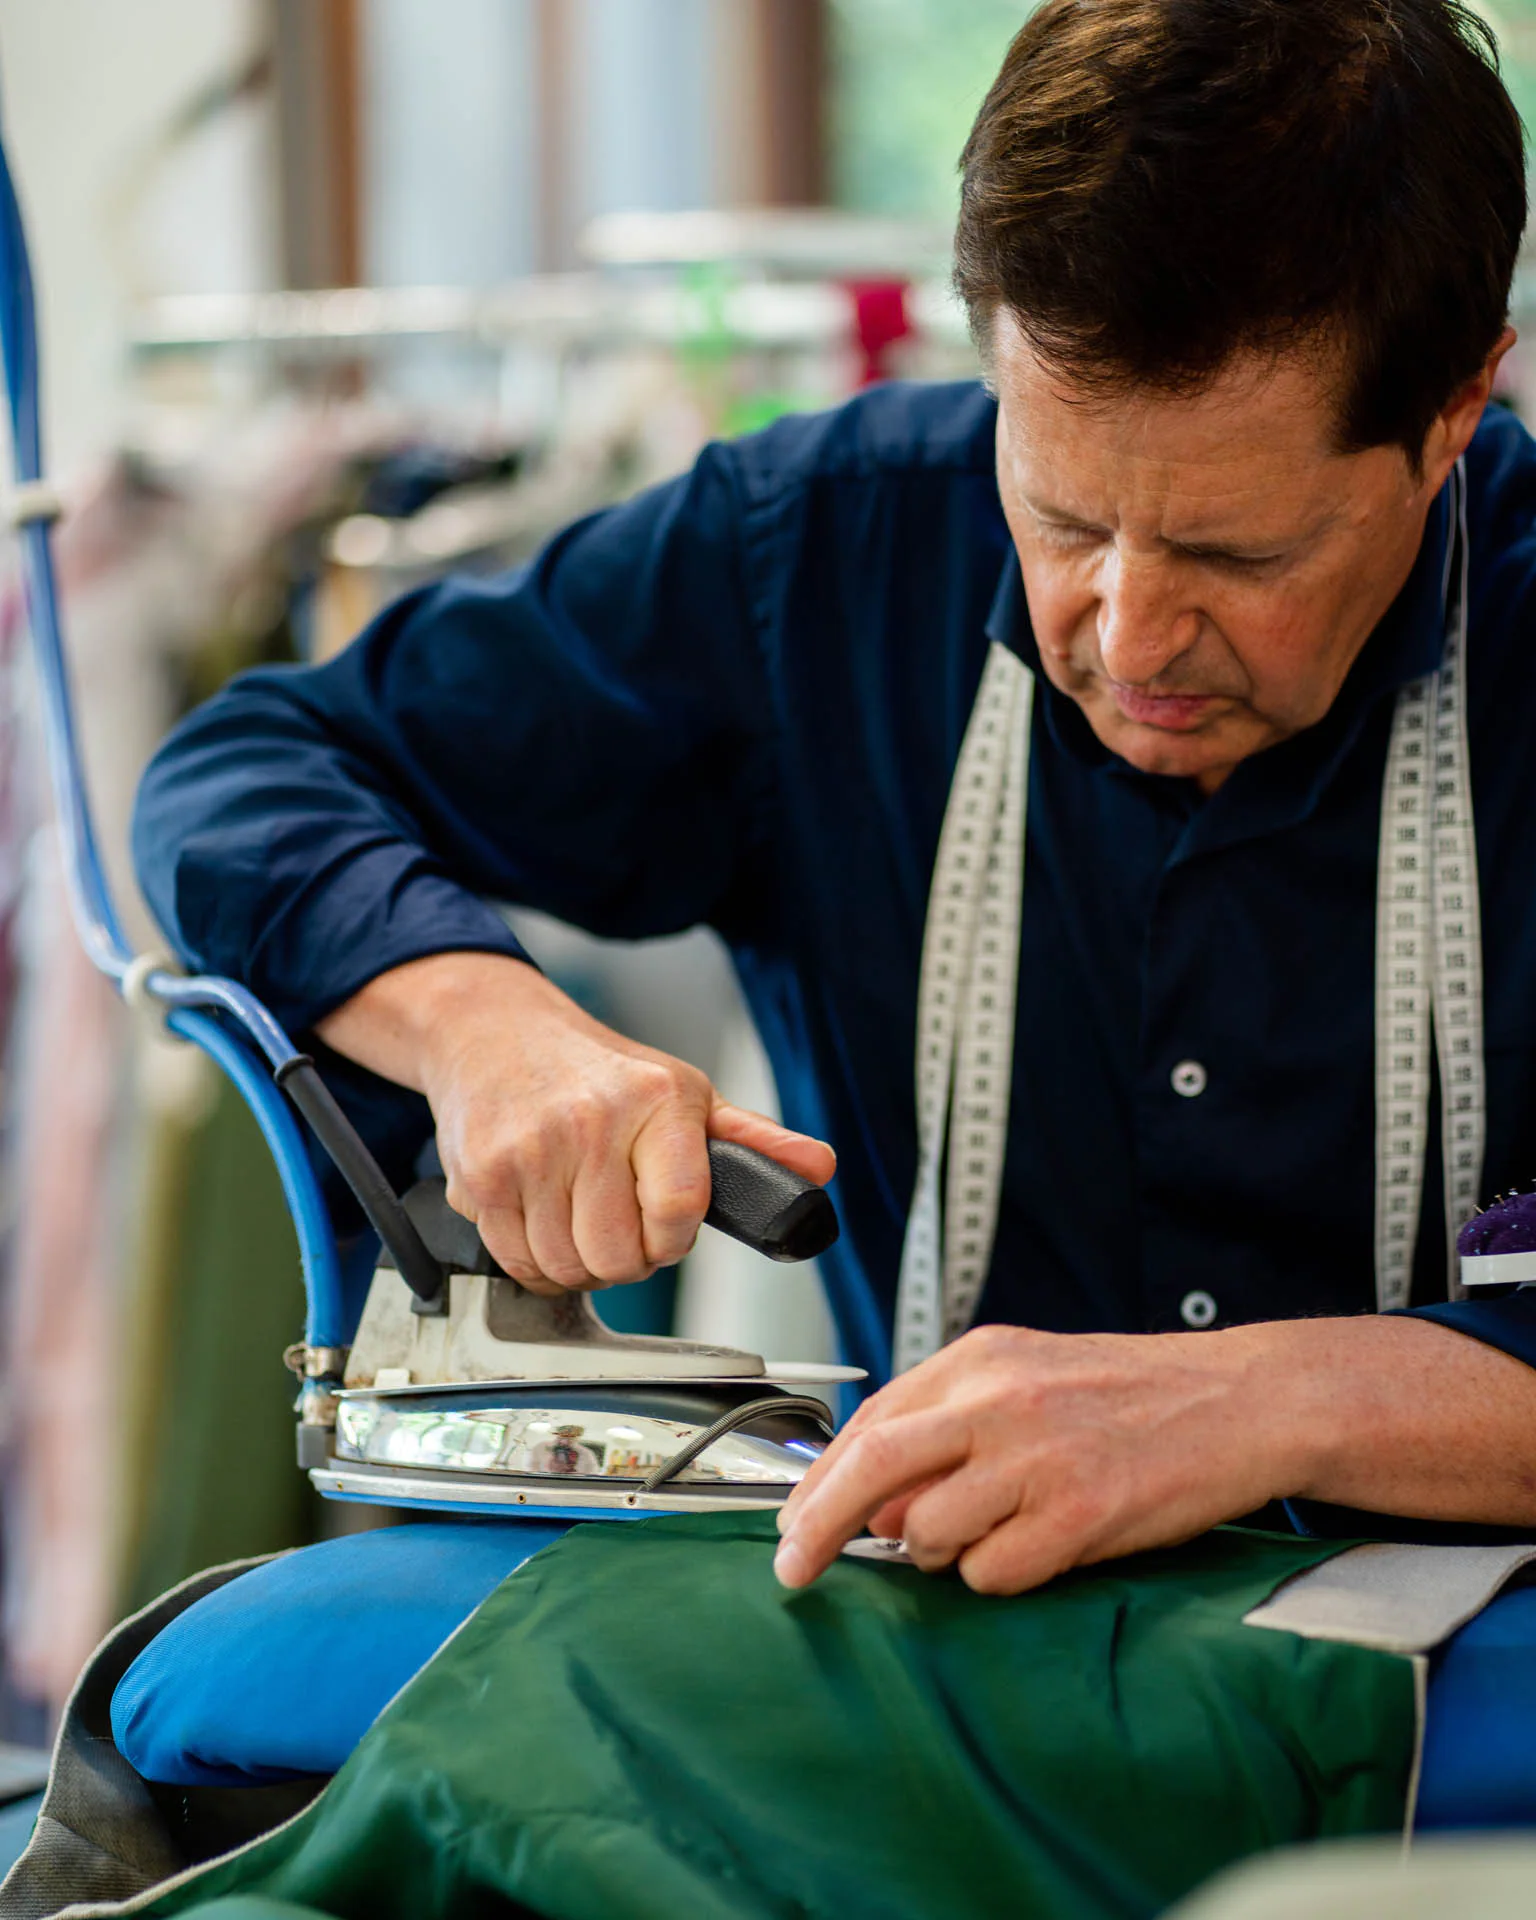
Apply the fitting adjustments
From Perfect Fit Mastery
“For me, this fitting course is an essential addition.”
Hong Wei
5 out of 5 stars
Your fitting course at a glance.
Over 19 hours of video instruction, with 8 real people and 17 detailed garment examples.
Real people
8 real people
Four women and four men
Videos
41 Videos
Over 19 hours of foundations and detailed practical examples
Handbook pages
77-page Tailor’s Handbook
For reference and revision
Support
Personal support
Help with questions about your adjustments
Access
Lifetime access
Learn and revisit the lessons at your own pace
Weeks of lesson releases
Lessons released over 6 weeks
New lessons every week
Who is this course for?
- Bespoke tailors who want to develop their approach to fittings and pattern adjustments.
- Master tailors who want to add Stefan’s experience to their own methods.
- Dedicated home sewists who want to adapt clothes for themselves and others using bespoke tailoring methods.
Sewing experience is required (advanced or professional).
Perfect Fit Mastery was originally developed as advanced training for master tailors, drawing on 45 years of bespoke tailoring and over 30,000 fittings.
You don’t have to be a professional. If you are a dedicated sewist, can work accurately and independently, and have already carried out fittings on yourself or someone else, you can apply this knowledge to your own garments too.
You do not need to be enrolled in the Masterclass. If you started sewing with our Masterclass and had no previous sewing experience, we recommend reaching at least Unit 12 before beginning this course.
Enroll now, learn later?
You can enroll now and begin learning later. Lifetime access allows you to work through the course at your own pace.
Can I use this for fitting myself?
Yes. At the beginning of the course, Stefan Wimmer explains how to carry out fittings on yourself.
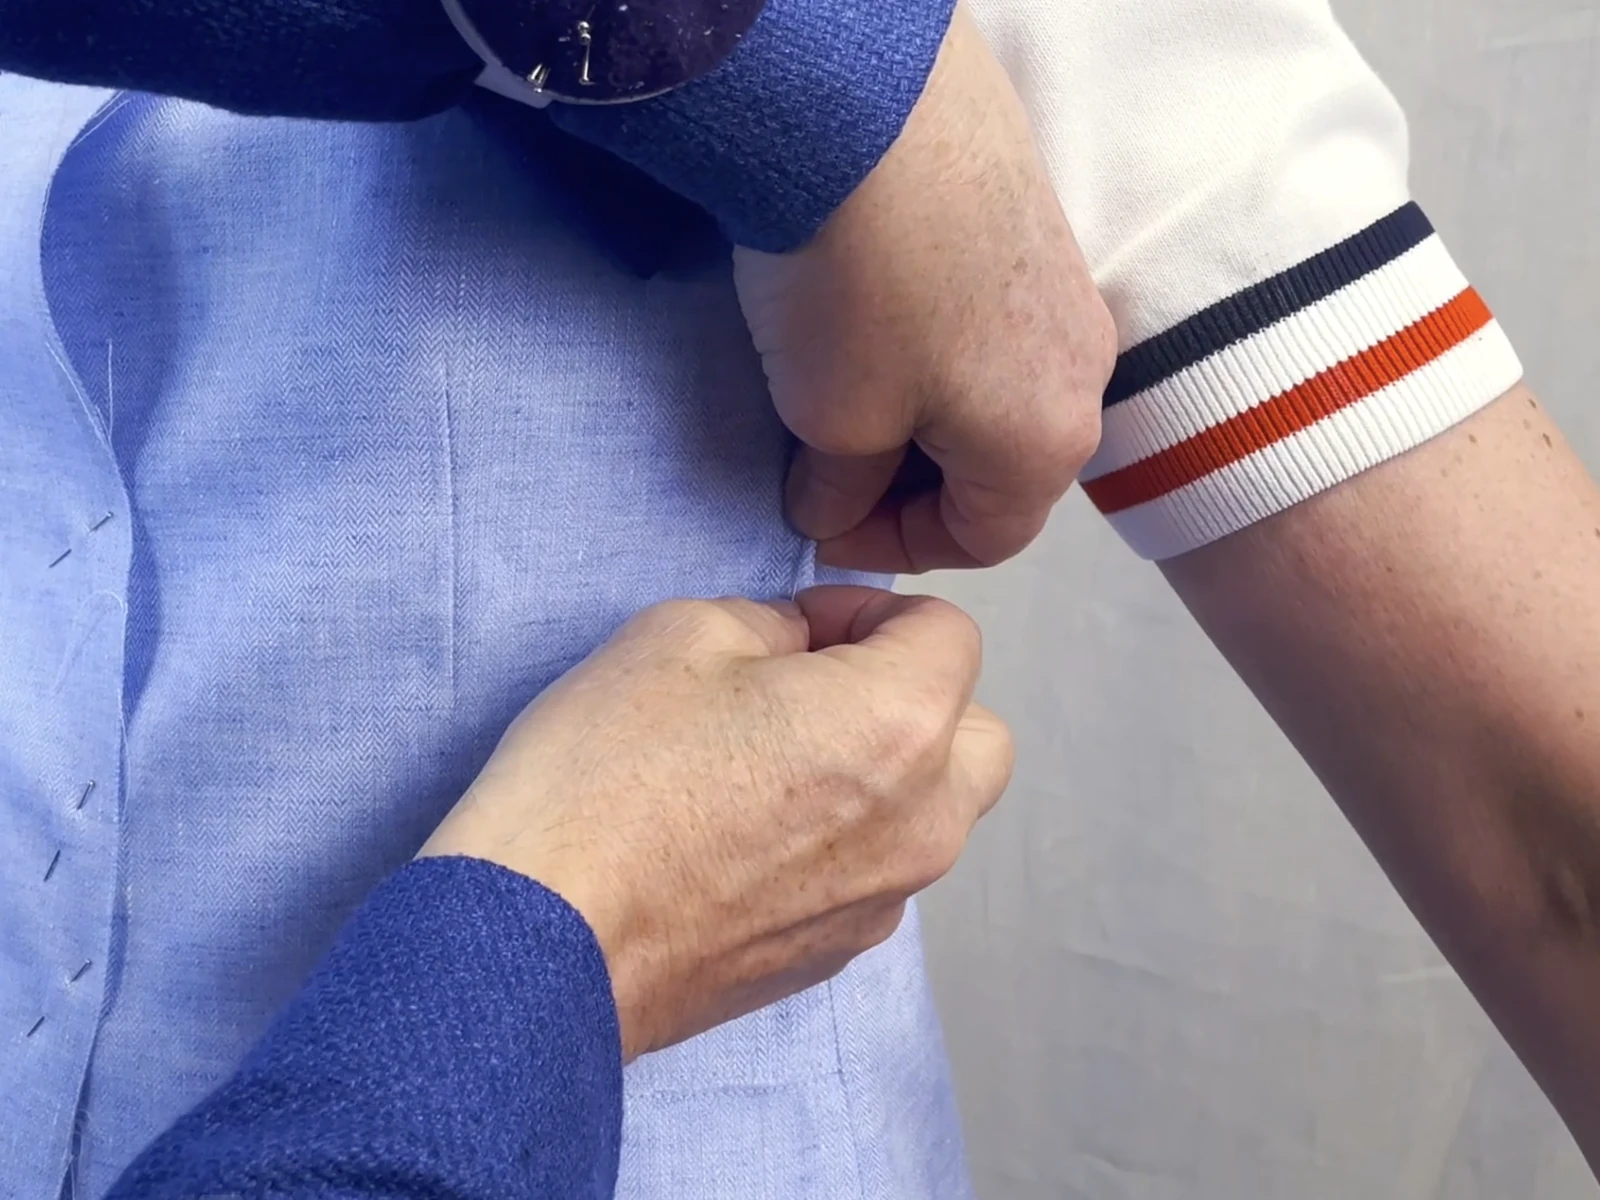
Dorit · Jacket fitting
Pinning adjustments at the side of the jacket during the fitting.
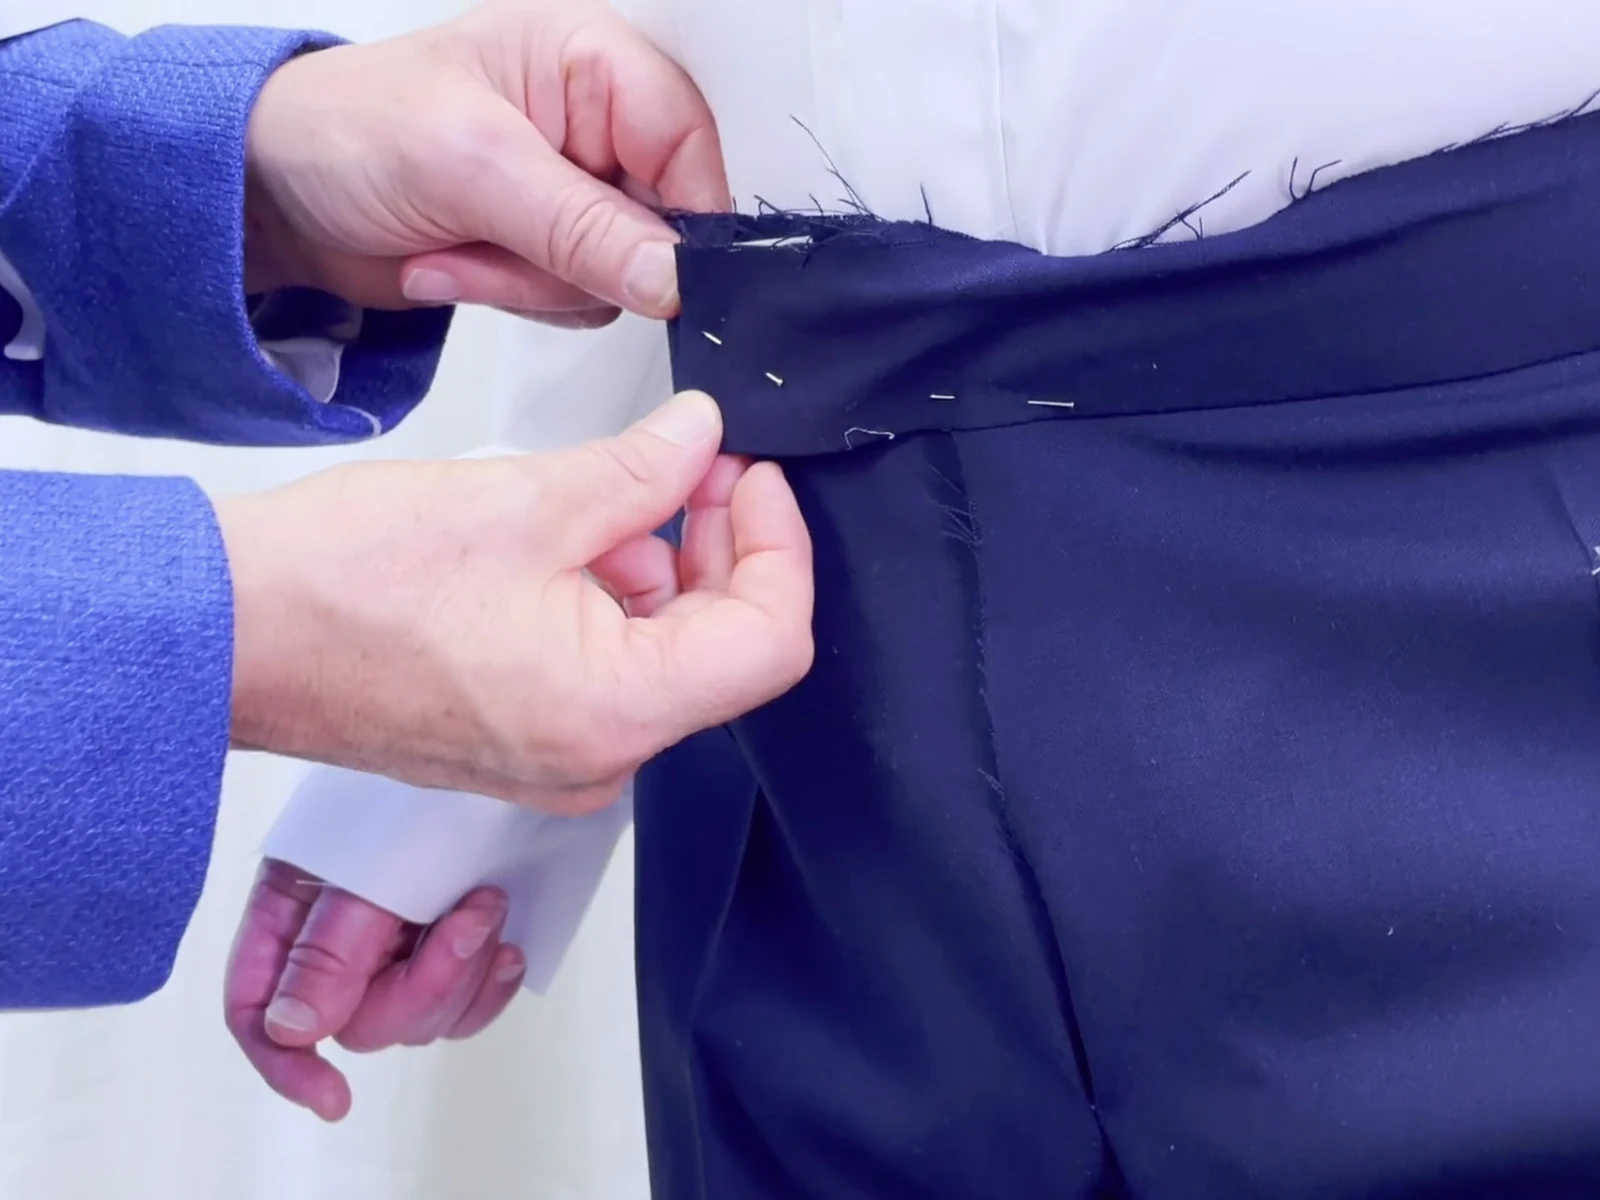
Christoph · Pants fitting
Checking the fit of the pants on the body.
8 People. Many Different Fitting Topics.
Follow four women and four men as Stefan accounts for different body shapes and proportions when adjusting their patterns.
Which fitting topics do you recognize?
You may recognize yourself in several examples. Discover how different features are considered together.
Choose a topic to explore the relevant practical examples. You can return to all eight examples at any time.
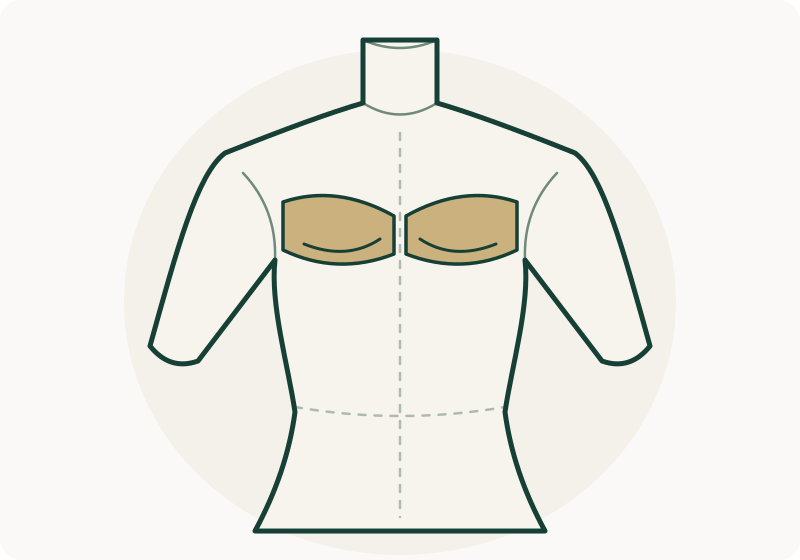
Small bust
Dorit’s practical example
Skirt & jacket · 4 videos
Follow the skirt and jacket examples to see how a small bust, a fuller lower body and uneven shoulder heights are considered together, from taking measurements to applying the fitting adjustments.
More topics in this example
- Fuller seat & thighs
- Lower right shoulder
- Slightly fuller abdomen
Practical example in Week 2
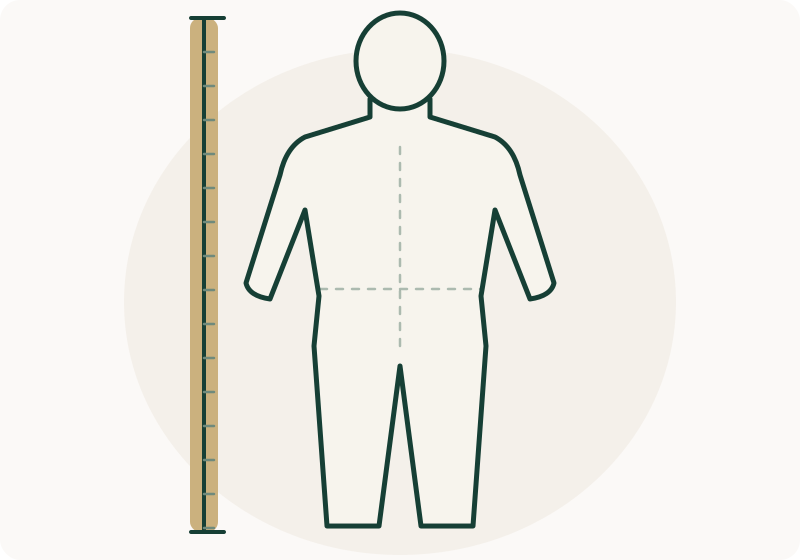
Tall stature
Christoph’s practical example
Shirt, pants & jacket · 5 videos
Learn the five-step system through a shirt, pants and jacket for a tall man. This example involves relatively few alterations and also demonstrates how to adjust sleeve pitch, the angle at which the sleeve hangs.
More topics in this example
- Slightly fuller abdomen
- Sleeve pitch
Practical example in Week 2
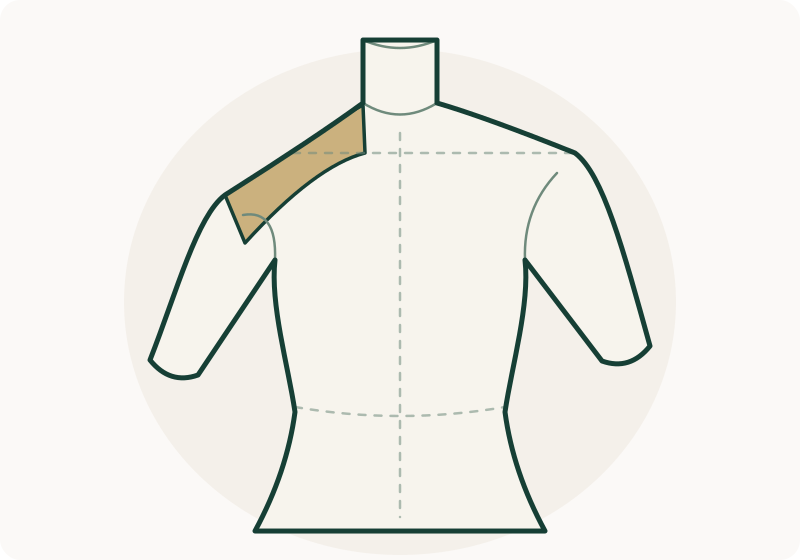
Lower shoulder
Wolfgang’s practical example
Pants & jacket · 4 videos
Follow the jacket adjustments for shoulder height and sleeve pitch. In the pants example, see how the front is cut below the abdomen to accommodate a higher waistband position.
More topics in this example
- Slightly fuller abdomen
- Slightly rounded back
- Upright posture & sleeve pitch
- Higher waistband position
Practical example in Week 3
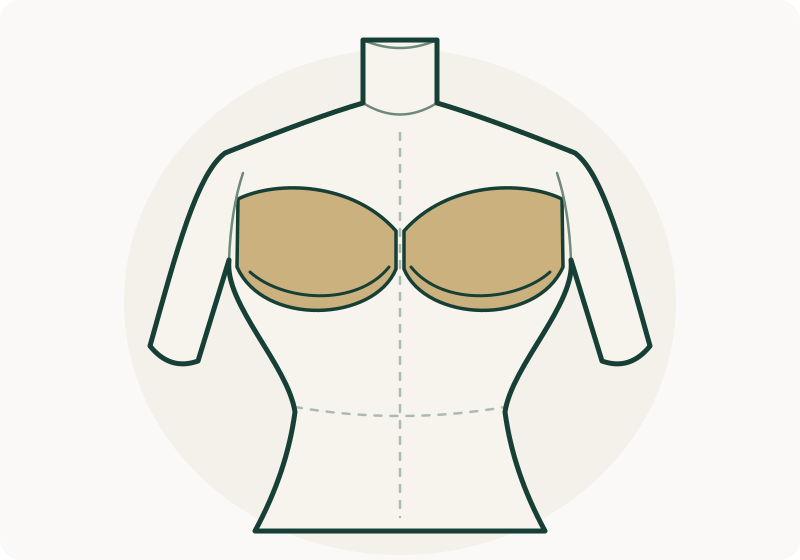
Full bust
Ilse’s practical example
Blouse & dress · 4 videos
Learn how to add room at the bust in both darted patterns and patterns with panel seams. The blouse and dress examples also include adjustments for narrow shoulders, the waist and the hips.
More topics in this example
- Narrow shoulders
- Narrow waist & wider hips
Practical example in Week 3
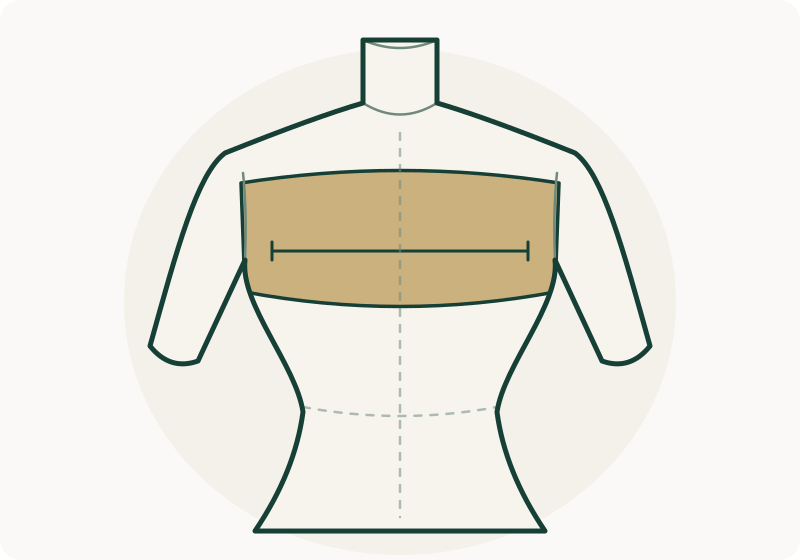
Broad chest
Stefan’s practical example
Vest & jacket · 4 videos
Learn how to add room at the chest in a vest and jacket while accounting for an otherwise slim build. The jacket example also includes adjustments for fuller upper arms.
More topics in this example
- Otherwise slim build
- Fuller upper arms
Practical example in Week 4
Full bust
Britta’s practical example
Pants & jacket · 4 videos
The jacket example combines adjustments for the bust, upper arms, shoulders and back. In the pants example, see how the cutting is adapted for a lower waistband position.
More topics in this example
- Fuller upper arms
- Slightly fuller abdomen
- Slightly rounded back
- Uneven shoulder heights
- Lower waistband position
Practical example in Week 4
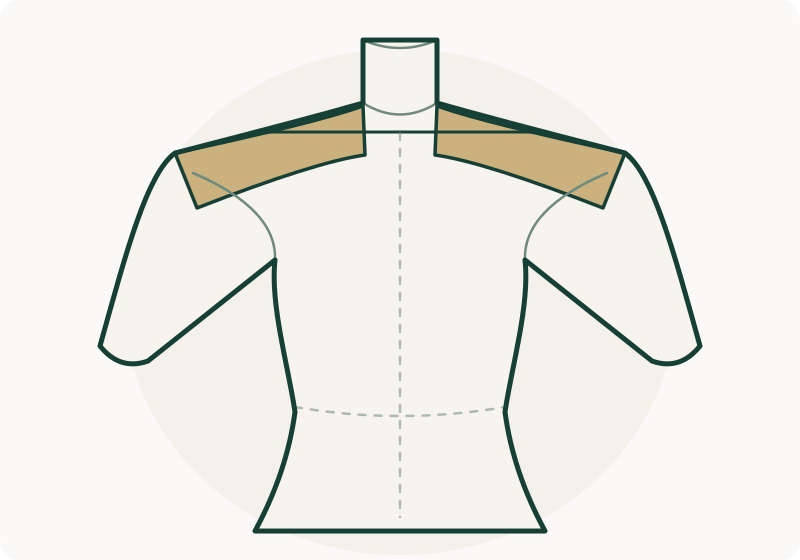
Broad shoulders
Johanna’s practical example
Dress & pants · 4 videos
Follow the dress example to see how broad shoulders are accommodated. The close-fitting pants demonstrate adjustments for fuller thighs.
More topics in this example
- Fuller thighs
Practical example in Week 5
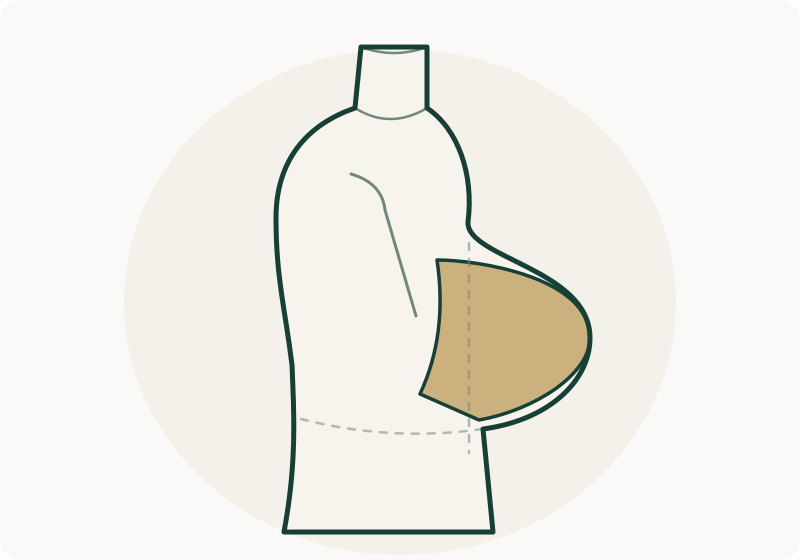
Fuller abdomen
Roman’s practical example
Vest & jacket · 4 videos
Learn how to enlarge the largest pattern size used in the course to accommodate the required abdomen measurement. Follow the vest and jacket examples from taking measurements and cutting the fabric to the finished garments.
More topics in this example
- Adding room beyond the largest available pattern size
Practical example in Week 5
Small bust
Dorit’s practical example
Skirt & jacket · 4 videos
What you learn
Follow the adjustments for Dorit’s small bust in her jacket. The example also shows how this adjustment is considered together with uneven shoulder heights.
More topics in this example
- Fuller seat & thighs
- Lower right shoulder
- Slightly fuller abdomen
Practical example in Week 2
Full bust
Ilse’s practical example
Blouse & dress · 4 videos
What you learn
Learn how to add room at the bust in both darted patterns and patterns with panel seams, demonstrated through Ilse’s blouse and dress.
More topics in this example
- Narrow shoulders
- Narrow waist & wider hips
Practical example in Week 3
Broad chest
Stefan’s practical example
Vest & jacket · 4 videos
What you learn
Learn how to add room at the chest in a vest and jacket. The extra room is tailored to a broad chest while accounting for an otherwise slim build.
More topics in this example
- Otherwise slim build
- Fuller upper arms
Practical example in Week 4
Full bust
Britta’s practical example
Pants & jacket · 4 videos
What you learn
Follow the full-bust adjustments in Britta’s jacket. Panel seams, the neckline and jacket length are all considered when shaping the garment.
More topics in this example
- Fuller upper arms
- Slightly fuller abdomen
- Slightly rounded back
- Uneven shoulder heights
- Lower waistband position
Practical example in Week 4
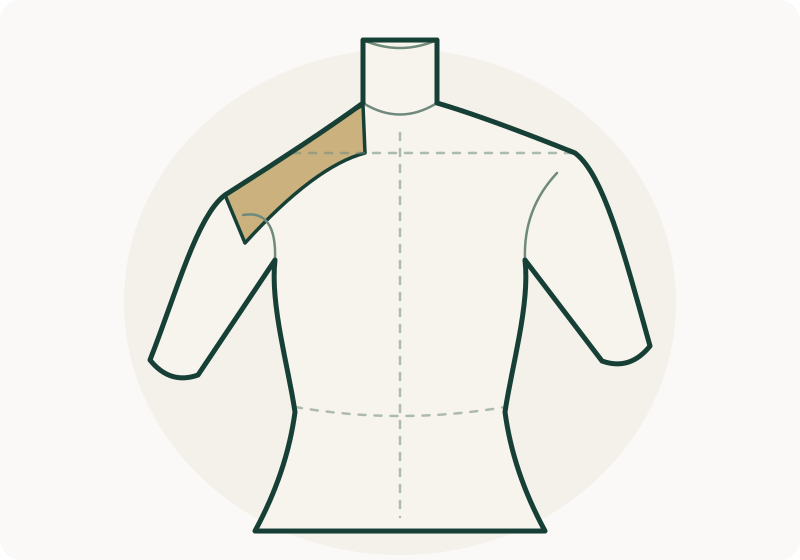
Lower right shoulder
Dorit’s practical example
Skirt & jacket · 4 videos
What you learn
Follow the adjustments for a lower right shoulder in Dorit’s jacket. The uneven shoulder heights are considered together with her small bust.
More topics in this example
- Small bust
- Fuller seat & thighs
- Slightly fuller abdomen
Practical example in Week 2
Lower shoulder
Wolfgang’s practical example
Pants & jacket · 4 videos
What you learn
See how a lower shoulder is accommodated in Wolfgang’s jacket, together with the adjustment of sleeve pitch to suit his upright posture.
More topics in this example
- Slightly fuller abdomen
- Slightly rounded back
- Upright posture & sleeve pitch
- Higher waistband position
Practical example in Week 3
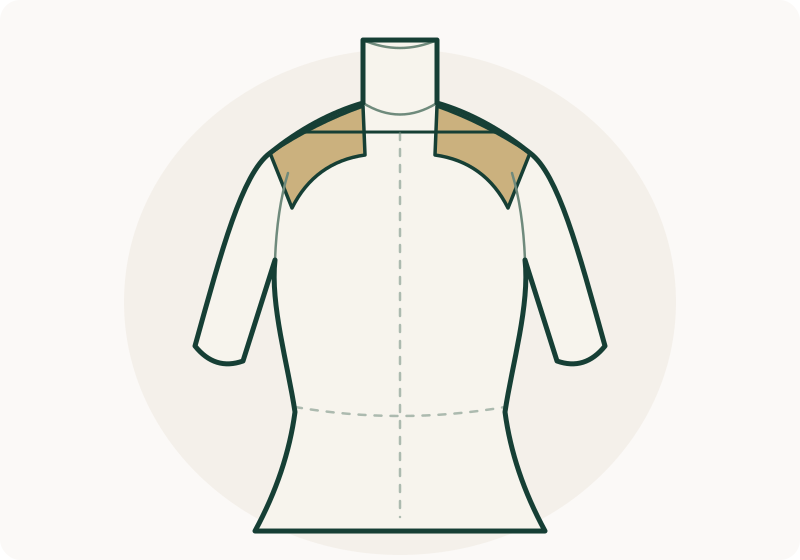
Narrow shoulders
Ilse’s practical example
Blouse & dress · 4 videos
What you learn
Follow the blouse and dress examples to see how narrow shoulders and a full bust are considered together, and why both areas need to be assessed when making adjustments.
More topics in this example
- Full bust
- Narrow waist & wider hips
Practical example in Week 3
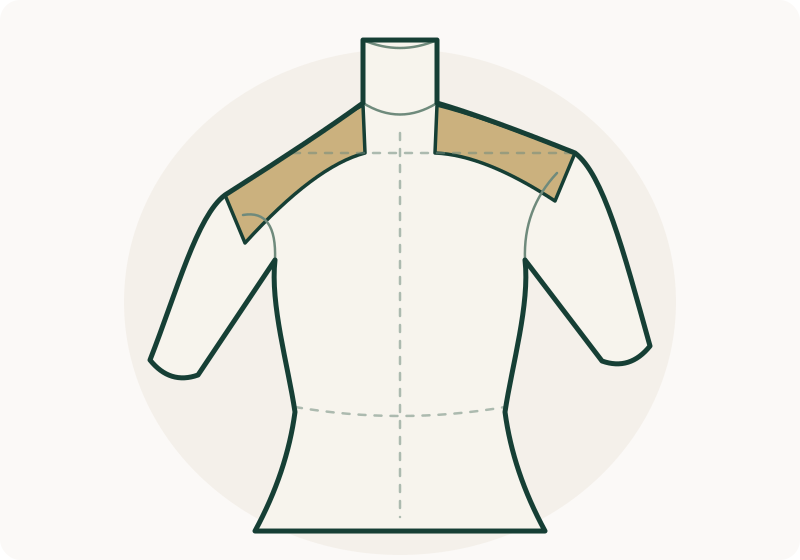
Uneven shoulder heights
Britta’s practical example
Pants & jacket · 4 videos
What you learn
Explore uneven shoulder heights in Britta’s jacket. The shoulder adjustment is considered alongside the other adjustments to the bust and back.
More topics in this example
- Full bust
- Fuller upper arms
- Slightly fuller abdomen
- Slightly rounded back
- Lower waistband position
Practical example in Week 4
Broad shoulders
Johanna’s practical example
Dress & pants · 4 videos
What you learn
See how broad shoulders are accommodated in the dress. The other garment in this example is a pair of close-fitting pants for fuller thighs.
More topics in this example
- Fuller thighs
Practical example in Week 5
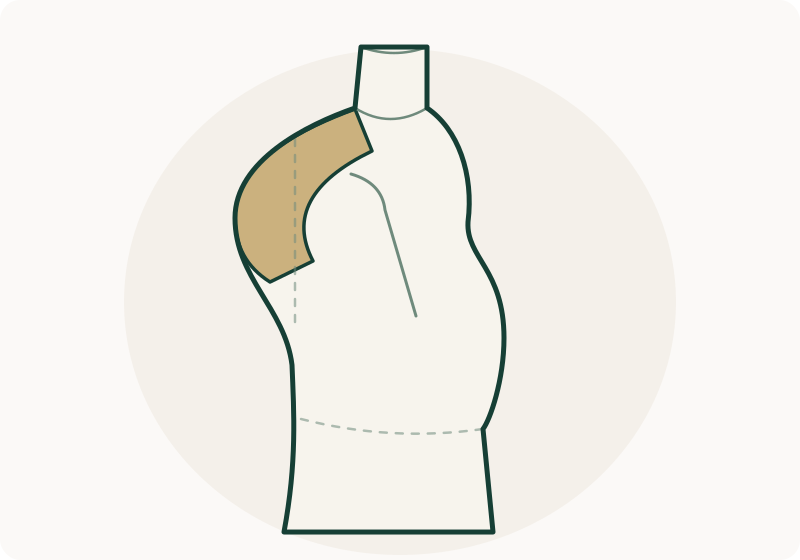
Slightly rounded back
Wolfgang’s practical example
Pants & jacket · 4 videos
What you learn
Follow Wolfgang’s jacket example to see how the shape of his back and his upright posture are accommodated. See how the arm position is marked at the fitting and the sleeve pitch is adjusted afterwards.
More topics in this example
- Lower shoulder
- Slightly fuller abdomen
- Upright posture & sleeve pitch
- Higher waistband position
Practical example in Week 3
Slightly rounded back
Britta’s practical example
Pants & jacket · 4 videos
What you learn
Follow the adjustments for a slightly rounded back in Britta’s jacket. The bust and uneven shoulder heights are also considered together.
More topics in this example
- Full bust
- Fuller upper arms
- Slightly fuller abdomen
- Uneven shoulder heights
- Lower waistband position
Practical example in Week 4
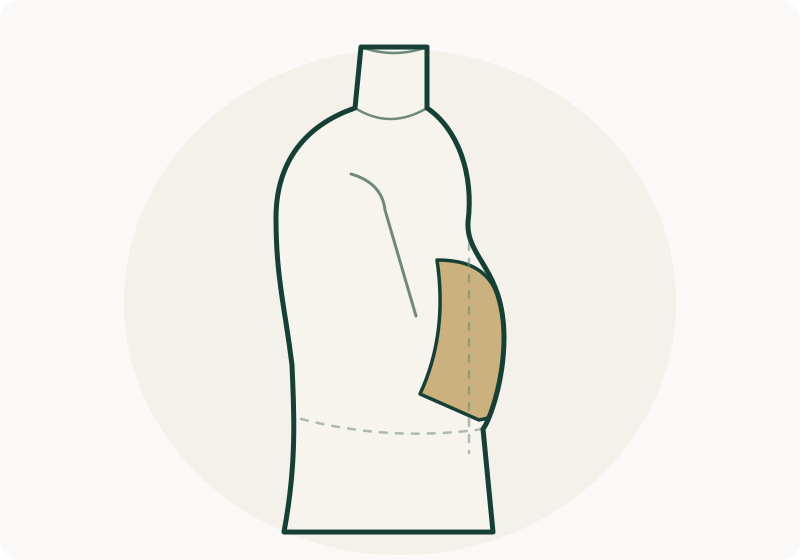
Slightly fuller abdomen
Dorit’s practical example
Skirt & jacket · 4 videos
What you learn
See how Dorit’s slightly fuller abdomen is considered alongside her other proportions. Follow the skirt and jacket examples from taking measurements to applying the fitting adjustments.
More topics in this example
- Small bust
- Fuller seat & thighs
- Lower right shoulder
Practical example in Week 2
Slightly fuller abdomen
Christoph’s practical example
Shirt, pants & jacket · 5 videos
What you learn
See how a slightly fuller abdomen is accounted for in the necessary adjustments. The shirt, pants and jacket take you through the five-step system.
More topics in this example
- Tall stature
- Sleeve pitch
Practical example in Week 2
Slightly fuller abdomen
Wolfgang’s practical example
Pants & jacket · 4 videos
What you learn
See how a slightly fuller abdomen and a higher waistband position are considered together in Wolfgang’s pants. The front is cut below the abdomen.
More topics in this example
- Lower shoulder
- Slightly rounded back
- Upright posture & sleeve pitch
- Higher waistband position
Practical example in Week 3
Slightly fuller abdomen
Britta’s practical example
Pants & jacket · 4 videos
What you learn
See how Britta’s pants are cut for a lower waistband position. Her slightly fuller abdomen is considered together with where she wants to wear the pants.
More topics in this example
- Full bust
- Fuller upper arms
- Slightly rounded back
- Uneven shoulder heights
- Lower waistband position
Practical example in Week 4
Fuller abdomen
Roman’s practical example
Vest & jacket · 4 videos
What you learn
Learn how to enlarge the largest pattern size used in the course to accommodate the required abdomen measurement. Follow the vest and jacket examples from taking measurements and cutting the fabric to the finished garments.
More topics in this example
- Adding room beyond the largest available pattern size
Practical example in Week 5
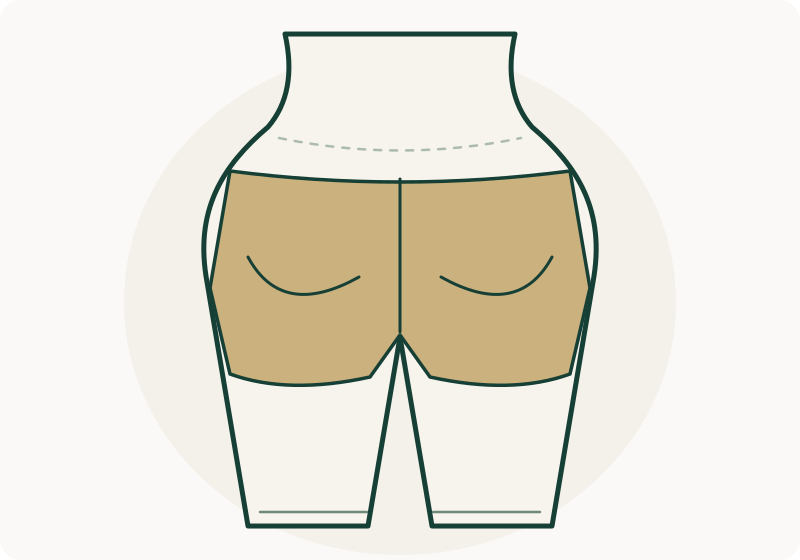
Fuller seat & thighs
Dorit’s practical example
Skirt & jacket · 4 videos
What you learn
Follow the adjustments for a fuller seat and thighs in Dorit’s skirt. The example also shows how the jacket is adjusted to fit her smaller upper body.
More topics in this example
- Small bust
- Lower right shoulder
- Slightly fuller abdomen
Practical example in Week 2
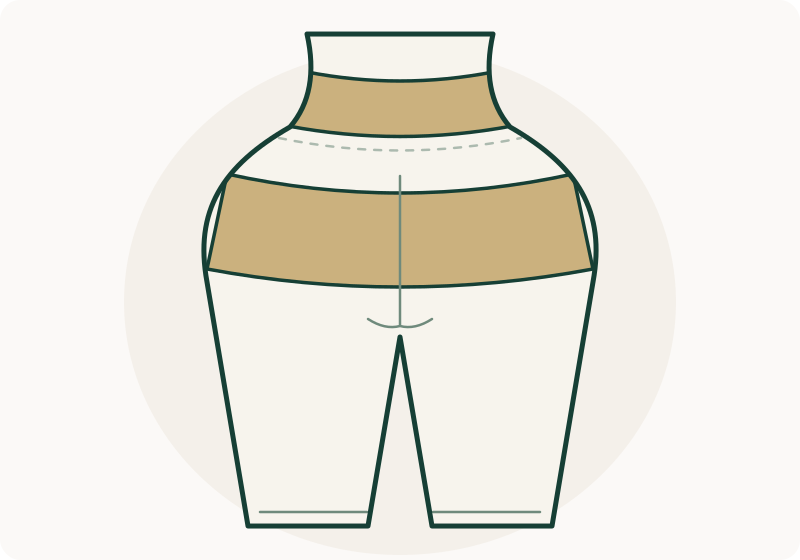
Narrow waist & wider hips
Ilse’s practical example
Blouse & dress · 4 videos
What you learn
Follow the blouse and dress adjustments for a narrow waist and wider hips. These proportions are considered together with her full bust.
More topics in this example
- Full bust
- Narrow shoulders
Practical example in Week 3
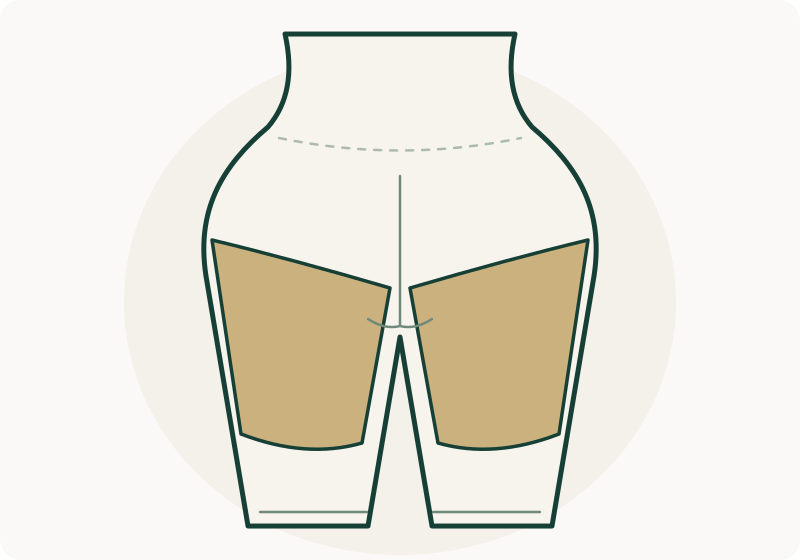
Fuller thighs
Johanna’s practical example
Dress & pants · 4 videos
What you learn
See how fuller thighs are accommodated in Johanna’s close-fitting pants. The same practical example also covers broad shoulders in the dress.
More topics in this example
- Broad shoulders
Practical example in Week 5
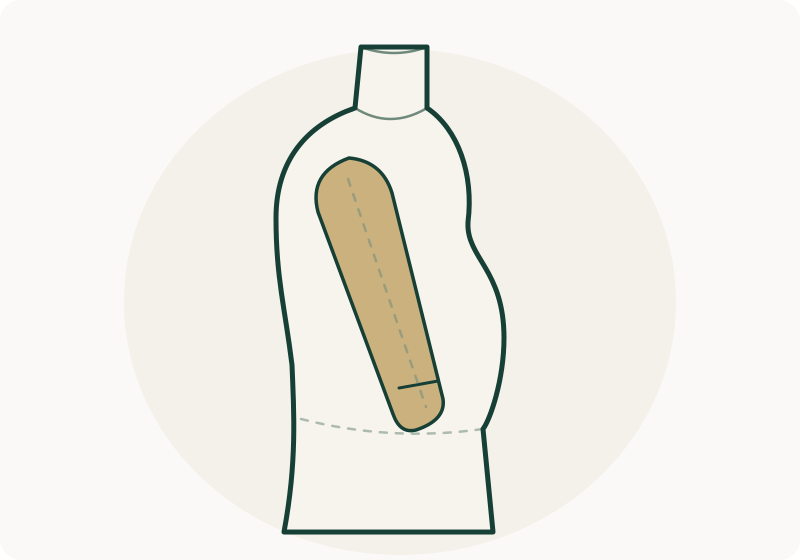
Sleeve pitch
Christoph’s practical example
Shirt, pants & jacket · 5 videos
What you learn
Explore the sleeve-pitch adjustment in Christoph’s jacket. The shirt and pants complete the example and show further applications of the five-step system.
More topics in this example
- Tall stature
- Slightly fuller abdomen
Practical example in Week 2
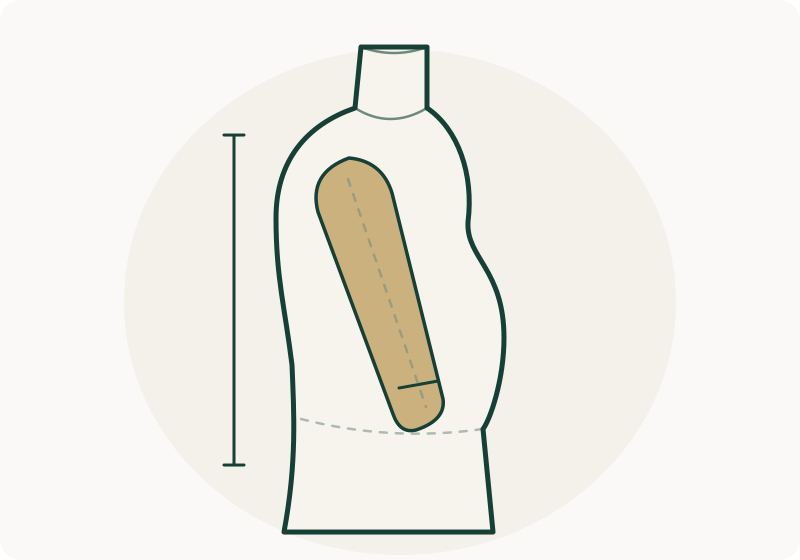
Upright posture & sleeve pitch
Wolfgang’s practical example
Pants & jacket · 4 videos
What you learn
See how the sleeve pitch is adjusted to suit Wolfgang’s upright posture. The arm position is marked during the jacket fitting and taken into account when making the adjustment.
More topics in this example
- Lower shoulder
- Slightly fuller abdomen
- Slightly rounded back
- Higher waistband position
Practical example in Week 3
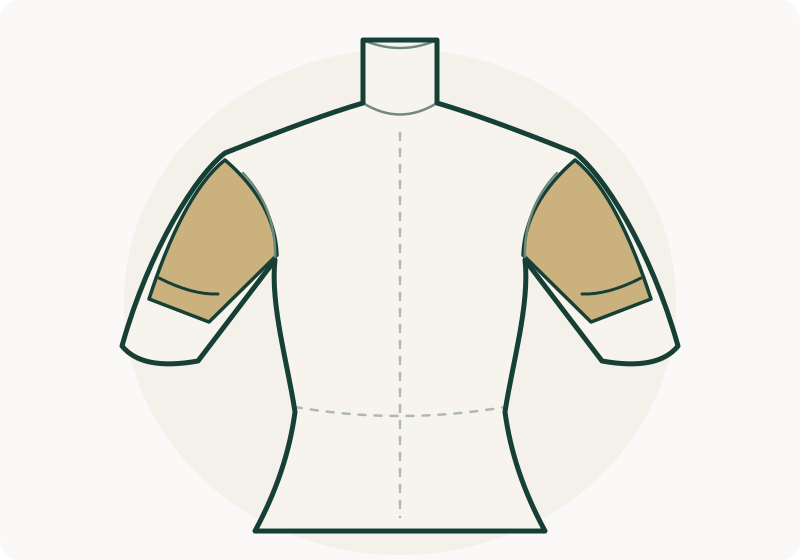
Fuller upper arms
Stefan’s practical example
Vest & jacket · 4 videos
What you learn
This view focuses on fuller upper arms in Stefan’s jacket. The example considers this area together with the extra room needed for his broad chest.
More topics in this example
- Broad chest
- Otherwise slim build
Practical example in Week 4
Fuller upper arms
Britta’s practical example
Pants & jacket · 4 videos
What you learn
Follow the adjustments for fuller upper arms in Britta’s jacket, together with the adjustments to the bust, shoulders and back.
More topics in this example
- Full bust
- Slightly fuller abdomen
- Slightly rounded back
- Uneven shoulder heights
- Lower waistband position
Practical example in Week 4
Height · 1 practical example
Tall stature
Christoph’s practical example
Shirt, pants & jacket · 5 videos
What you learn
Follow the necessary adjustments to a shirt, pants and jacket for a tall man. With relatively few alterations, this example helps you become familiar with the five-step system.
More topics in this example
- Slightly fuller abdomen
- Sleeve pitch
Practical example in Week 2
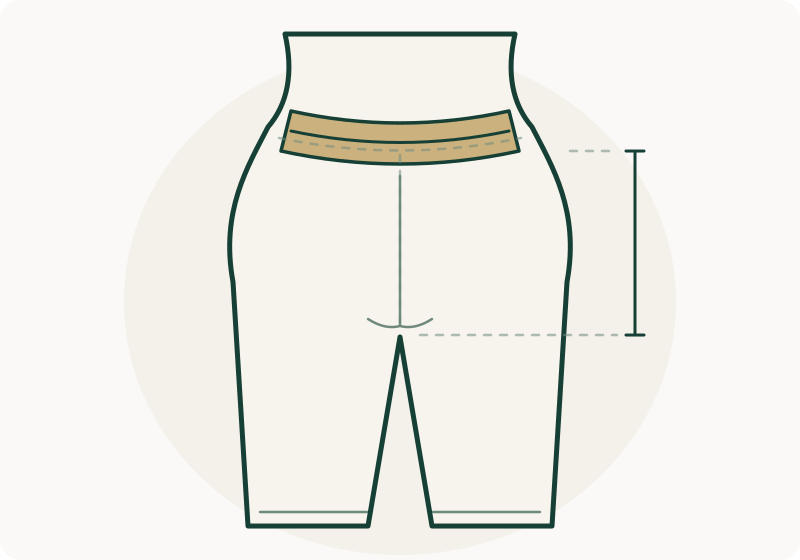
Higher waistband position
Wolfgang’s practical example
Pants & jacket · 4 videos
What you learn
See how the front of Wolfgang’s pants is cut below the abdomen to accommodate a higher waistband position. The adjustment accounts for where he wants to wear the waistband.
More topics in this example
- Lower shoulder
- Slightly fuller abdomen
- Slightly rounded back
- Upright posture & sleeve pitch
Practical example in Week 3
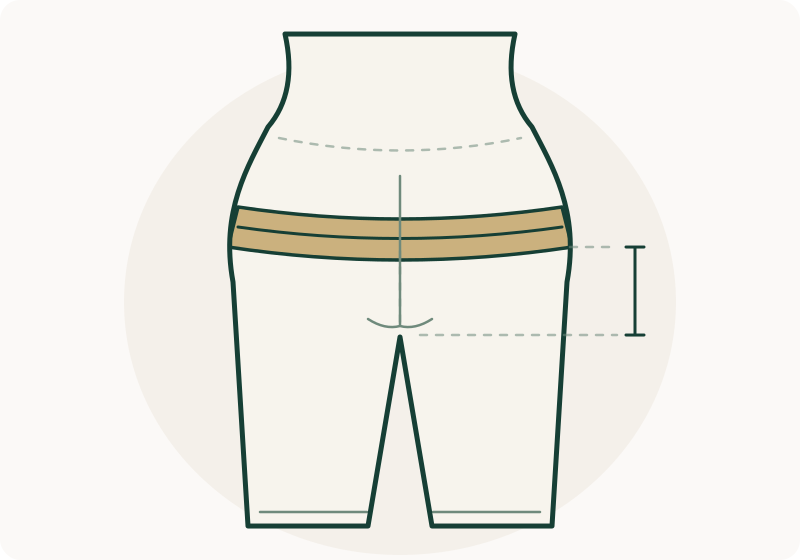
Lower waistband position
Britta’s practical example
Pants & jacket · 4 videos
What you learn
Learn how to cut pants for a lower waistband position. The key consideration is where the pants will be worn.
More topics in this example
- Full bust
- Fuller upper arms
- Slightly fuller abdomen
- Slightly rounded back
- Uneven shoulder heights
Practical example in Week 4
The silhouettes illustrate individual fitting topics. These features can overlap; you do not need to match one particular body type.
- 01 Choosing the garments
- 02 Selecting the fabric
- 03 Taking measurements
- 04 Cutting the fabric
- 05 Fitting
- 06 Applying the fitting adjustments
- 07 Final check
You also learn how a bespoke tailor prepares garments for a fitting and shapes the fabric with the iron.
For women’s and men’s clothing:




Real insights into the course
See how fit is adjusted.
See the techniques in detail: on the pattern, during the fitting and in the finished garment.
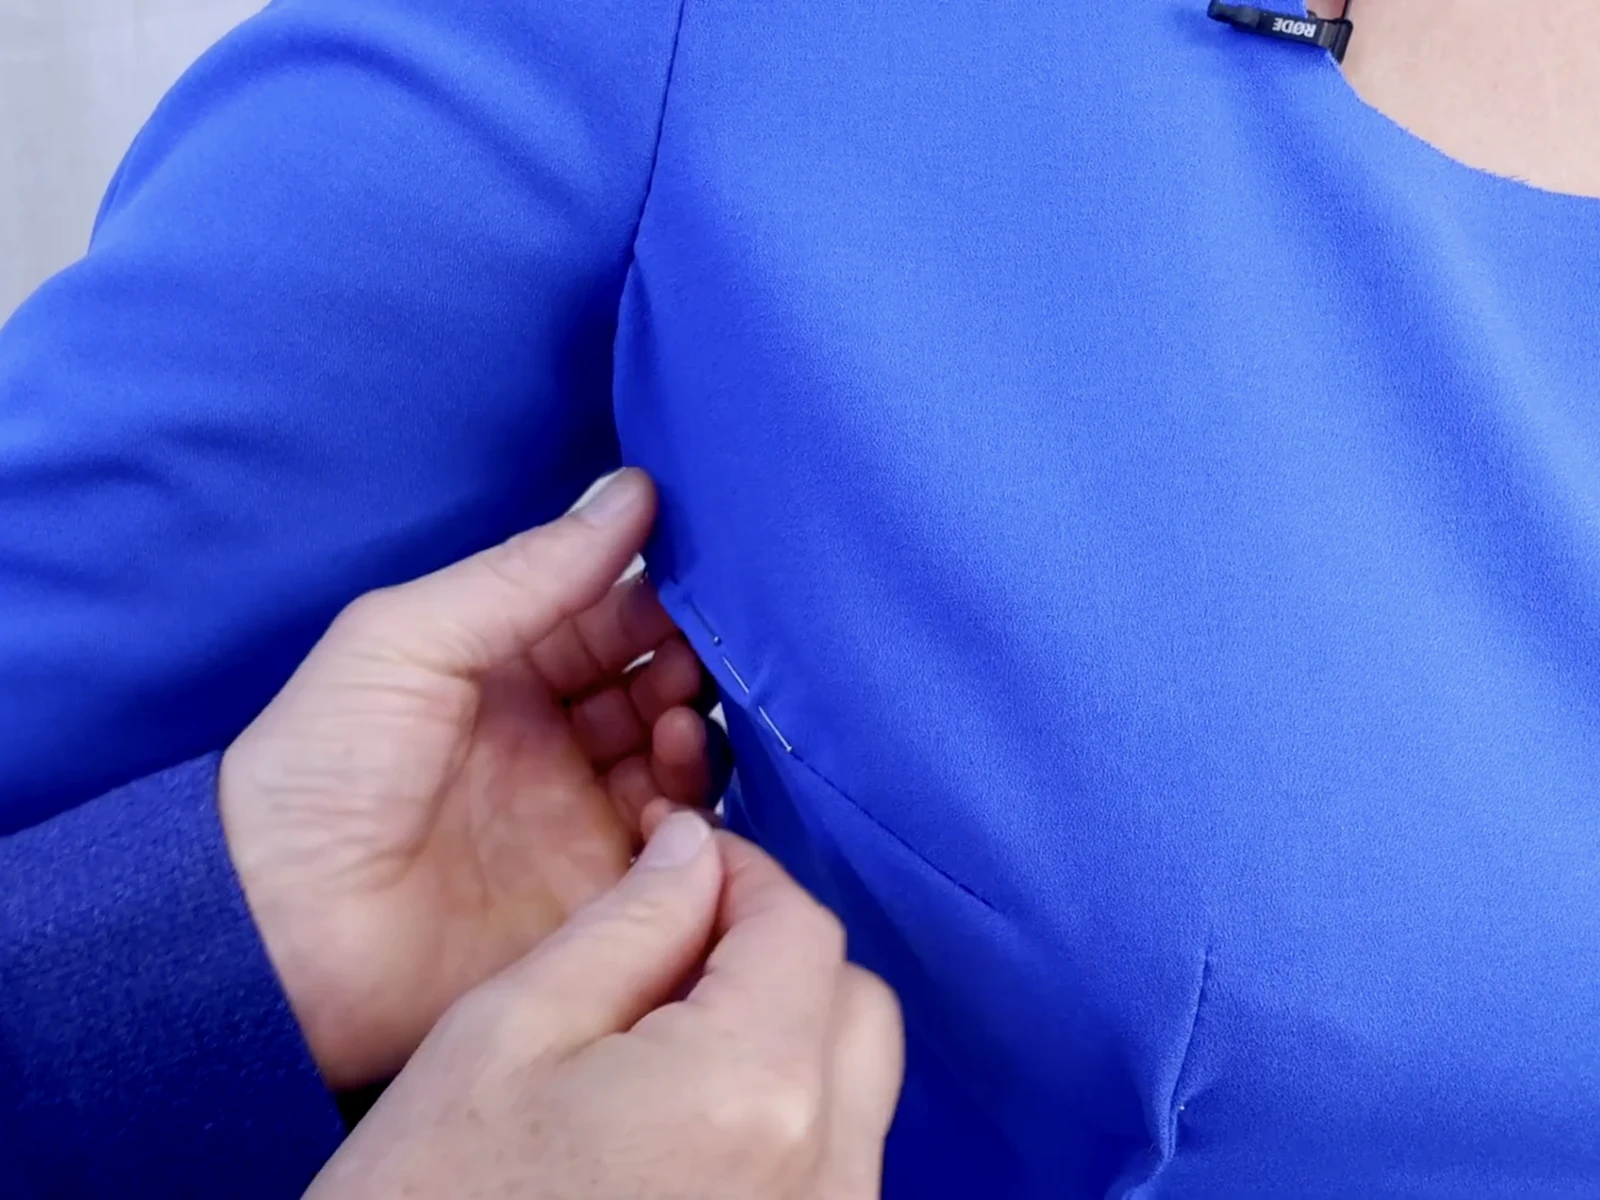
Ilse · During the fittingChecking the fit directly on the body.
Ilse’s practical example · Week 3
Full bust
Learn how to add room at the bust in both darted patterns and patterns with panel seams. The blouse and dress examples also include adjustments for narrow shoulders, the waist and the hips.
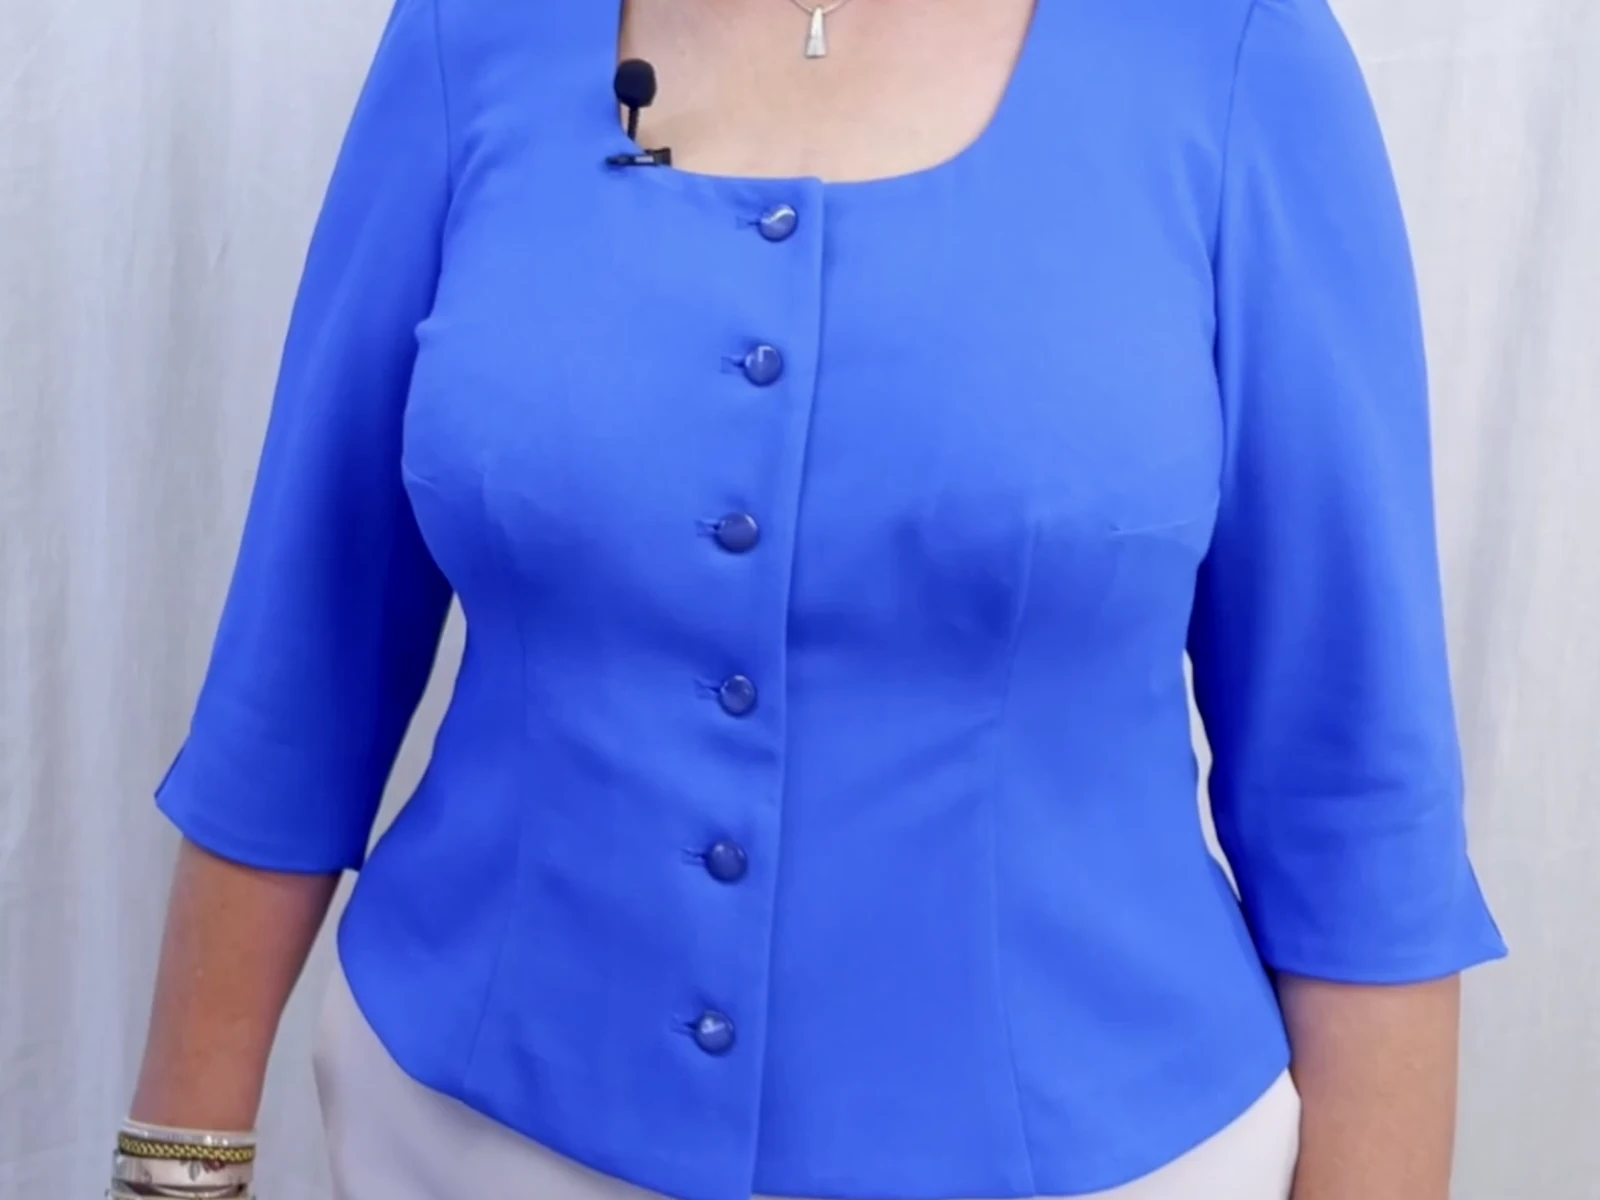
Finished detailA close-up of the finished blouse.
Wolfgang’s practical example · Week 3
Shoulders & sleeve pitch
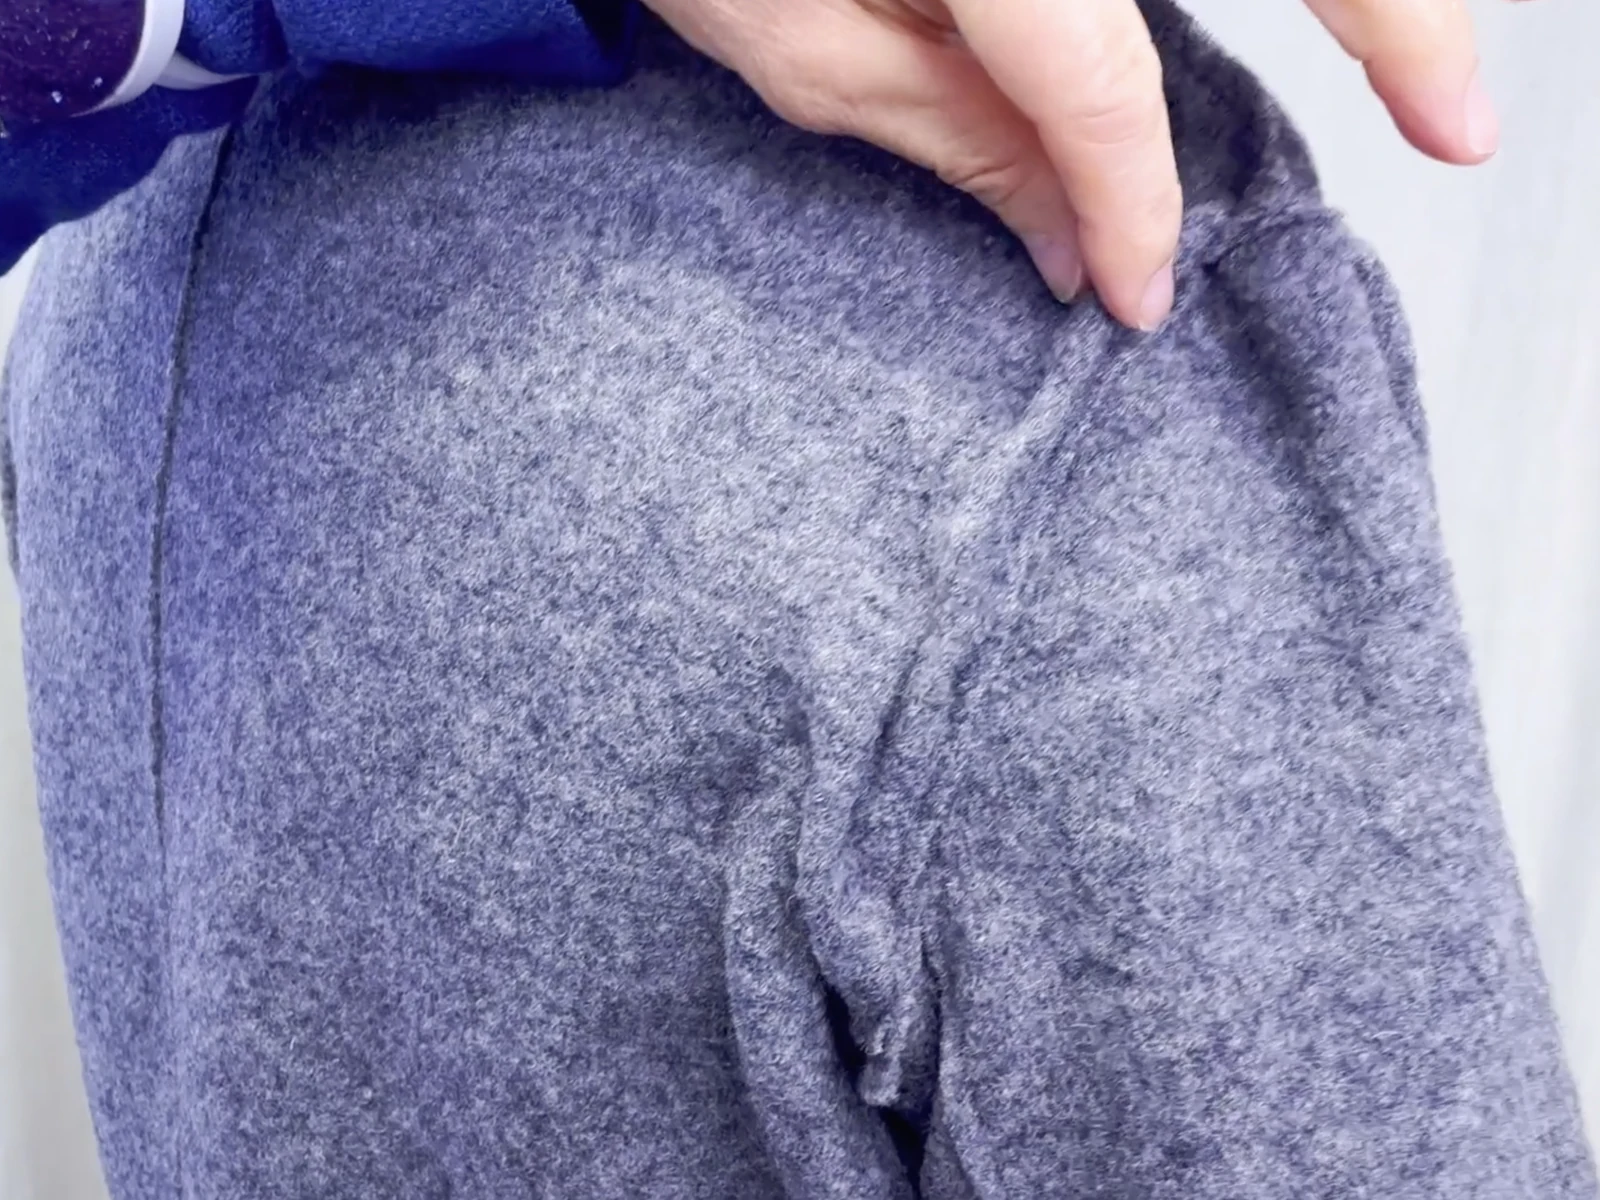
Checking the shoulder and sleeve at the fitting.
See how the sleeve pitch is adjusted to suit an upright posture.
Johanna’s practical example · Week 5
Fuller thighs
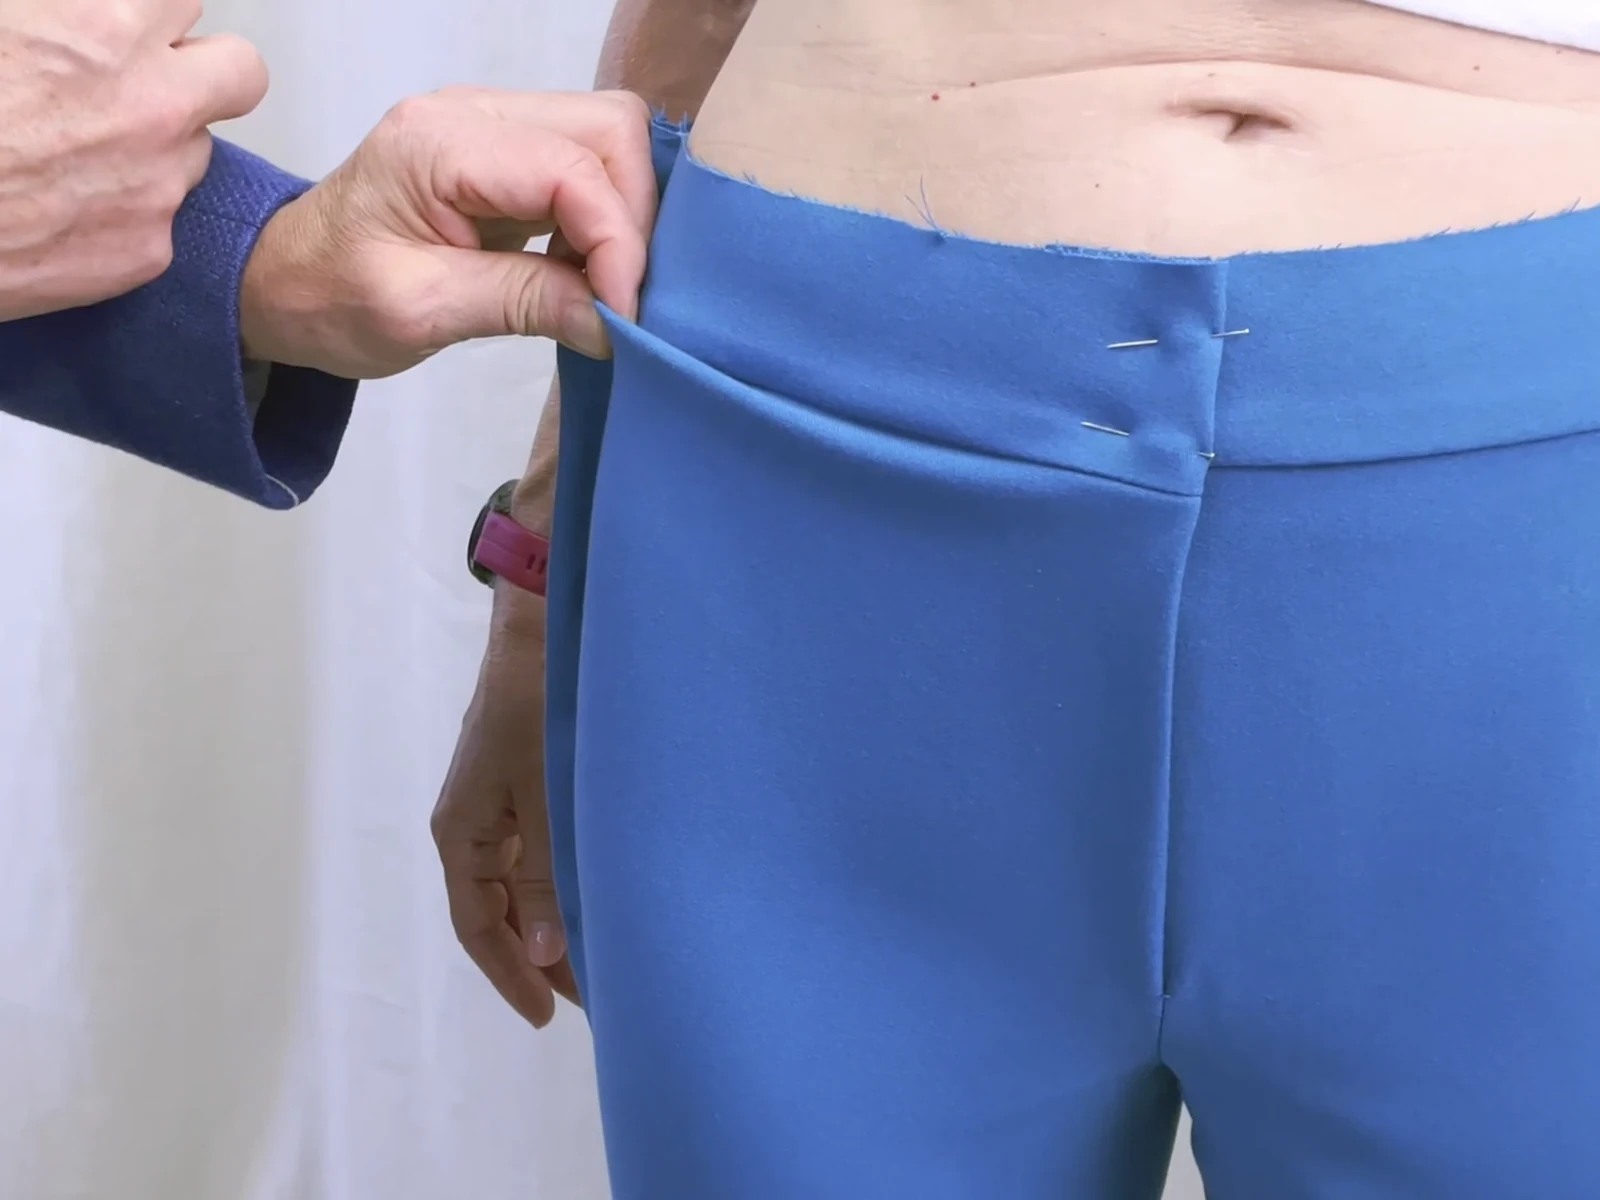
Checking the prepared pants on the body and pinning the adjustments.
Follow the dress example to see how broad shoulders are accommodated. The close-fitting pants demonstrate adjustments for fuller thighs.
Roman’s practical example · Week 5
Fuller abdomen
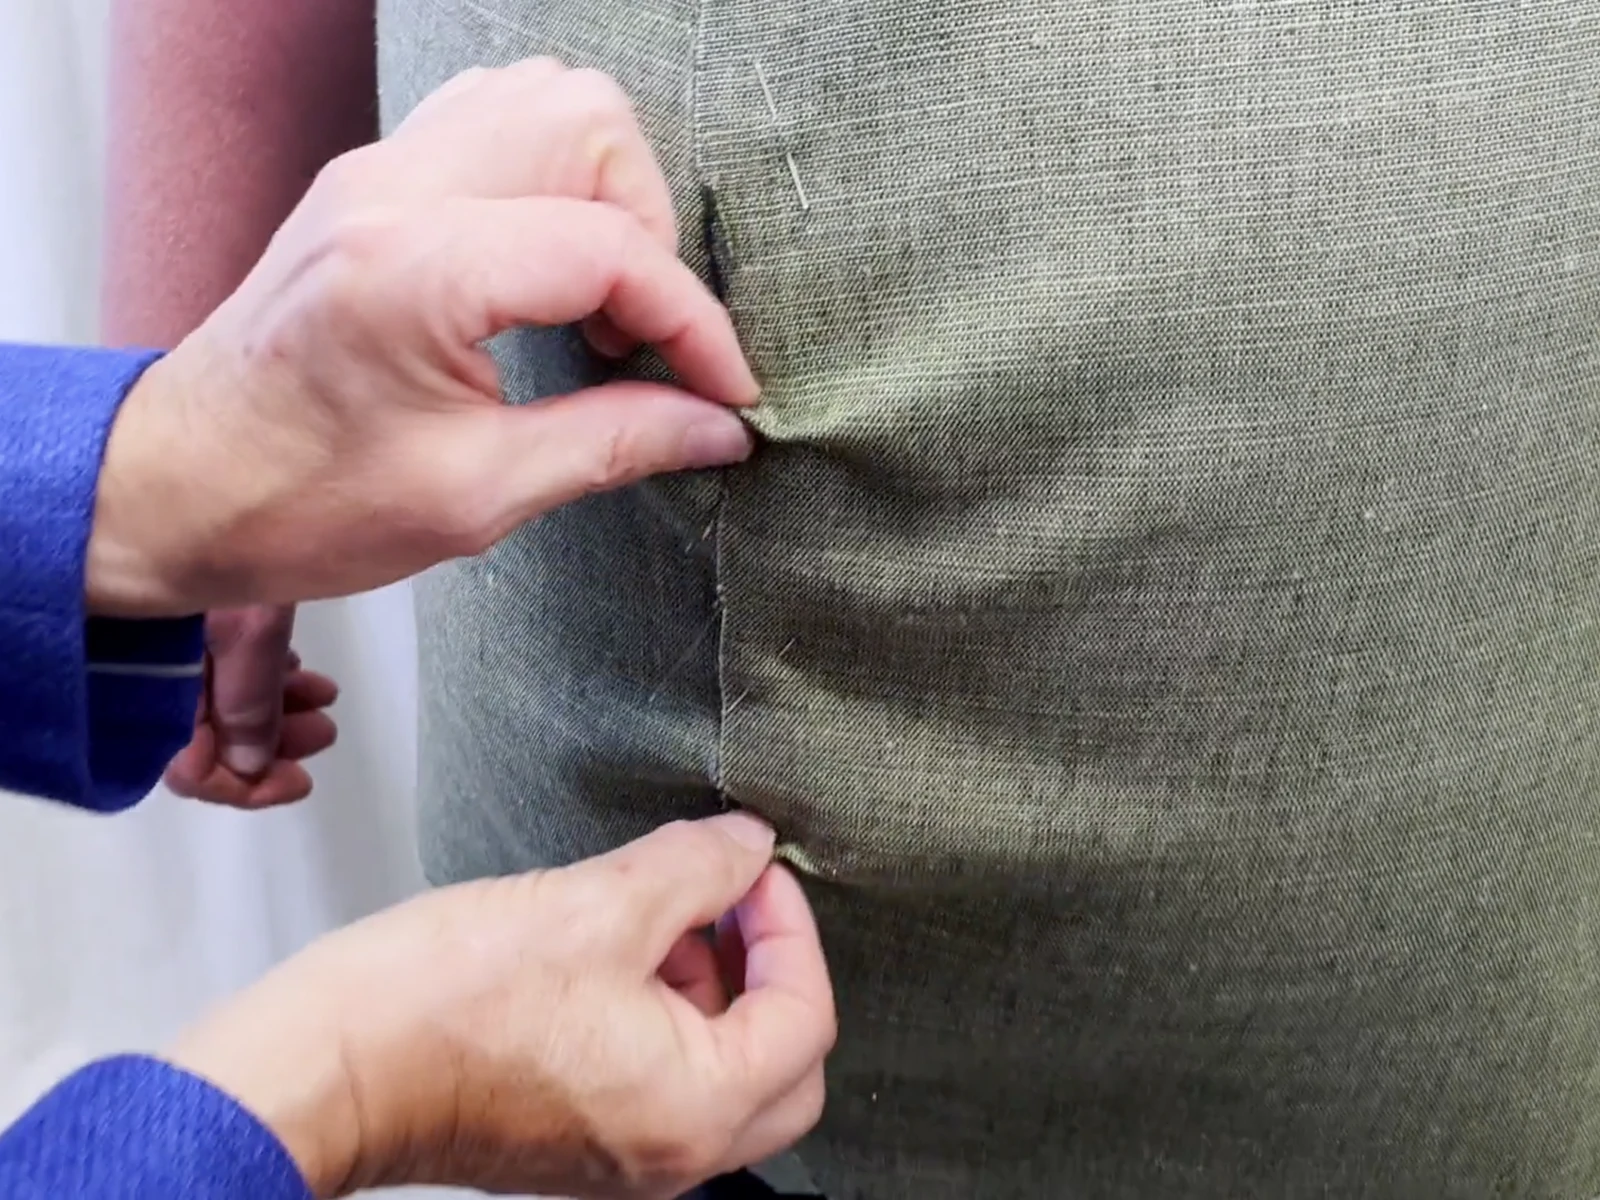
Checking the fit of the vest along the pinned seam.
Learn how to enlarge the largest pattern size used in the course to accommodate the required abdomen measurement. Follow the vest and jacket examples from taking measurements and cutting the fabric to the finished garments.
Selected original images from the course’s practical examples.
What participants say
“You really learn the right adjustments for every body shape!”
Gabriele Seiffert
“With the Wicky wrap dress, I took on a more challenging project. I needed to add 8 cm of room at the abdomen, and it worked: the dress fits perfectly.”
Read more
I devoured this course and can now put what I’ve learned into practice in my sewing projects. My upper body is EU size 38 and my lower body EU size 42, and I also have a little tummy. The videos explain things well and contain a great deal of information. I started with simple patterns. With the Wicky wrap dress, I took on a more challenging project. I needed to add 8 cm of room at the abdomen, and it worked: the dress fits perfectly.
I definitely recommend the course to sewists who want to learn more for themselves and their clothes. A garment that really fits well is worth so much. You feel even more comfortable wearing it, and every time I’m incredibly happy and proud of what I can now do entirely on my own to create a lovely outfit.
Sibylle Schranzhofer
“After the course, I had no trouble sewing suit pants and a matching vest for my husband, who is very full around the middle.”
Read more
I recommend this fitting course to everyone who enjoys sewing, especially if you sew for people whose bodies don’t match standard proportions. After the course, I had no trouble sewing suit pants and a matching vest for my husband, who is very full around the middle. The course covers all body types, so everything is addressed.
Stefanie Reischl
“This course uses real people to show very clearly how to adjust sewing patterns for many different body shapes.”
Read more
Perfect Fit Mastery is the best and most useful course I’ve taken in a long time. When you sew clothes, you almost always reach a point where alterations and adjustments are unavoidable, but as an amateur you rarely know how to make them. This course uses real people to show very clearly how to adjust sewing patterns for many different body shapes. As a participant, you benefit from Stefan Wimmer’s many years of experience. He has a solution ready for every adjustment that is needed. A downloadable reference handbook completes the course.
At the end of each unit, there’s a delighted client wearing a garment that fits perfectly. Clothes can do so much for you when they really fit. Everyone who sews clothes should take this course.
Show more reviews
Monika Wüst
This course was the real breakthrough that took me from hobby sewing to almost professional. Of course, a course cannot replace years of sewing experience.
Read more
Your results won’t be absolutely perfect immediately after the course. But you improve quickly. Everyone I sew for has an individual body shape. Simply choosing a pattern and getting started rarely works. If you only want to make loose T-shirts, bags or nightgowns, you don’t need a course like this. People who sew only for themselves and fit exactly into the standard size chart won’t need much of it either. But who fits perfectly into one box?
I’ve found that the more handmade clothes you wear, the more requests come from the people around you: ‘Could you make something like that for me too?’ And I really enjoy sewing for family and friends. The Masterclass makes it possible, and Perfect Fit Mastery makes it perfect. An absolute must for anyone who wants to go beyond T-shirts and a loose, casual look.
Betty
The fitting course is extremely informative and easy to follow. The content is explained clearly and simply, which makes it easy to put into practice.
Read more
The practical guidance helps you achieve a perfect fit quickly and without complications. A thoroughly recommendable course for anyone who wants to improve their tailoring skills!
liselotte scheuner
I was a complete beginner and had barely sewn anything before. Everything I’ve sewn with your videos fitted from the start, and I found it very easy to follow along.
Read more
No matter how difficult the garment was or is. At the moment I hardly have any time, so I’m glad your videos simply wait for me until I have time again. Thank you so much. You introduced me to sewing. Without you, I would never have dared to try it. L. Sch. from Switzerland.
Doris Bürstmayr
Exactly what I’ve been looking for for years! As a home sewist with a tendency toward perfection, I soaked up the information in this course.
Read more
The Masterclass already teaches a lot, but in my opinion this course is the only route to perfection. You get an incredible number of insights and explanations about bespoke tailoring. The reference handbook gives you a wonderful tool to have at hand. It’s also great that you can keep watching the videos after completing the course. That lets you refine your practical skills whenever you like, entirely at your own pace.
Dimitrios
This course is highly recommendable, both for home sewists and aspiring professionals. It teaches you how to correct a garment’s fit properly.
Read more
Who hasn’t found, while sewing, that the fit isn’t right on the first attempt? Here you learn how to respond appropriately.
Hanna Obermeier-Liebl
I recommend this wonderful course to everyone who enjoys sewing clothes for themselves or others. Here you learn what you need to sew clothes for people who don’t match standard measurements.
Read more
Which is very often the case. Now I finally know what I can do when that happens. I really enjoyed the course, and I can look things up again at any time if I’ve forgotten something.
Helga Bernardi
I thought the course was very good, as I do all your lessons, and I’m so grateful I found you. However, I had expected the course to help me solve my problems with pants fitting more effectively.
Read more
While searching online, I found Karen Nolte’s material on the basic pants block, its fitting problems and solutions, but I couldn’t get any further. I then looked for individual fitting adjustments on Pinterest. Perhaps it would be interesting for your academy to offer something on pants sewing that explains how to draft your own basic pants block and resolve the many individual fitting problems so that the pants fit really well.
I would absolutely recommend your fitting course to every advanced participant. The individual topics were relevant, and the videos and explanations were very good.

Erica Caimi
Once you know how, even amateurs can make adjustments well. This is demonstrated very clearly. In the course, you can see the cause of problems, such as unwanted wrinkles, and how and where to correct them.
Read more
I now pay attention to fit from the moment I cut the fabric.
Inge Weber
The fitting course is for enthusiastic sewists and tailors who want to develop their hobby or profession further. It shows how to measure individual body shapes and use those measurements to create perfectly fitting clothes.
Read more
Through the course, I’ve learned to pay more attention to the fit of clothing. I’m always amazed by the way Stefan makes even difficult alterations understandable. As I’m now almost finished with the Masterclass and will soon take my final exam, I warmly recommend the fitting course. What you learn here is invaluable, and it works perfectly alongside the Masterclass.
Hong Wei
After almost two years of learning in the Schneiderfamilie community, today is the first time I’ve felt the need to write this feedback.
Read more
I began sewing with no previous knowledge and took the fitting course alongside the Masterclass. Because my own body doesn’t match standard measurements, this topic mattered to me from the start.
What I find particularly valuable is that the course goes beyond theoretical pattern adjustments and consistently focuses on the fit of the actual garment, just as in professional alterations tailoring. The videos are clearly structured, calmly explained and show the real working process: identifying fit problems, pinning adjustments on the body and carrying them out neatly. This taught me not just what to change, but why and how.
The extensive PDF handbook complements the videos perfectly. Its systematic structure helps you understand typical fitting problems and find specific solutions. Together, the videos and handbook form a very practical, professional learning system.
Just recently, I wore an outfit I’d sewn entirely myself and knew exactly why it fitted, where I would make corrections and how I could make the next garment even better.
For me, this fitting course is an essential addition to the Masterclass. I recommend it to anyone who wants not just to sew clothes, but to understand them and make them fit.
Ilse Gottschacher
For everyone who sews for themselves and others to make well-fitting clothes. You really learn the right adjustments for every body shape so that the garment fits properly.
Petra
I would recommend the fitting course to everyone in the second half of the Masterclass. You learn so much and can immediately apply it to the beautiful garments you’re sewing.
Read more
In the second year of the Masterclass, the garments become very high-quality. If you can apply what you’ve learned in the fitting course at the same time, it’s a win-win situation!
Evelyn Wiget
There are so many professional tips, and I had quite a few lightbulb moments. No matter how much or how little you know, there is always more to learn, even if it’s only to see that there’s another way.
Read more
The fitting course is definitely highly recommendable. It’s packed with practical knowledge you can try out yourself.
Your next step
Explore your fitting topics in more depth.
USD 1,870 · One-time payment
The course structure
Your path through Perfect Fit Mastery
New lessons are released every 7 days. We’ll email you each time they become available.
Lessons released over 6 weeks. Learn at your own pace.
You have lifetime access, so you can take longer and work at your own pace. You also decide whether and when to take the optional exam.
Week 1 · Introduction · 7 lessons
- Course overview
- 1. Sharpen your eye
- 2. Take accurate measurements (+ downloads)
- 3. Adapt the pattern and cut the fabric
- 4.1 Fit with precision
- 4.2 Preparing for the fitting & shaping the fabric with the iron
- 5. Apply the fitting adjustments
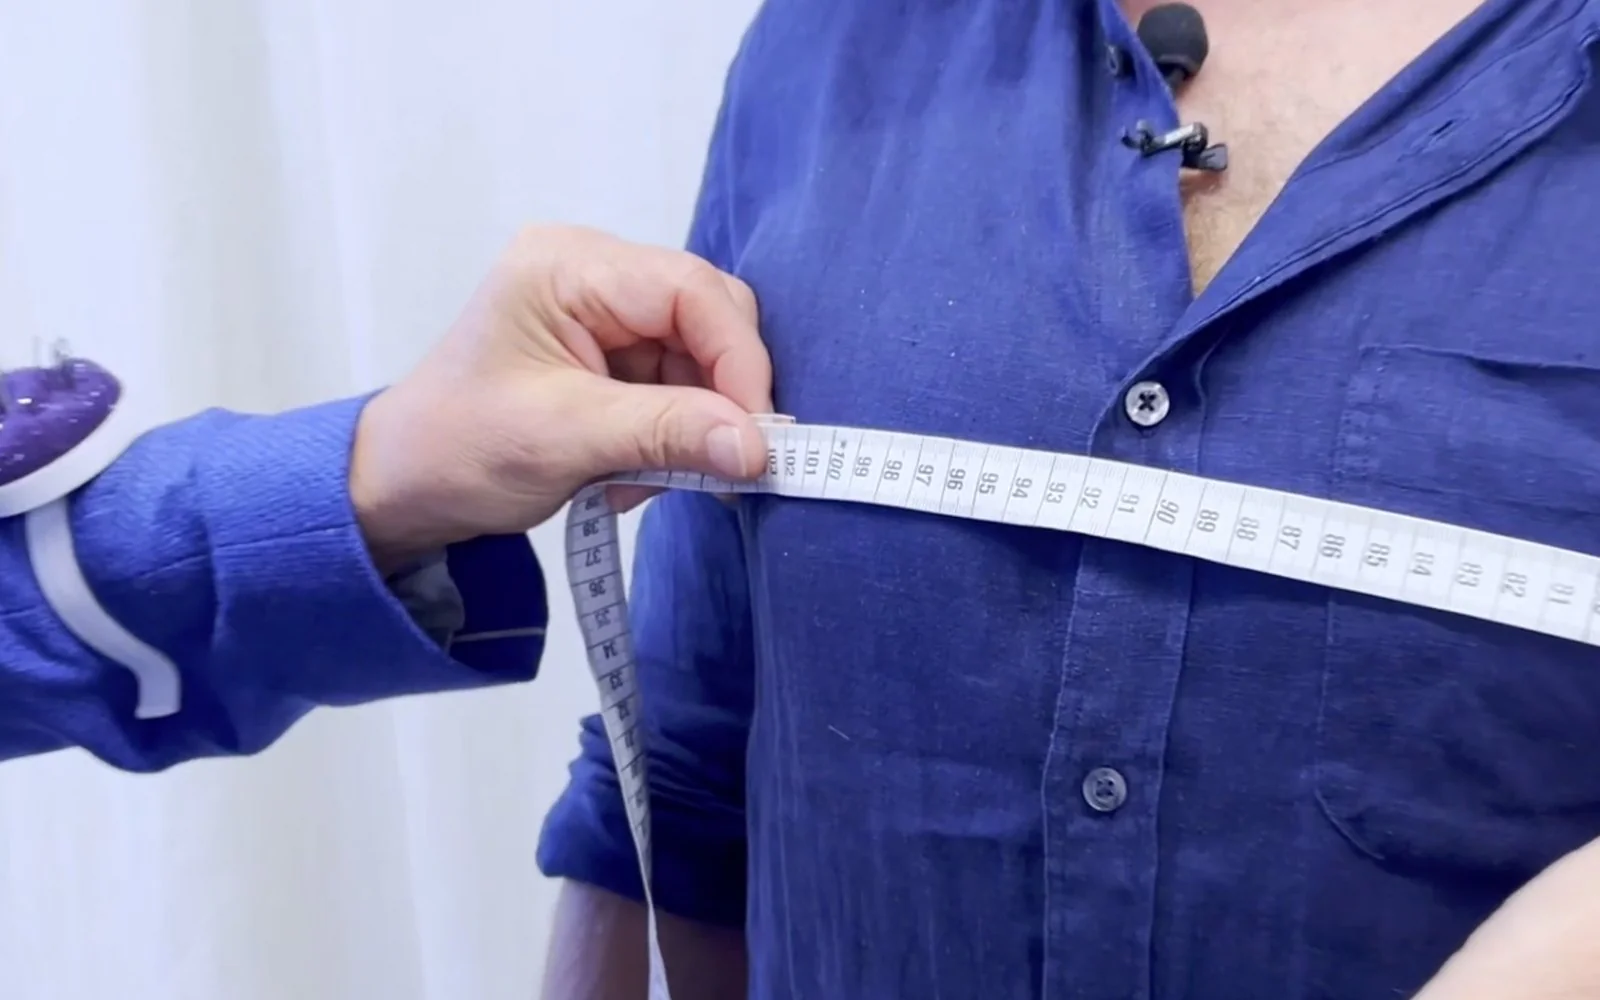
Taking measurements · A practical example from the course
Week 2 · Dorit & Christoph · 9 videos + 2 reference documents
- Your Tailor’s Handbook
- List of fitting adjustments
Dorit
- Dorit · Introduction
- Dorit · Taking measurements
- Dorit · Skirt
- Dorit · Jacket
Dorit · Jacket fitting
Pinning adjustments at the side of the jacket during the fitting.
Christoph
- Christoph · Introduction
- Christoph · Taking measurements
- Christoph · Jacket
- Christoph · Shirt
- Christoph · Pants
Christoph · Pants fitting
Checking the fit of the pants on the body.
Week 3 · Wolfgang & Ilse · 8 lessons
Wolfgang
- Wolfgang · Introduction
- Wolfgang · Taking measurements
- Wolfgang · Pants
- Wolfgang · Jacket
Wolfgang · Jacket fittingChecking the shoulder and sleeve at the fitting.
Ilse
- Ilse · Introduction
- Ilse · Taking measurements
- Ilse · Blouse
- Ilse · Dress
Ilse · Blouse fittingChecking the fit directly on the body.
Week 4 · Stefan & Britta · 8 lessons
Stefan
- Stefan · Introduction
- Stefan · Taking measurements
- Stefan · Vest
- Stefan · Jacket
Stefan · Jacket fittingPinning the prepared jacket lapel directly on the body.
Britta
- Britta · Introduction
- Britta · Taking measurements
- Britta · Pants
- Britta · Jacket
Britta · Jacket fittingChecking the armhole and pinned seams during the jacket fitting.
Week 5 · Johanna & Roman · 8 lessons
Johanna
- Johanna · Introduction
- Johanna · Taking measurements
- Johanna · Dress
- Johanna · Pants
Johanna · Pants fittingChecking the prepared pants on the body and pinning the adjustments.
Roman
- Roman · Introduction
- Roman · Taking measurements
- Roman · Jacket
- Roman · Vest
Roman · Vest fittingChecking the fit of the vest along the pinned seam.
Week 6 · Review & optional exam · 1 lesson
The exam is optional. If you choose to take the theory exam and pass, you receive your certificate.
- Exam & closing thoughts
Also included
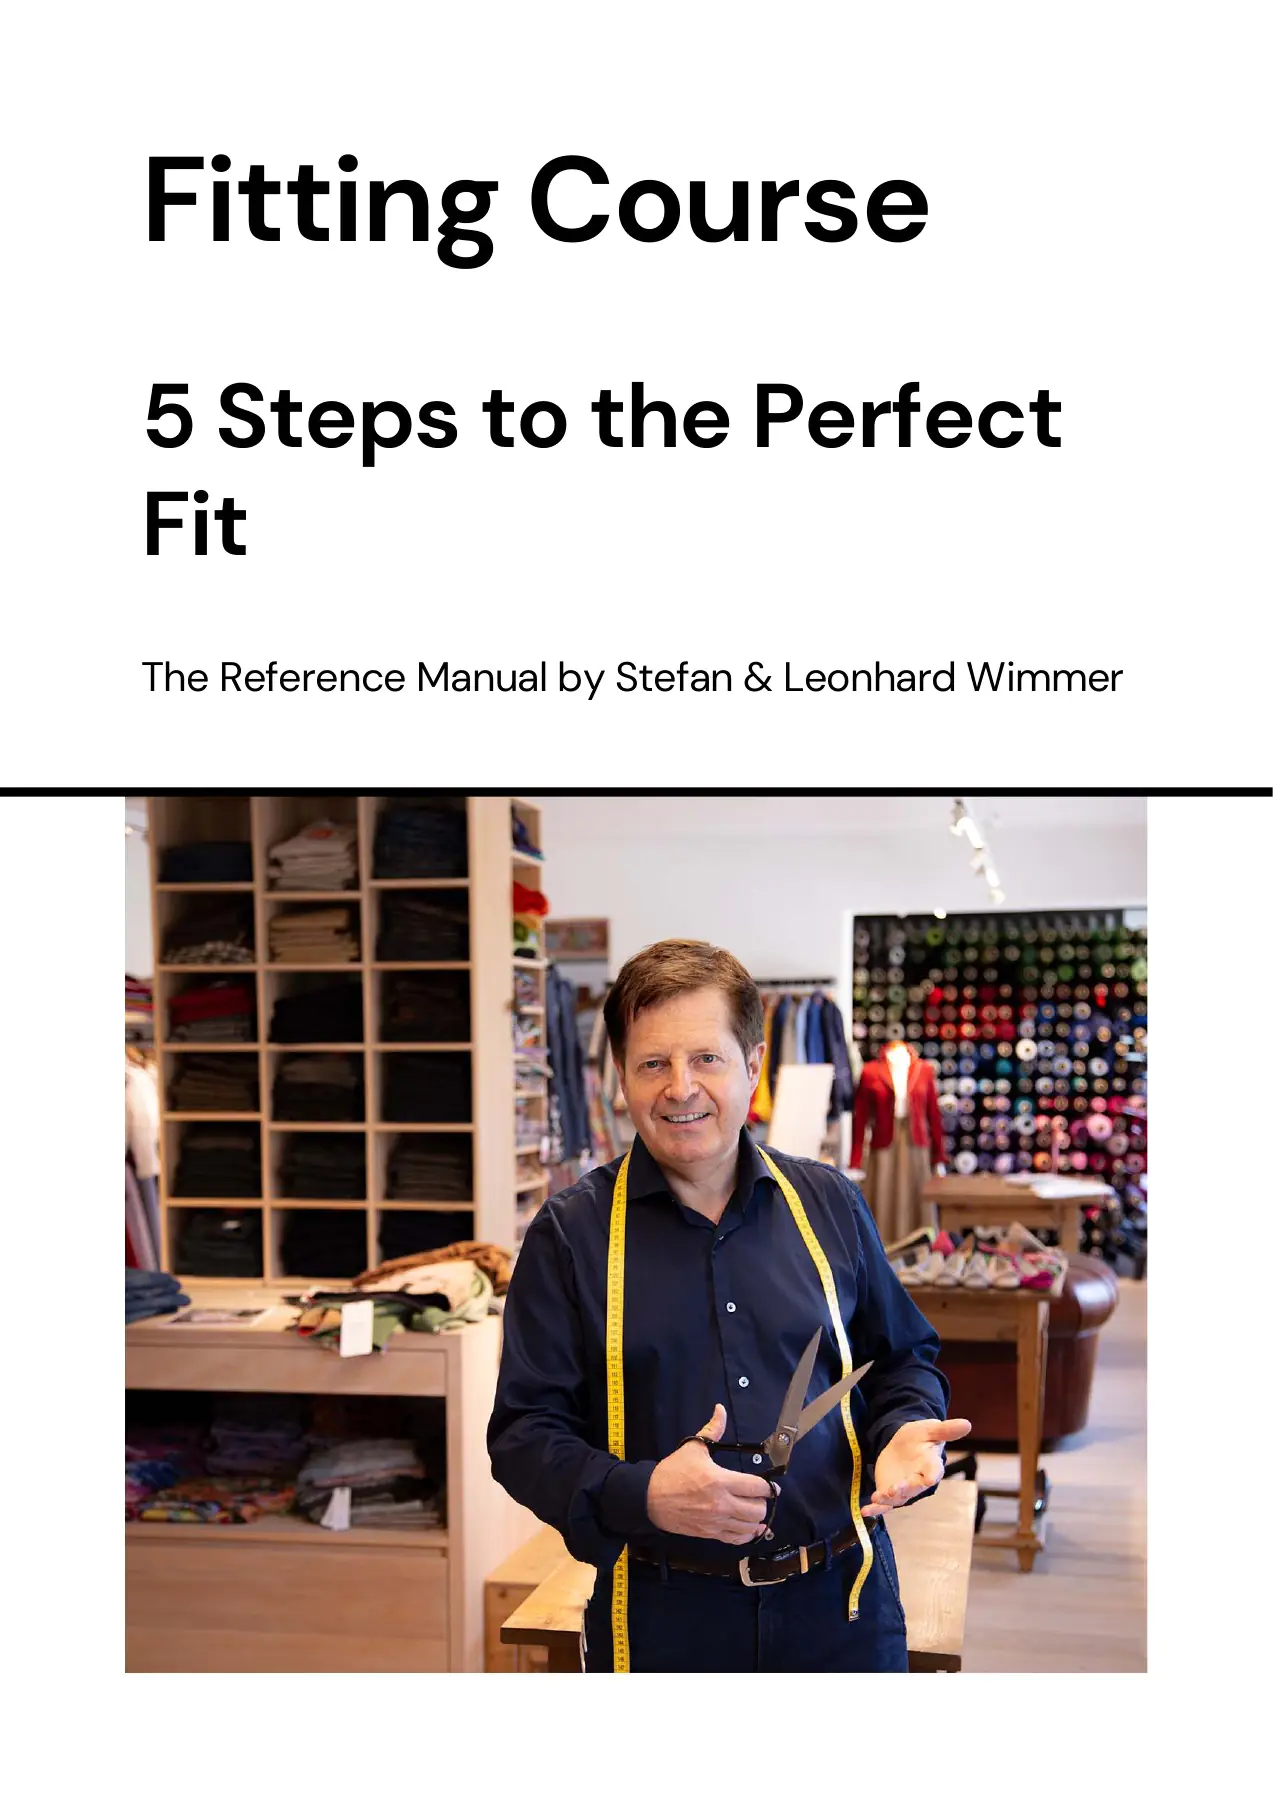
Your digital Tailor’s Handbook · Cover of the English edition
77 pages · Inside the handbook
Tailor’s Handbook
Stefan Wimmer’s personal reference handbook supports you in your day-to-day sewing and tailoring. It brings together knowledge from a family atelier with over 280 years of tradition, refined by Stefan over decades.
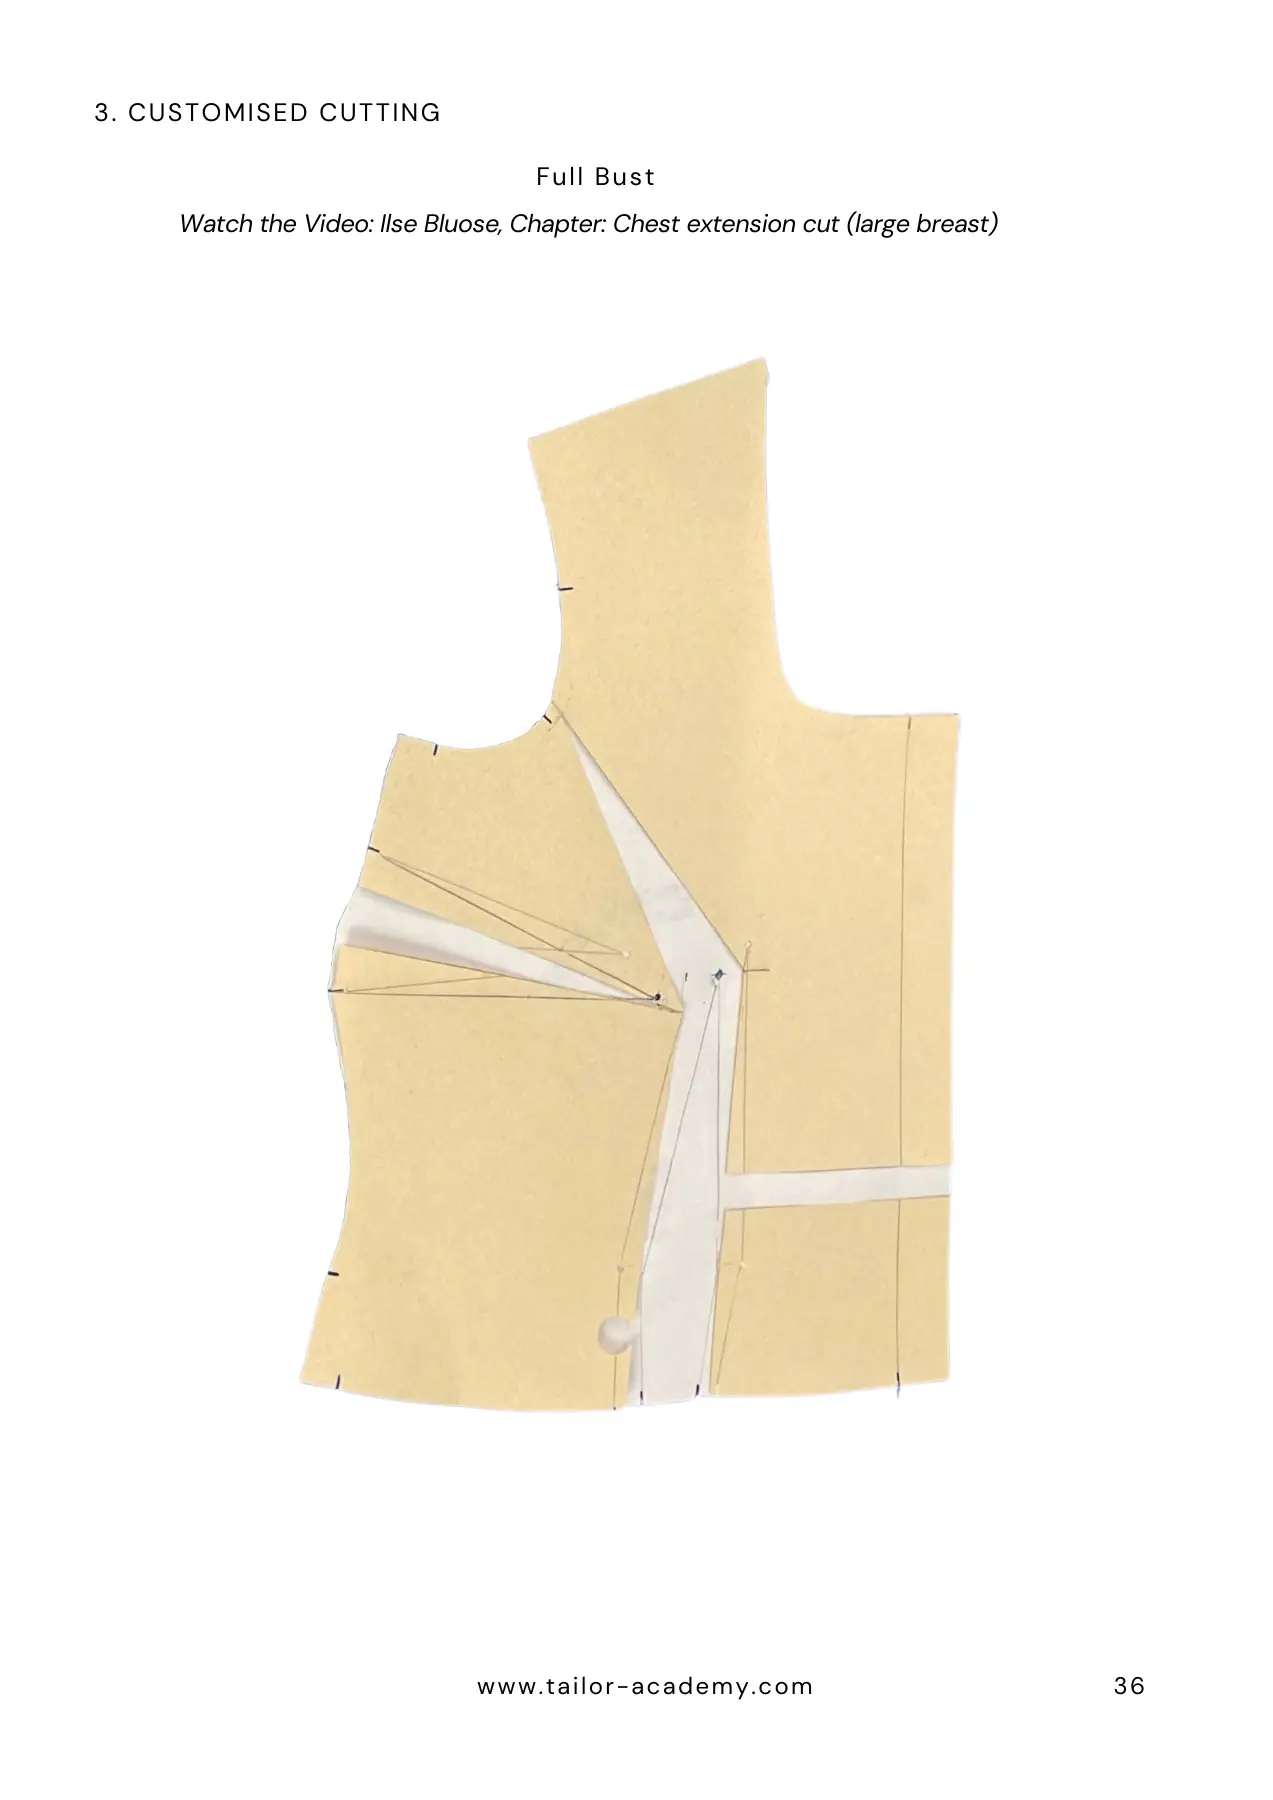
Pattern adjustments · Page 36
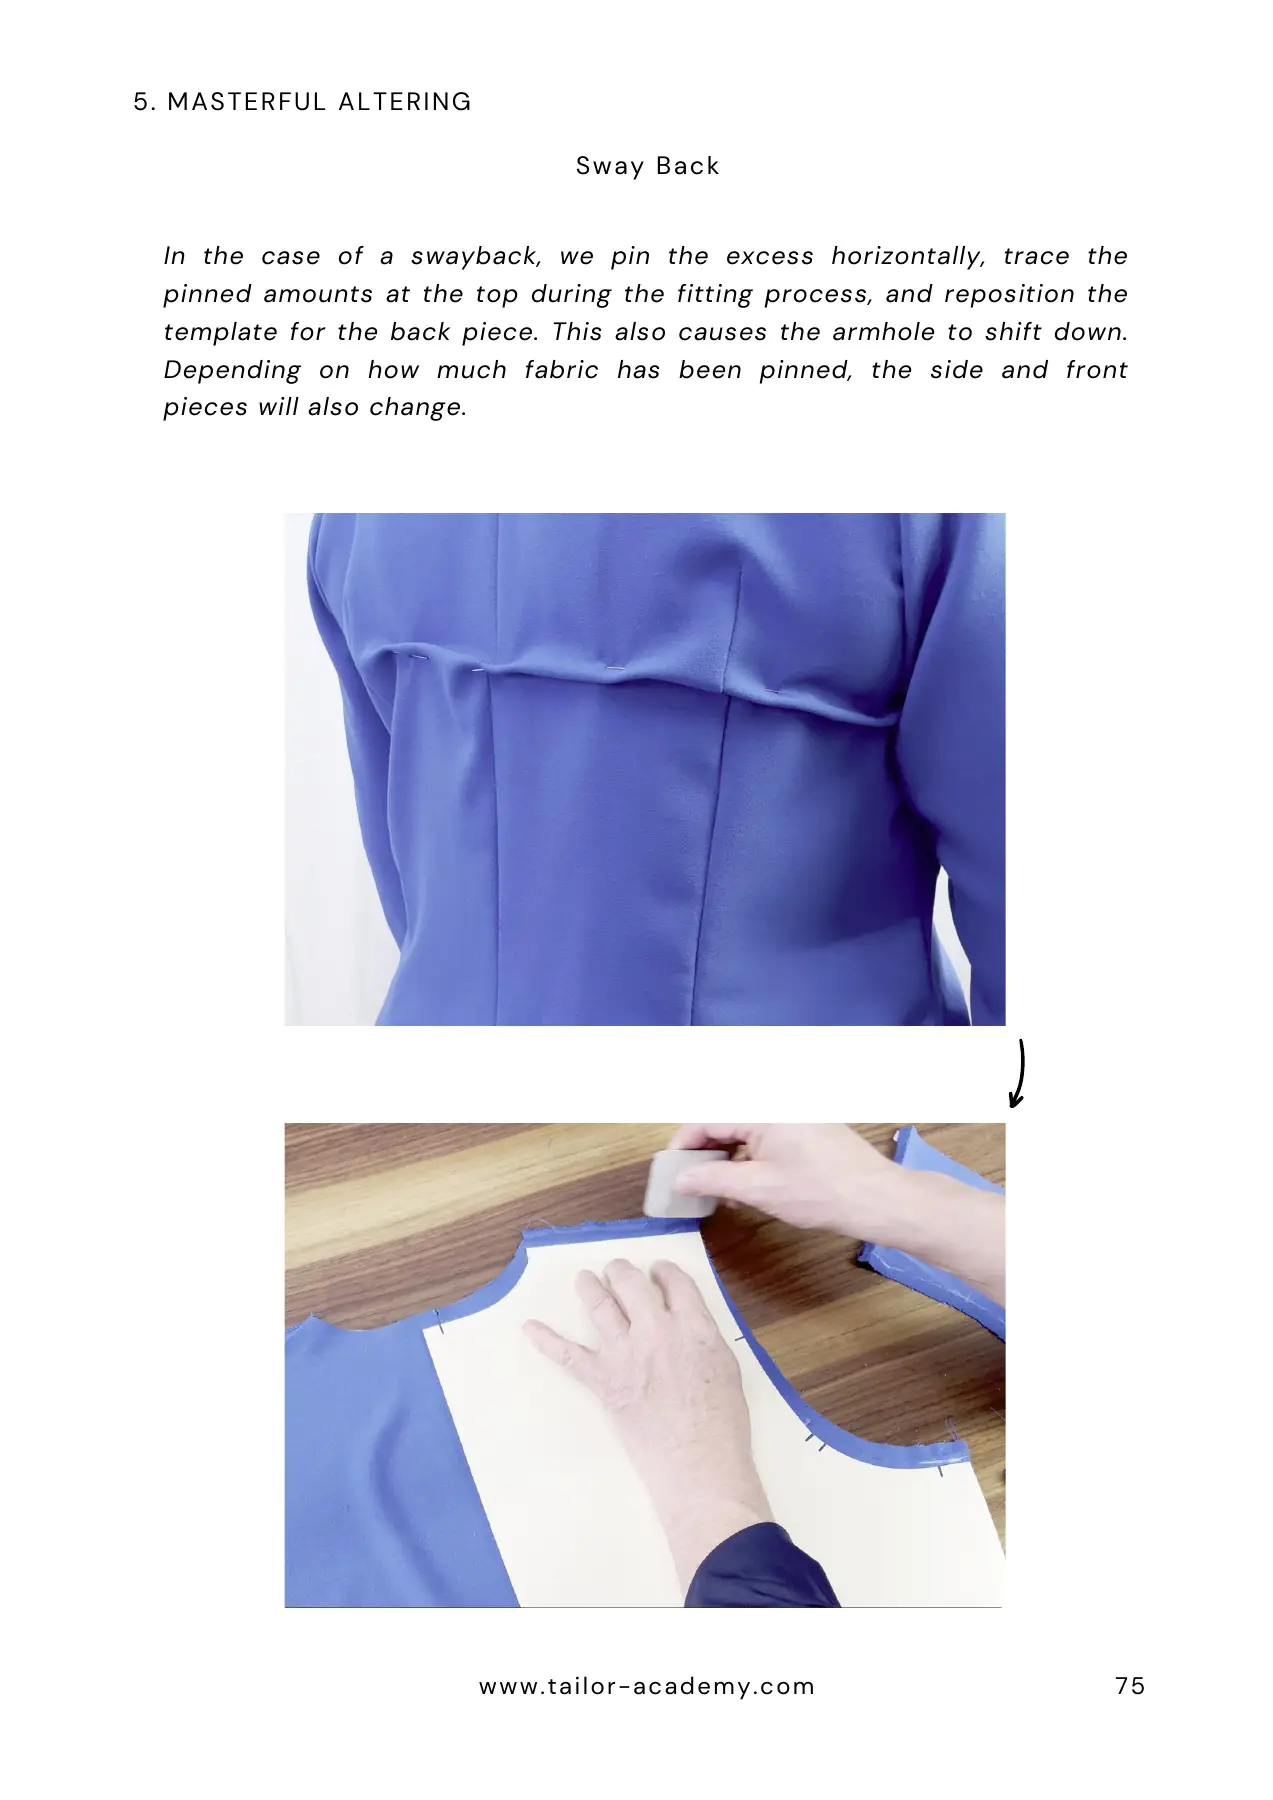
Sway back · Page 75
Pattern adjustments · Page 36
Sway back · Page 75
You can enlarge the sample pages to read them.
Swipe to the second sample page. Tap a page to enlarge it.

Certificate
If you wish, you can take a theory exam. You receive a certificate upon passing.
Included in the course
Videos, a reference handbook and personal support.
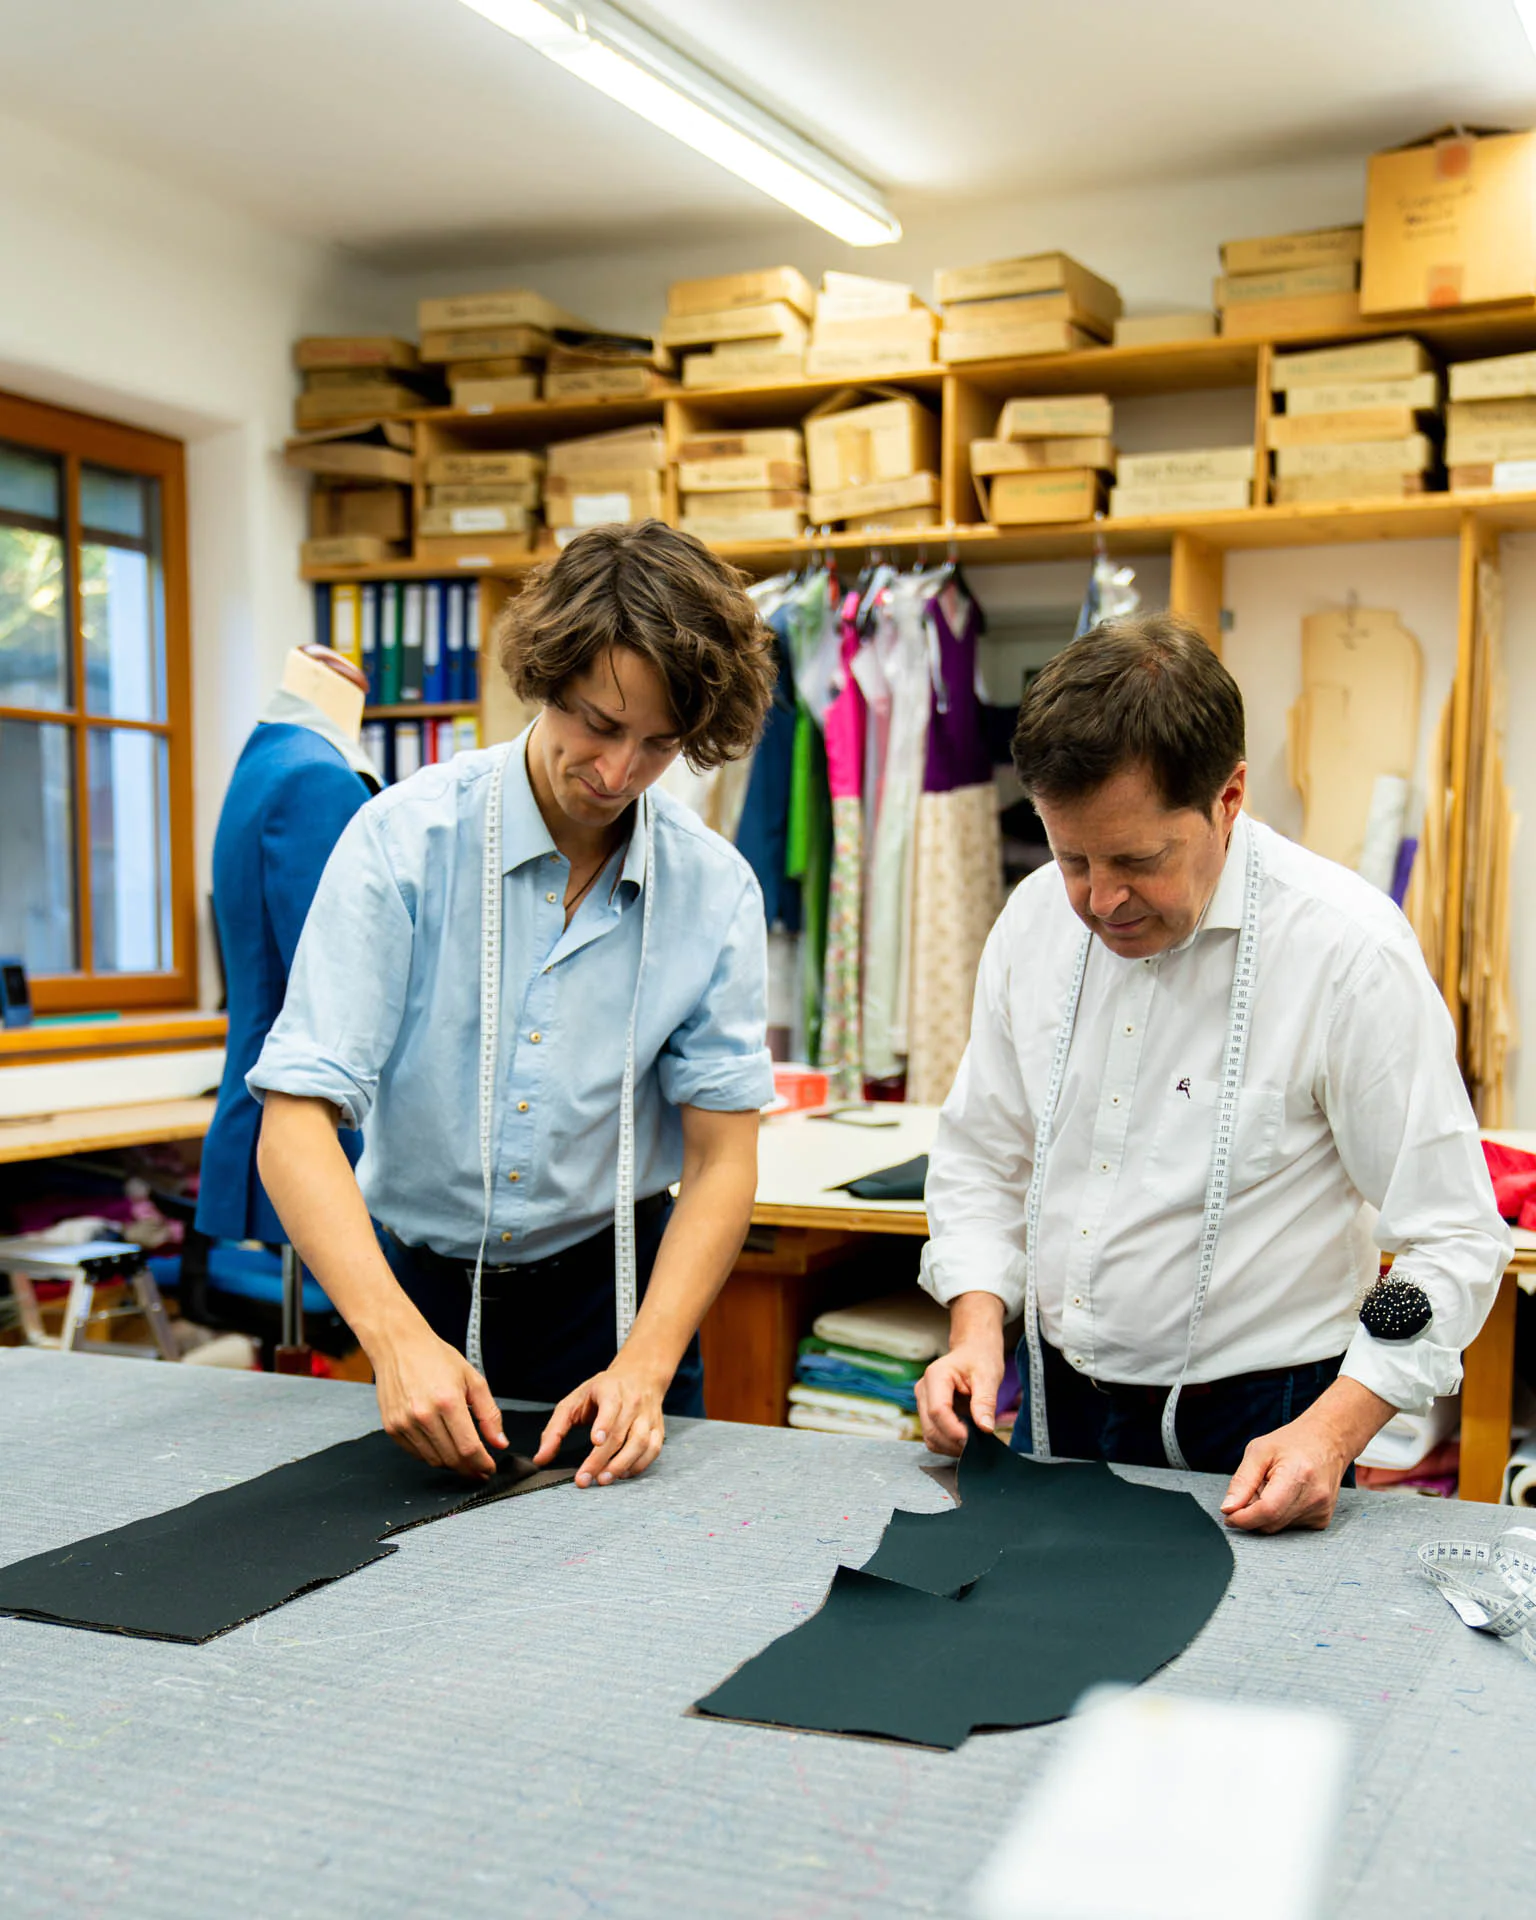
Tailoring knowledge from the atelier.
You learn at home. We’re here to help.
Personal support
If you have questions or need help with cutting, fitting or applying your adjustments, we’re just a message away and will help you personally.
- Cutting
- Fitting
- Applying the adjustments

Have a question before enrolling?
Lessons released over 6 weeks
Enroll in Perfect Fit Mastery
100% satisfaction guarantee
You receive a 7-day money-back guarantee, no questions asked. Take your time to explore the first unit and decide whether the course is right for you and your sewing experience.
Perfect Fit Mastery
All inclusive
USD 1,870
- 8 real people · 41 videos · over 19 hours
- Lessons released over 6 weeks
- Personal support
- Tailor’s Handbook
- Satisfaction guarantee
- Lifetime access
Your first unit is unlocked when you enroll. A 7-day money-back guarantee is included, no questions asked.
You can enroll now and begin learning later. Lifetime access allows you to work through the course at your own pace.
Stefan Wimmer at work in the atelier
Knowledge from bespoke tailoring
About Stefan Wimmer
As the long-standing owner of the renowned Salzburg tailoring atelier “Wimmer schneidert”, with a team of 20 tailors, Stefan Wimmer continued the family craft in its ninth generation. He learned from his father and grandfather.
He built on that knowledge and refined his methods over decades. Earlier in his career, he would have welcomed a course that brought this experience together in one place.
Today, he shares it to preserve valuable tailoring knowledge, for work in bespoke tailoring as well as dedicated home sewing projects.
A detailed participant review
What you learn in Perfect Fit Mastery

Leila
With eight different people and many more individual physical features, I think there’s something here for everyone. Even for problems you don’t yet know you have, or haven’t fully understood. For example, I knew I would probably need to do something complicated to account for the slope of my trapezius muscle, but it hadn’t occurred to me that I could start by widening the neckline.
Read the full review
I also like how the repetition helps you get into a routine just by watching: take measurements, compare them with the pattern, measure the pattern. Divide measurements by two, leave out the centimeter when measuring.
Before this, I didn’t really understand how to pin fitting adjustments, beyond something like a waistband, let alone how to mark the pinned adjustments properly on the garment. Chalk alongside the pins, or release one layer of fabric from the pins and measure the distance — simple. Suddenly it all feels achievable! The pressing is another highlight. I never imagined that pressing alone could remove such strong diagonal drag lines.
The difference between the fitting and the final check is often remarkable. And you pick up countless small details: pinning only the undersleeve to adjust the balance; elegant pants need to be longer at the back than at the front; you can hide a dart behind a lapel. You really need to take notes or watch the course more than once to absorb it all.
Frequently asked questions
About Perfect Fit Mastery
Which fitting issues does the course cover?
Topics include:
- Armholes that are too low or too high
- A back that is too long or too short
- Gaping necklines
- Gaping armholes
- A lower garment edge that stands away from the body over the abdomen
- The front extending into the armhole
- Armholes cut too wide
- High or low shoulders
- Shoulders that are too broad or too narrow
- A front that is too long or too short
- Garments that are too tight or too loose
- A fold at the back of the neck
- A back width that is too narrow or too wide
- Insufficient waist shaping
- Incorrect sleeve pitch
- Sleeve caps that are too high or too flat
- Sleeves that are too loose or too tight
- Rotating the sleeve forward or backward
- Necklines that are too low, too high, too narrow or too wide
- Sway back
- A fuller abdomen
- Adding room for a larger abdomen measurement
- Full bust adjustments (FBA)
- Small bust adjustments (SBA)
- A rounded back
- Tall people
- Short people
- Adapting and cutting for sizes beyond the available pattern range
- And many more
How much time should I allow?
Allow time to watch the practical examples, take notes, revisit lessons and try the techniques on your own projects.
The content is released over six weeks. Lifetime access means you can learn at your own pace and revisit individual techniques whenever you need. You decide whether and when to take the optional exam.
How many videos are included?
The course includes 41 videos with over 19 hours of instruction. They cover the foundations, introductions and measurements for eight real people, and 17 detailed examples using different garments.
Can I enroll now and start later?
Yes. Lifetime access means you can enroll now and work through the course later at your own pace. You don’t need to arrange a separate start date to do this.
If you would also like the lesson releases and accompanying emails to begin later, email your preferred start date to [email protected] after enrolling. We’ll be happy to arrange a delayed start.
How many times can I take the exam?
You can take the exam up to three times.
Does the course show how to pin fitting adjustments on myself?
Yes. At the beginning of the course, Stefan Wimmer explains how to carry out fittings on yourself.
Is there an additional fee for the exam?
No. The multiple-choice exam is included in the course.
Does the course cover every fitting issue?
The course addresses a wide range of fitting issues drawn from Stefan’s experience with over 30,000 client fittings.
If we identify a topic that needs additional coverage, we will film and add further videos. All future course updates are included.
How much sewing experience do I need?
Perfect Fit Mastery was originally developed as advanced training for master tailors, drawing on 45 years of bespoke tailoring and over 30,000 fittings.
You don’t have to be a professional. If you are a dedicated sewist, can work accurately and independently, and have already carried out fittings on yourself or someone else, you can apply this knowledge to your own garments too.
You do not need to be enrolled in the Masterclass. If you started sewing with our Masterclass and had no previous sewing experience, we recommend reaching at least Unit 12 before beginning this course.
You can enroll now and begin learning later. Lifetime access allows you to work through the course at your own pace.
Still have a question?
I’m happy to help.
Start Perfect Fit Mastery today
And unlock your first unit immediately.
USD 1,870
A 7-day money-back guarantee, no questions asked.