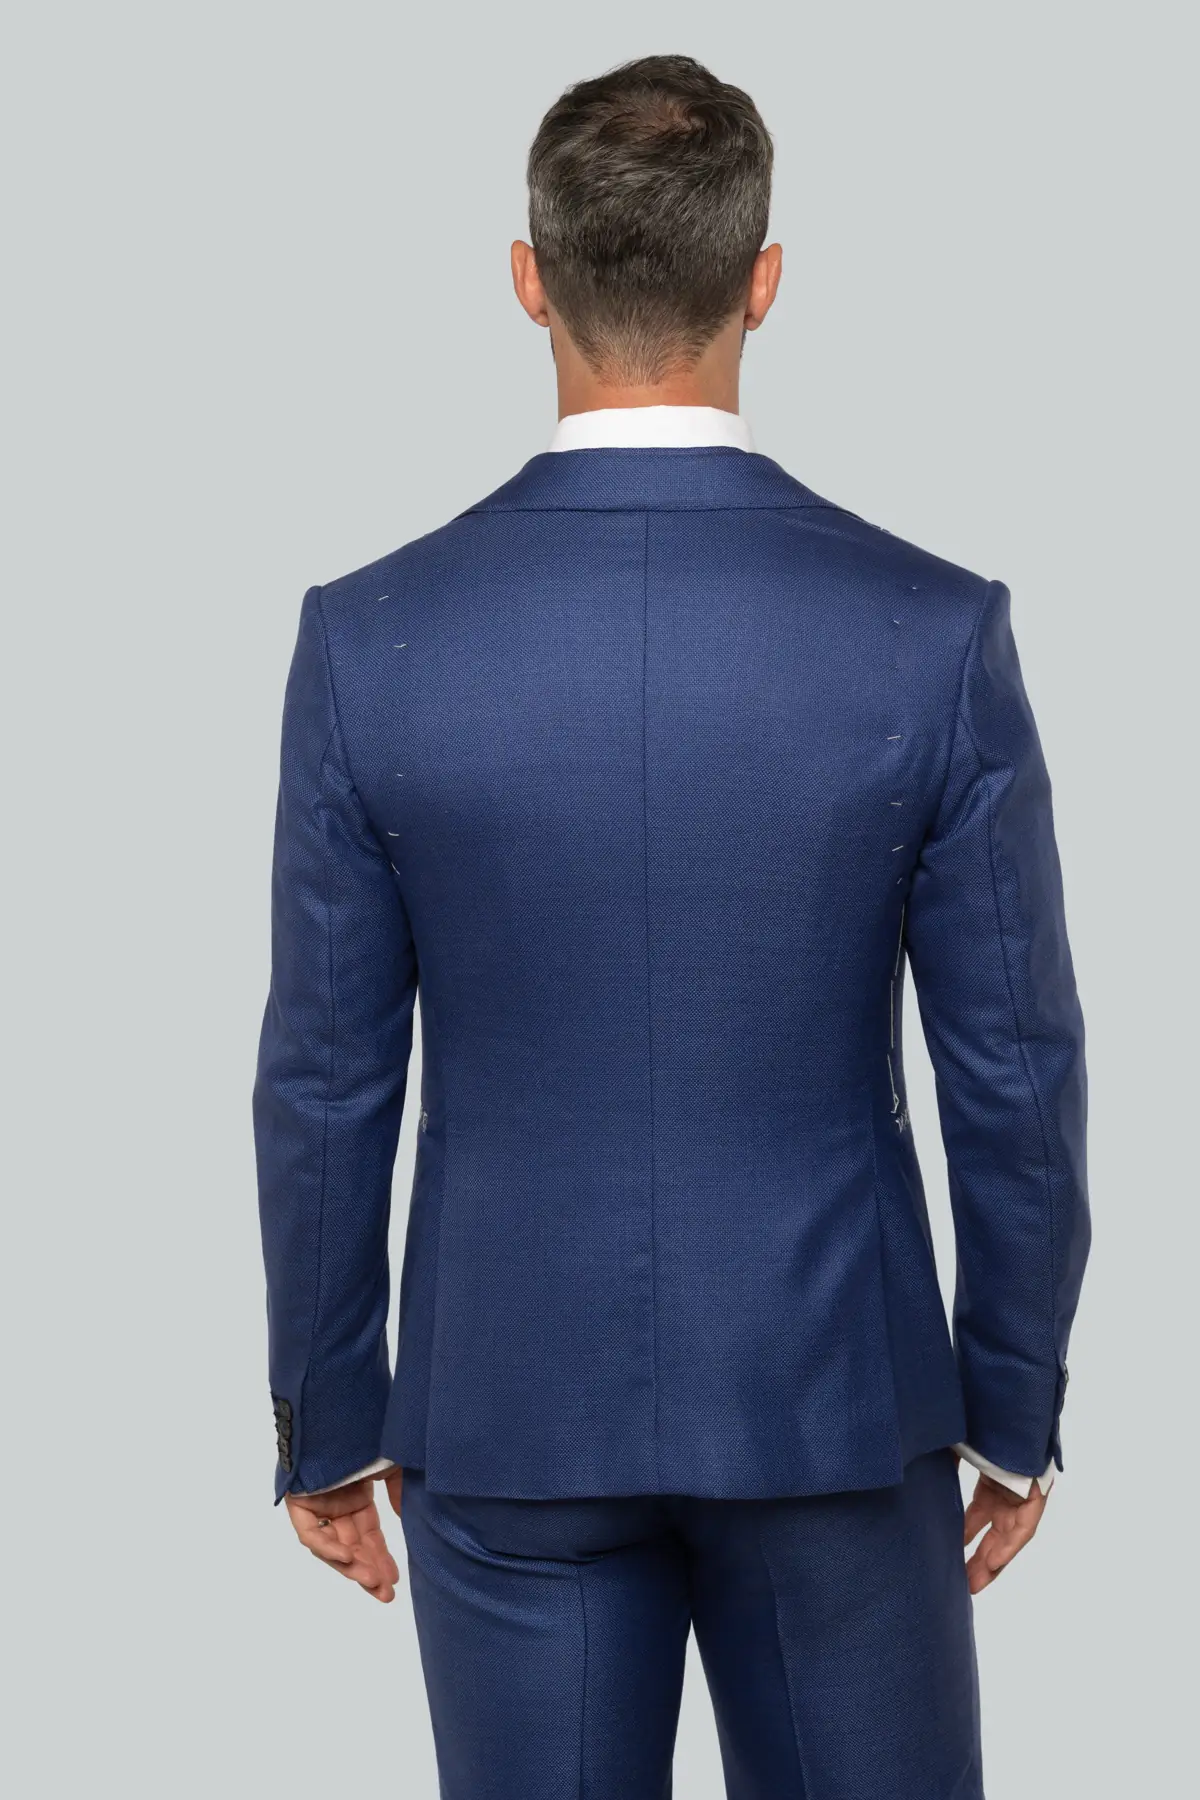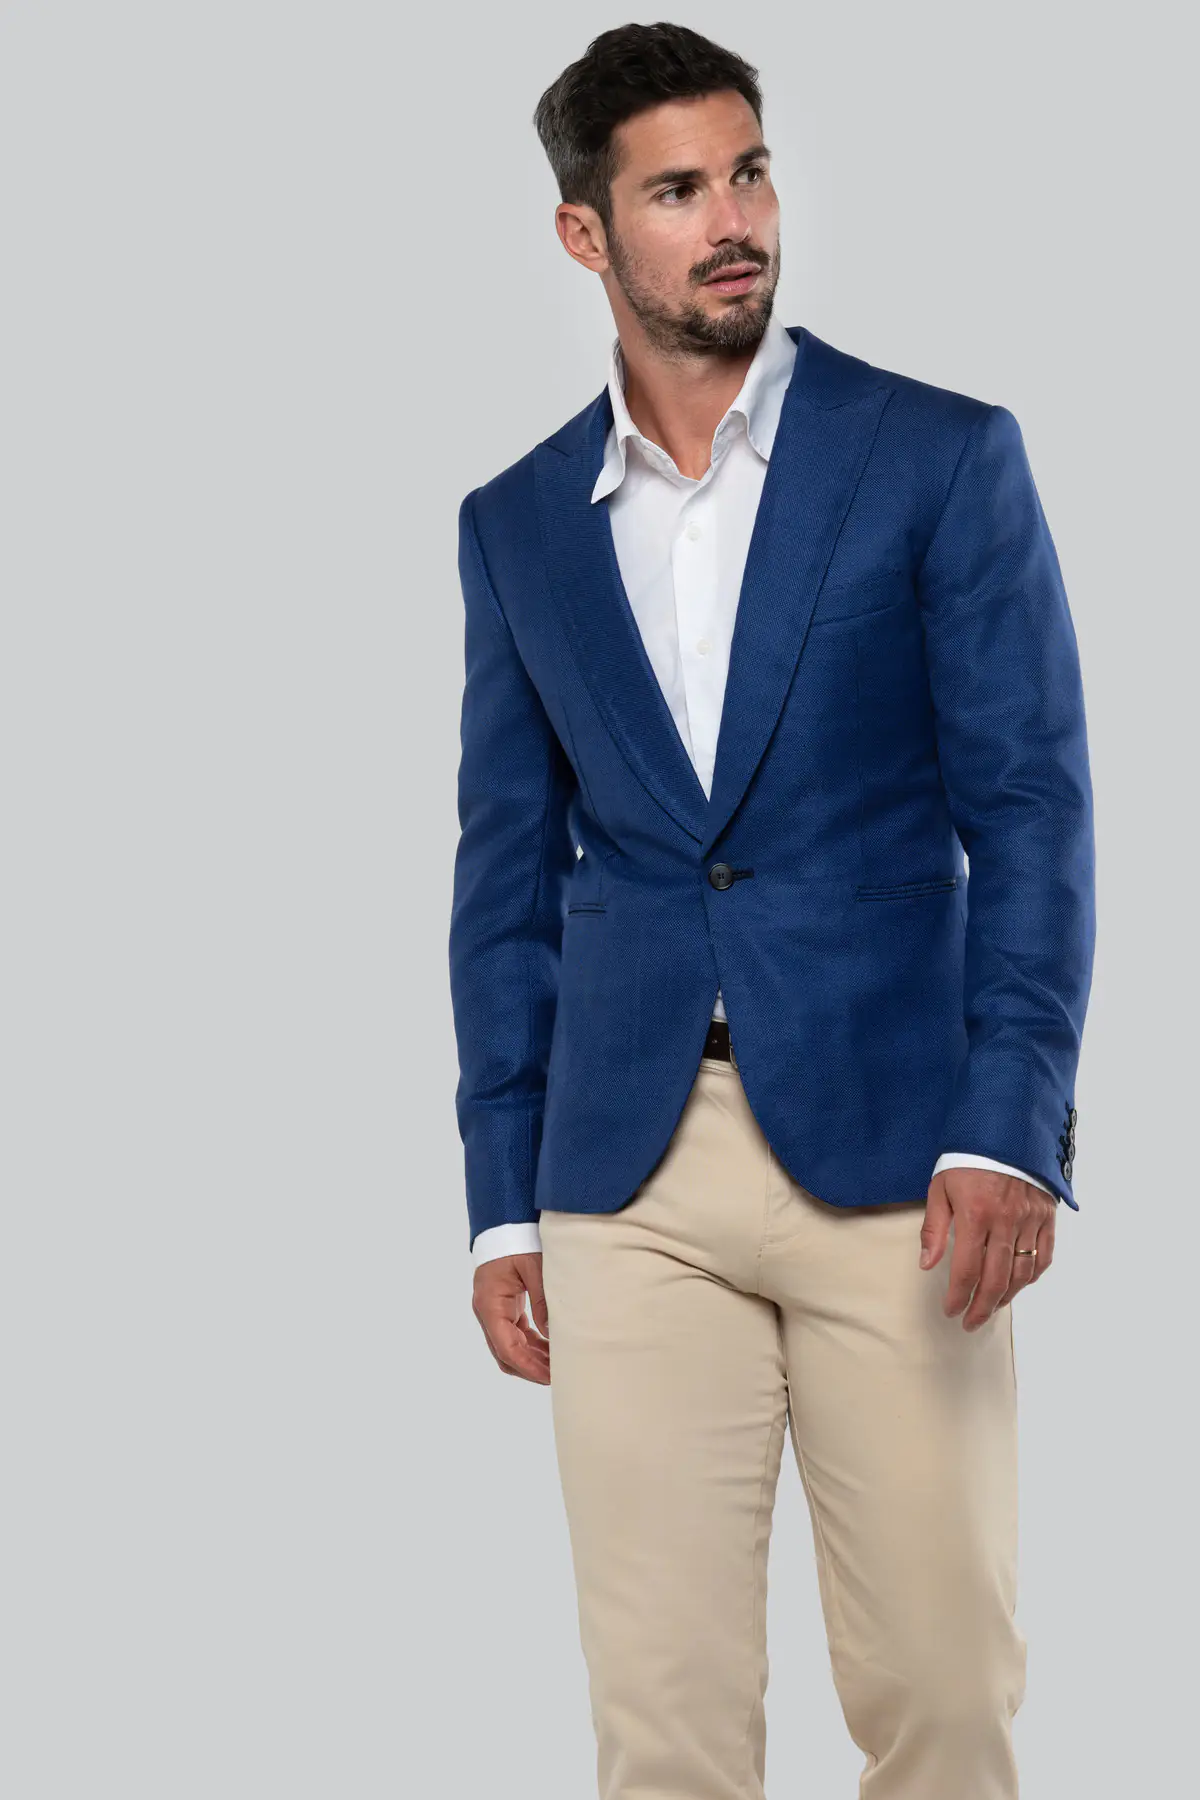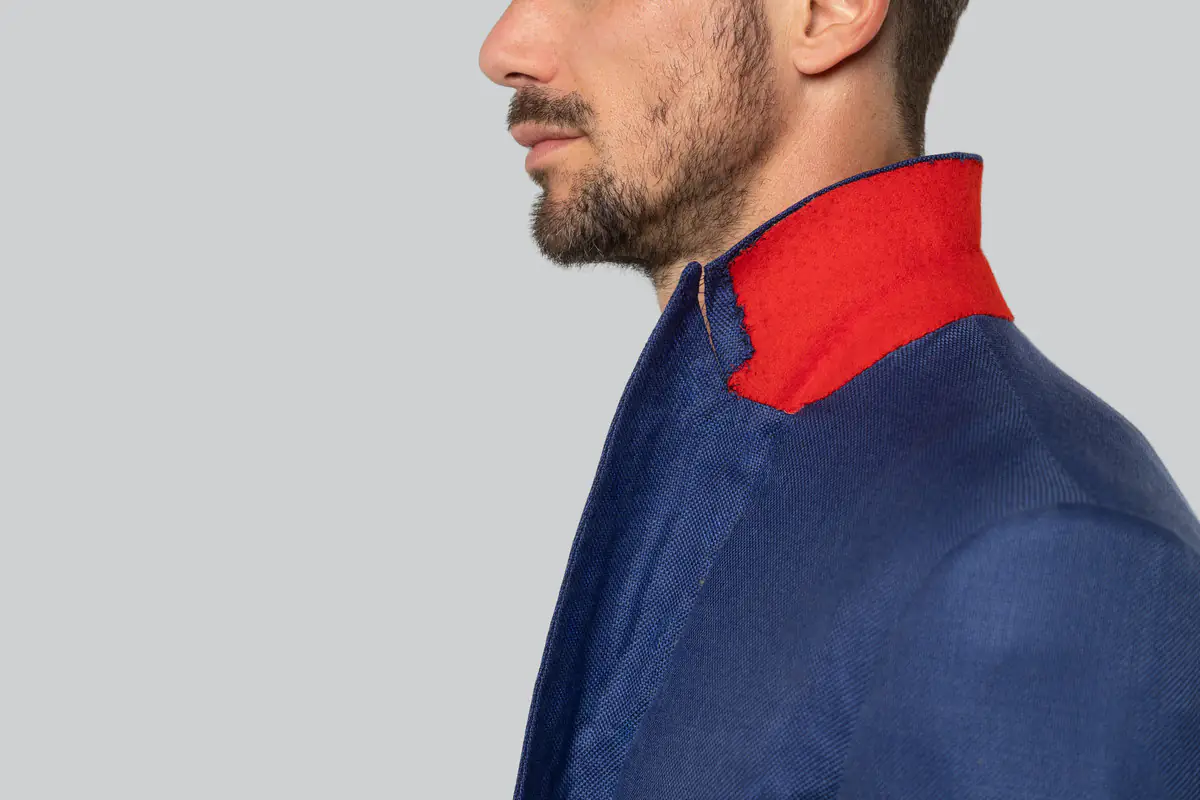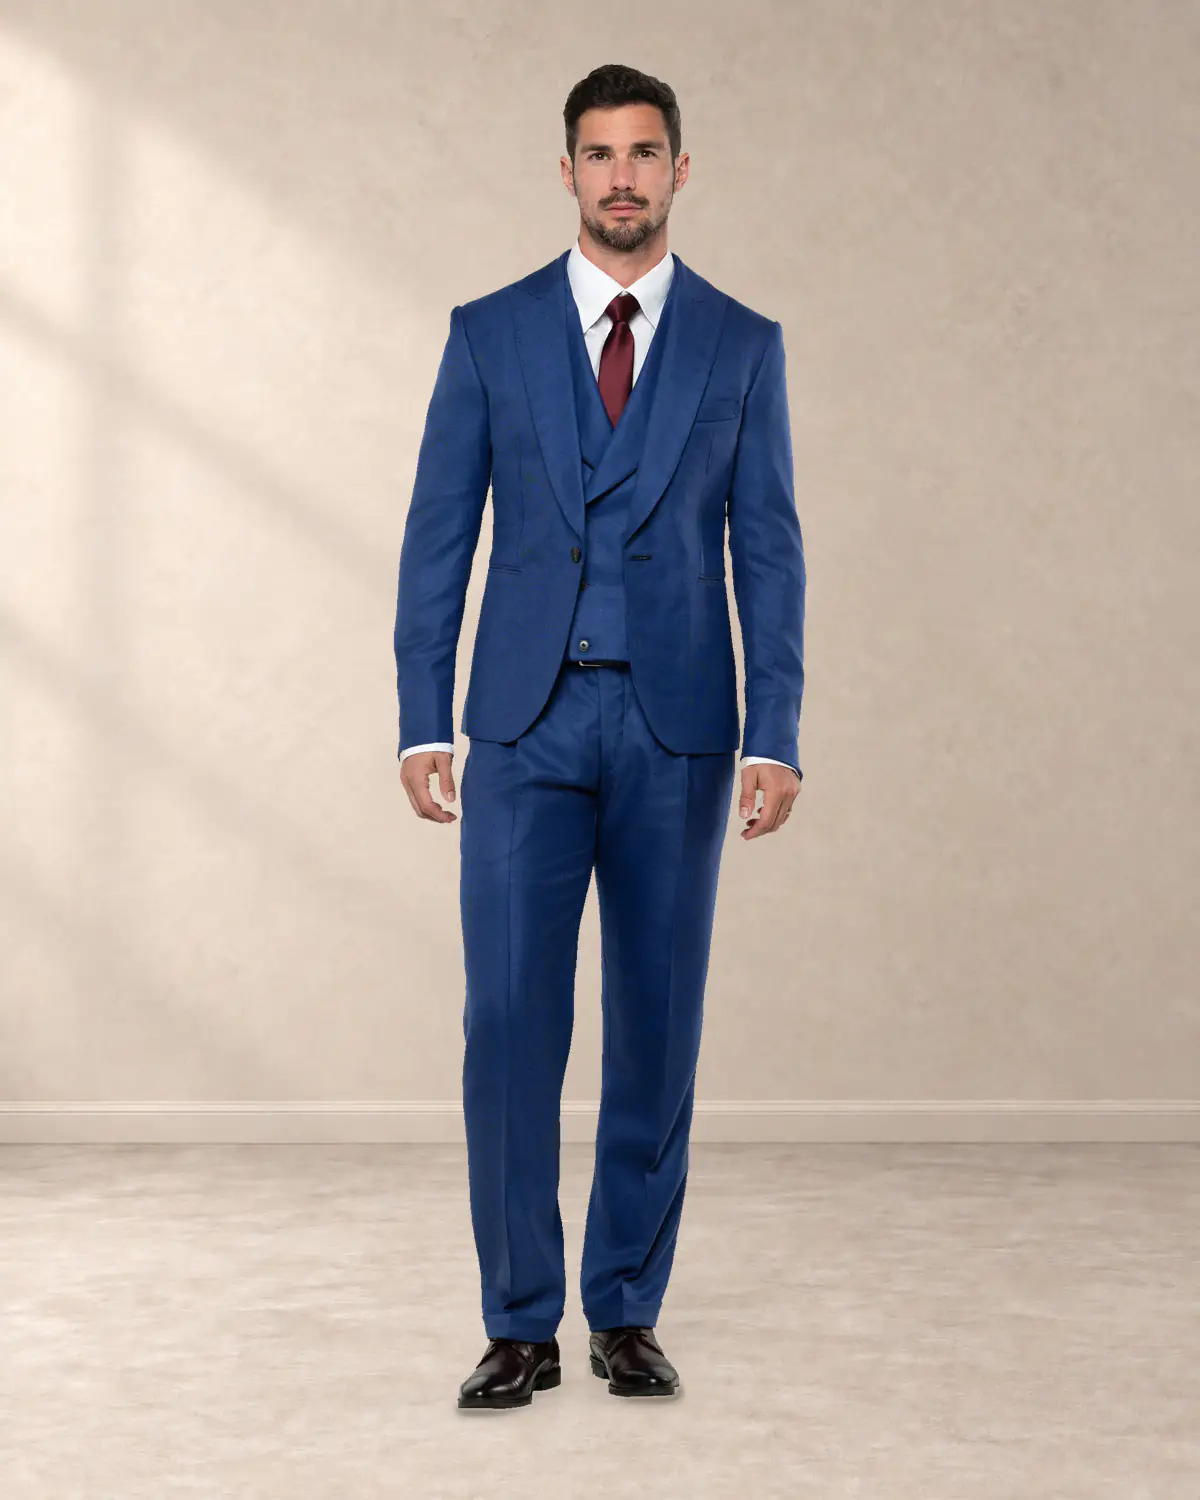
ONLINE MEN’S TAILORING COURSE
Master the Craft of Bespoke Menswear
Sew beautifully tailored menswear, from waistcoats to a hand-finished suit jacket. An in-depth online course for experienced sewists.
4.8 / 5
Based on 1,529 reviews
13 Menswear Projects
From waistcoats to a full-canvas jacket
Full Size Range Included
Professional patterns with a license for client work.
Step-by-Step Video Lessons
Watch, pause and replay every step
Personal Guidance
Expert answers to your sewing questions
Go Beyond Sewing. Step Into Tailoring.
You already know how to sew. Now learn to make finely tailored menswear with precise construction, careful shaping and traditional hand-sewing.
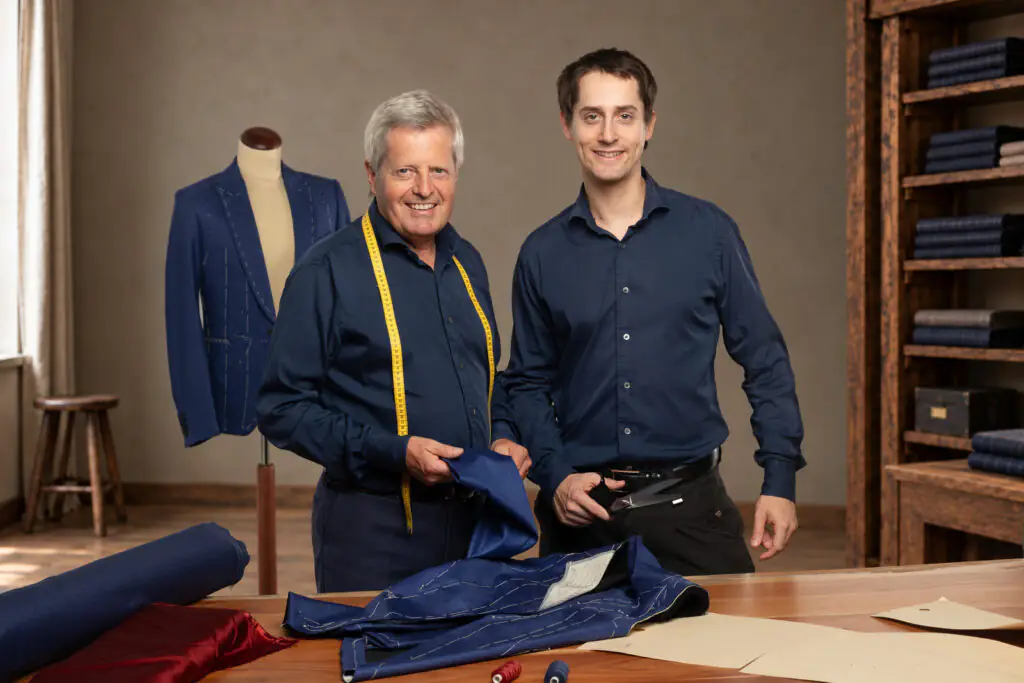
Across 13 complete garment projects, Stefan and Leonhard Wimmer show you how patterns, canvas and construction work together, and guide you as you put each technique into practice.
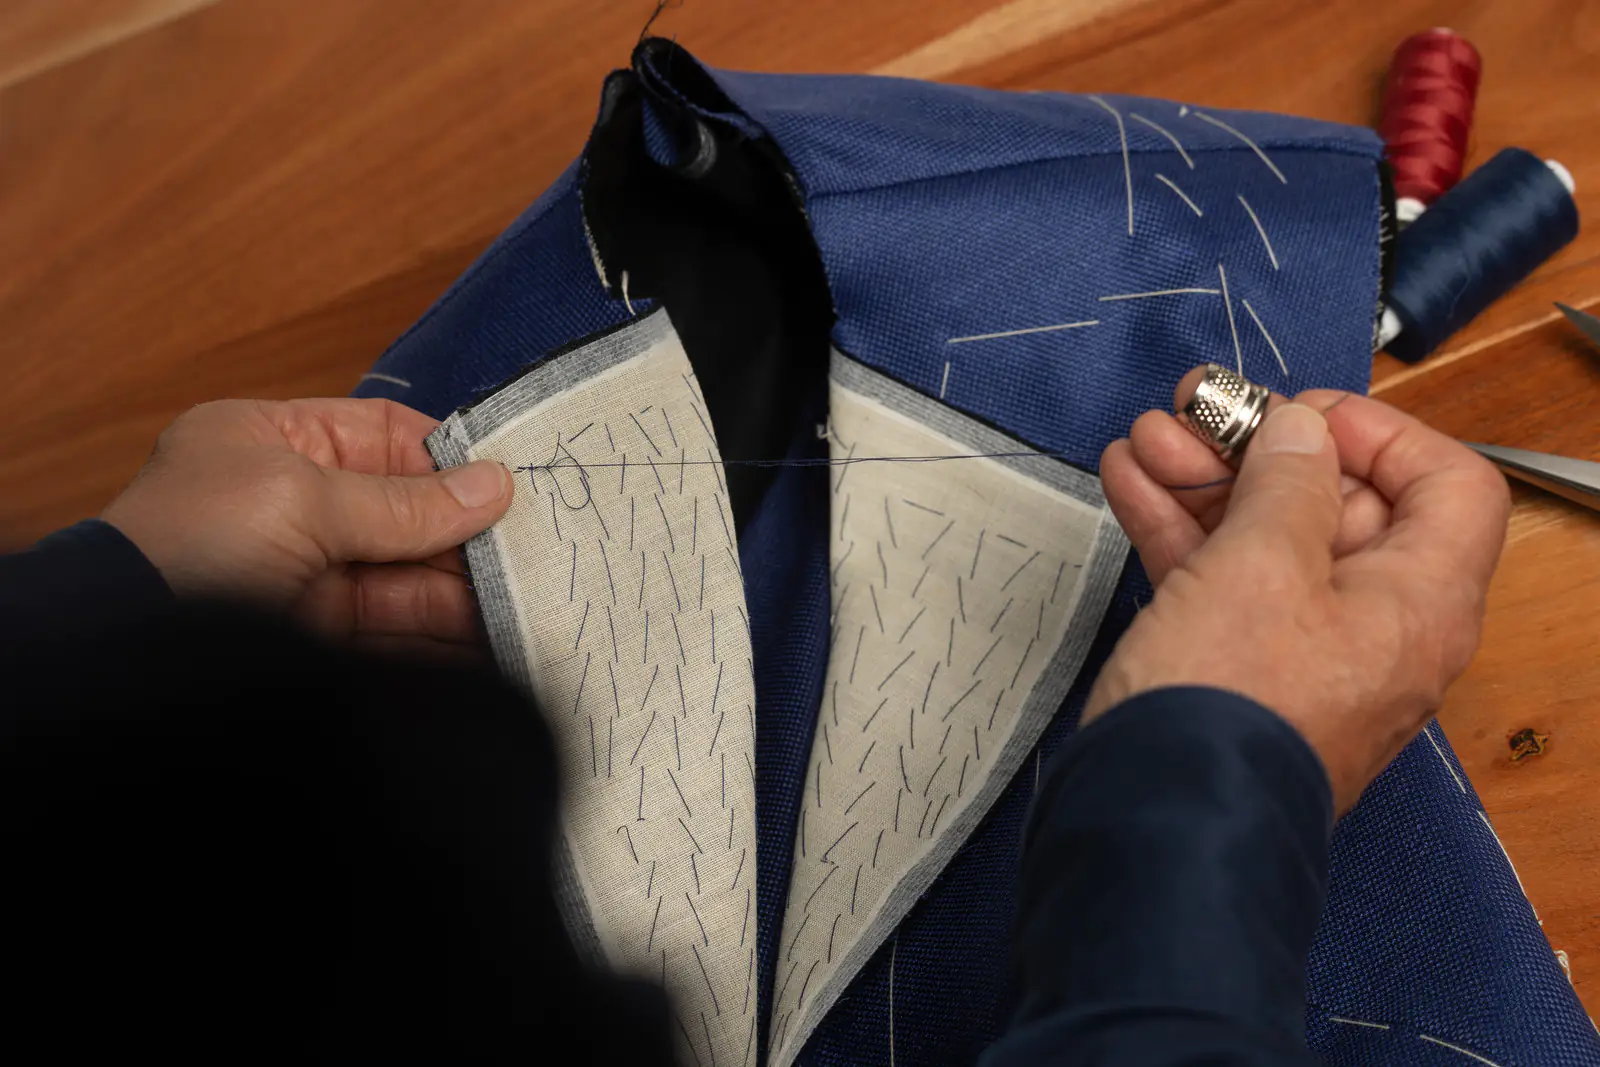
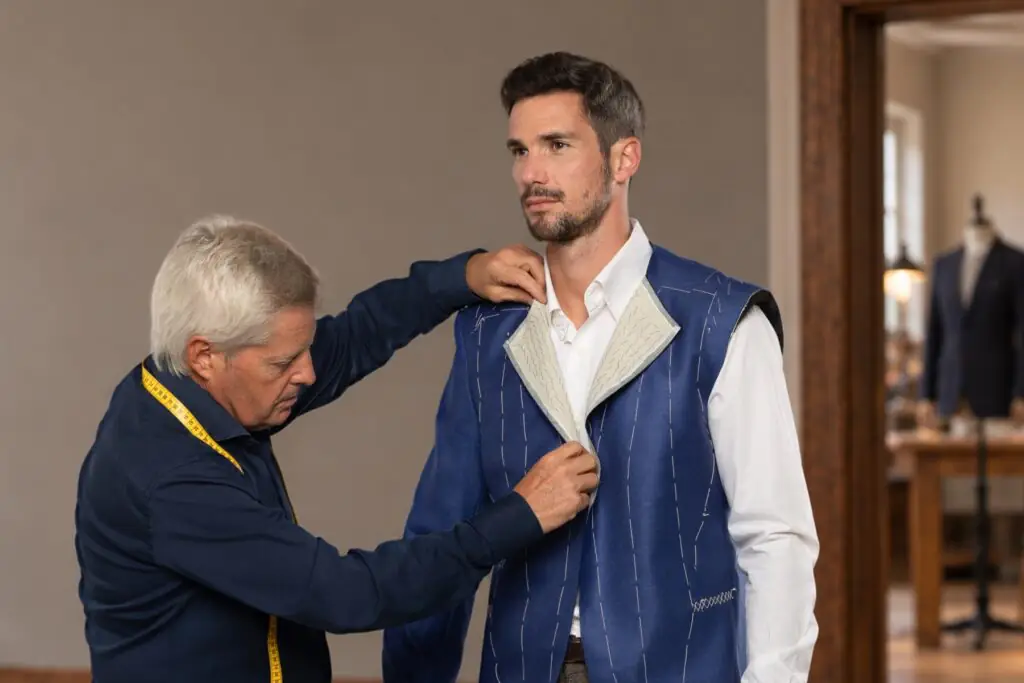
Canvas & Structure
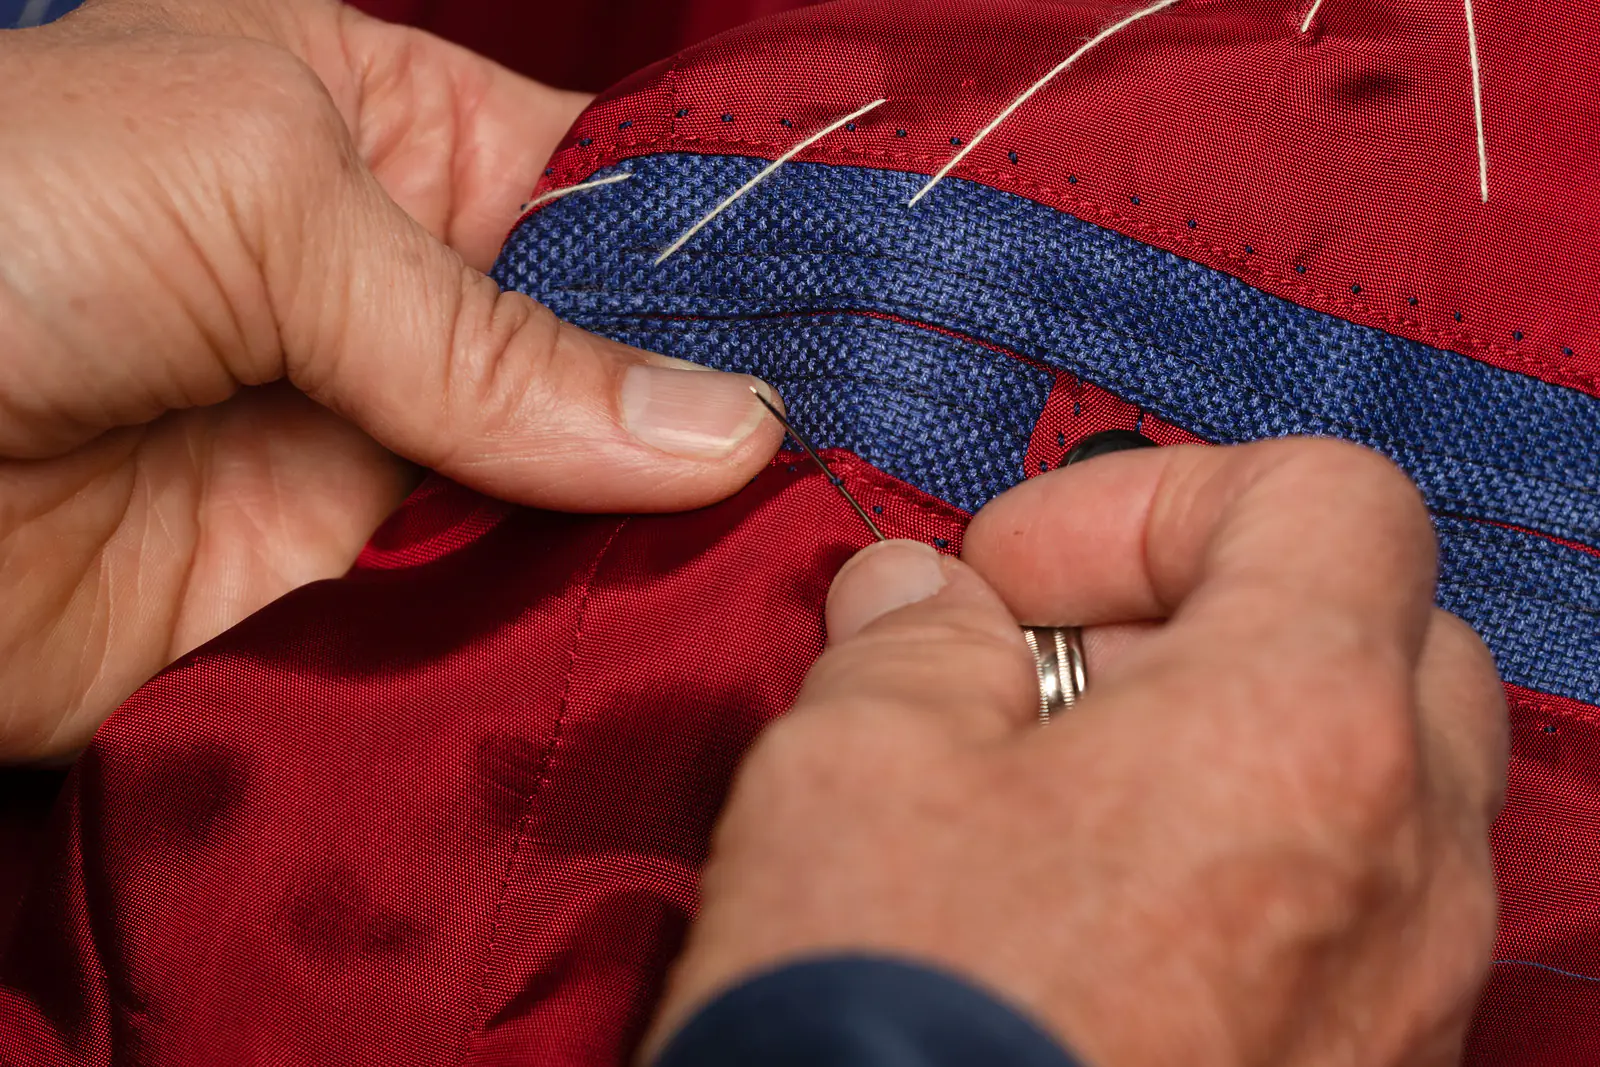
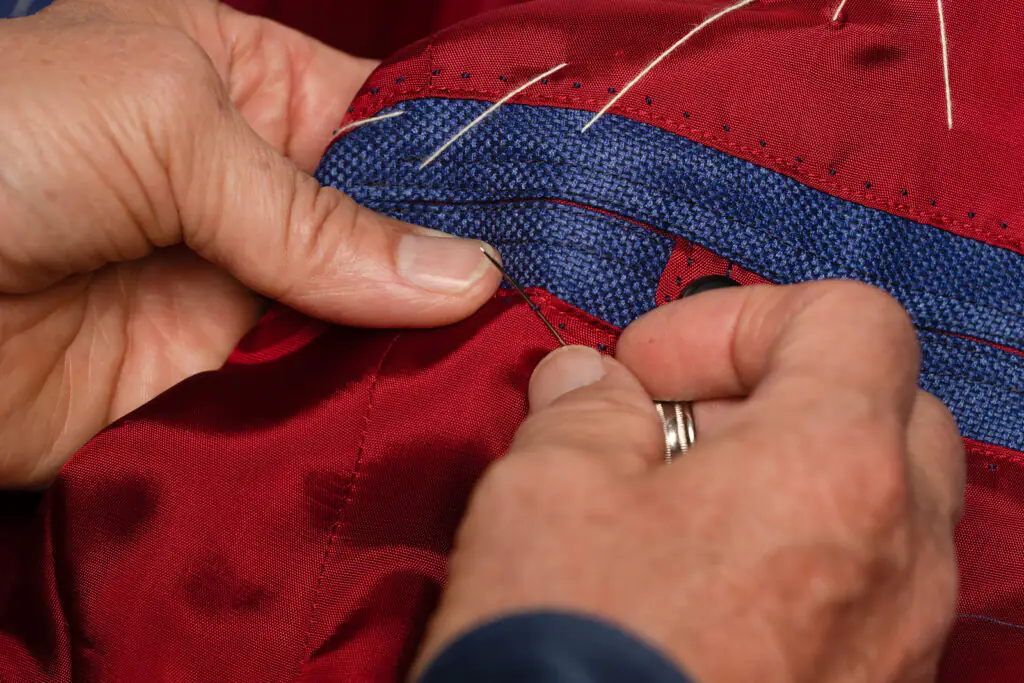
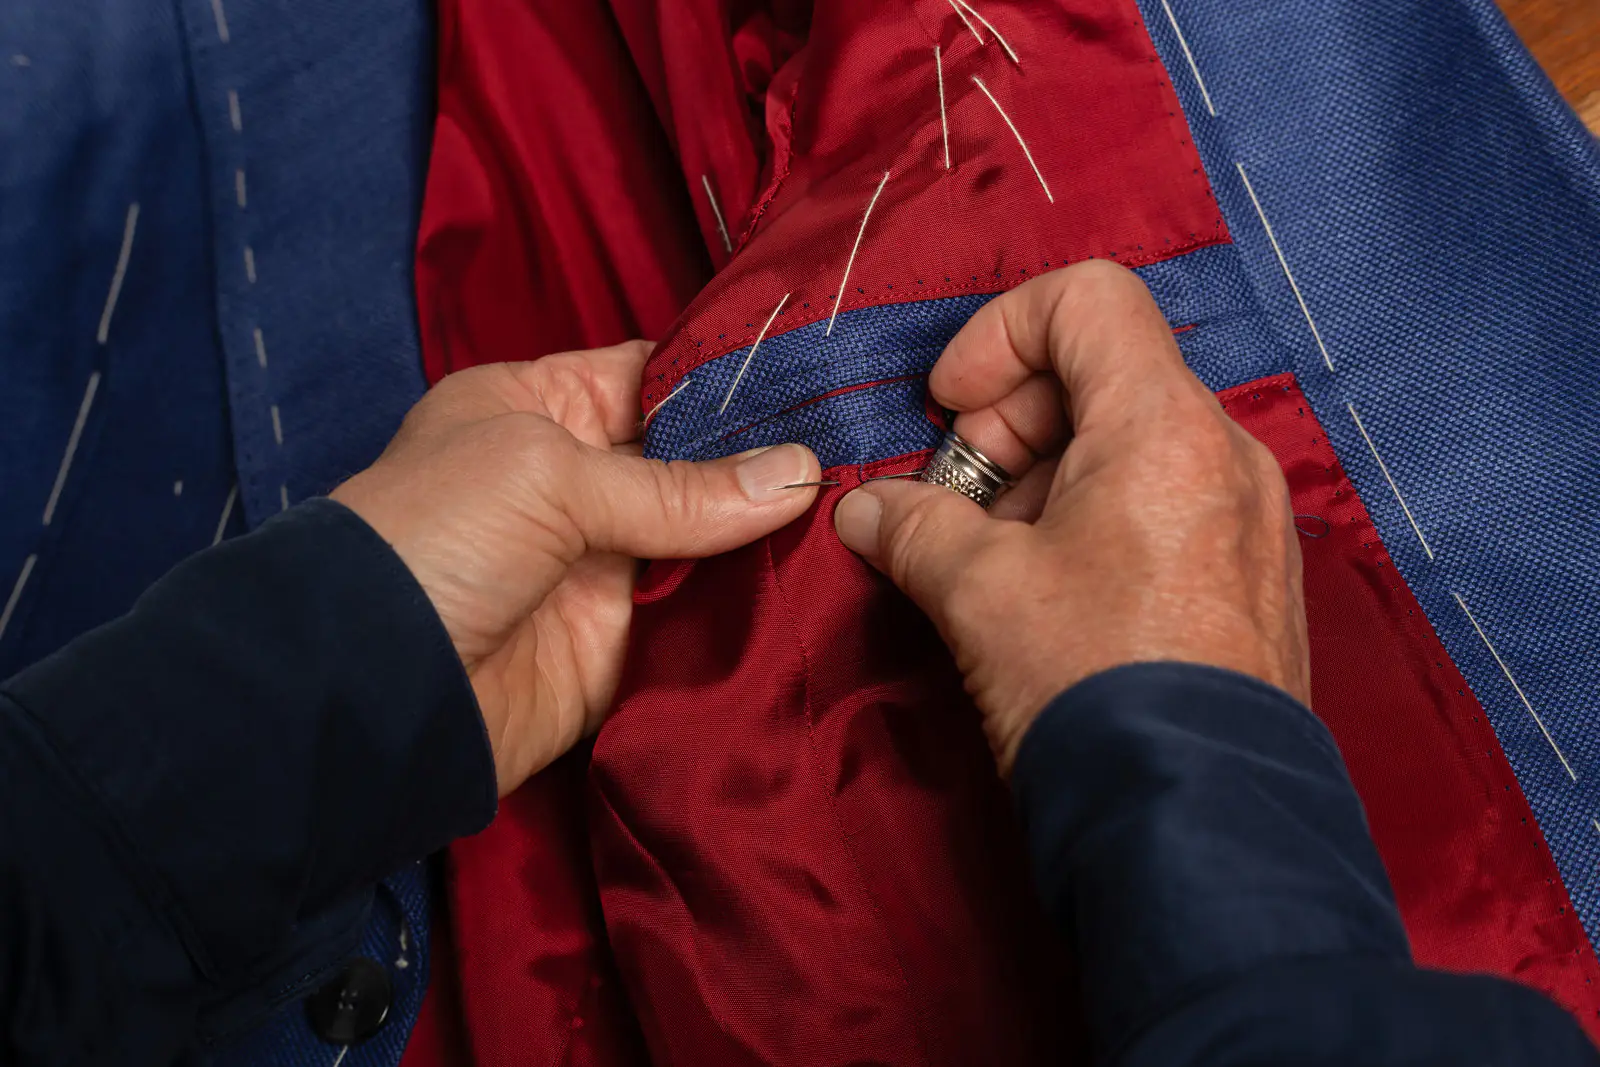
Hand Finishing
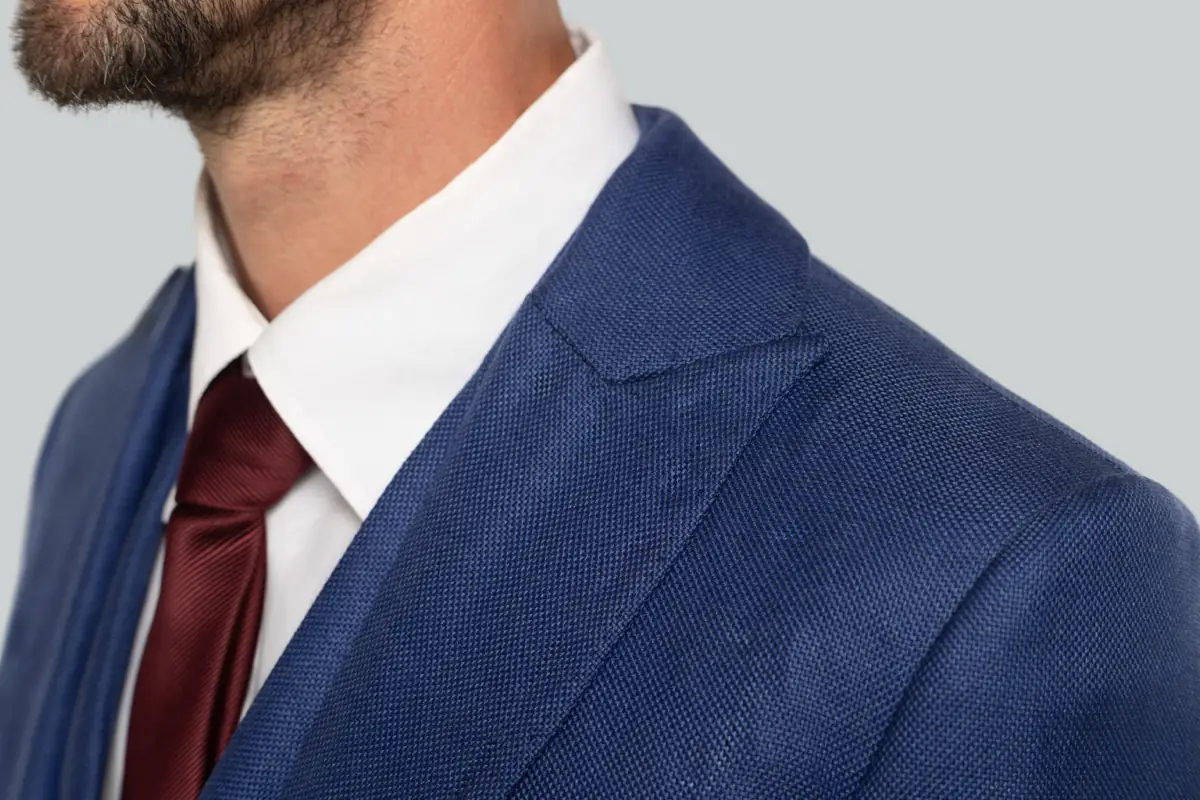
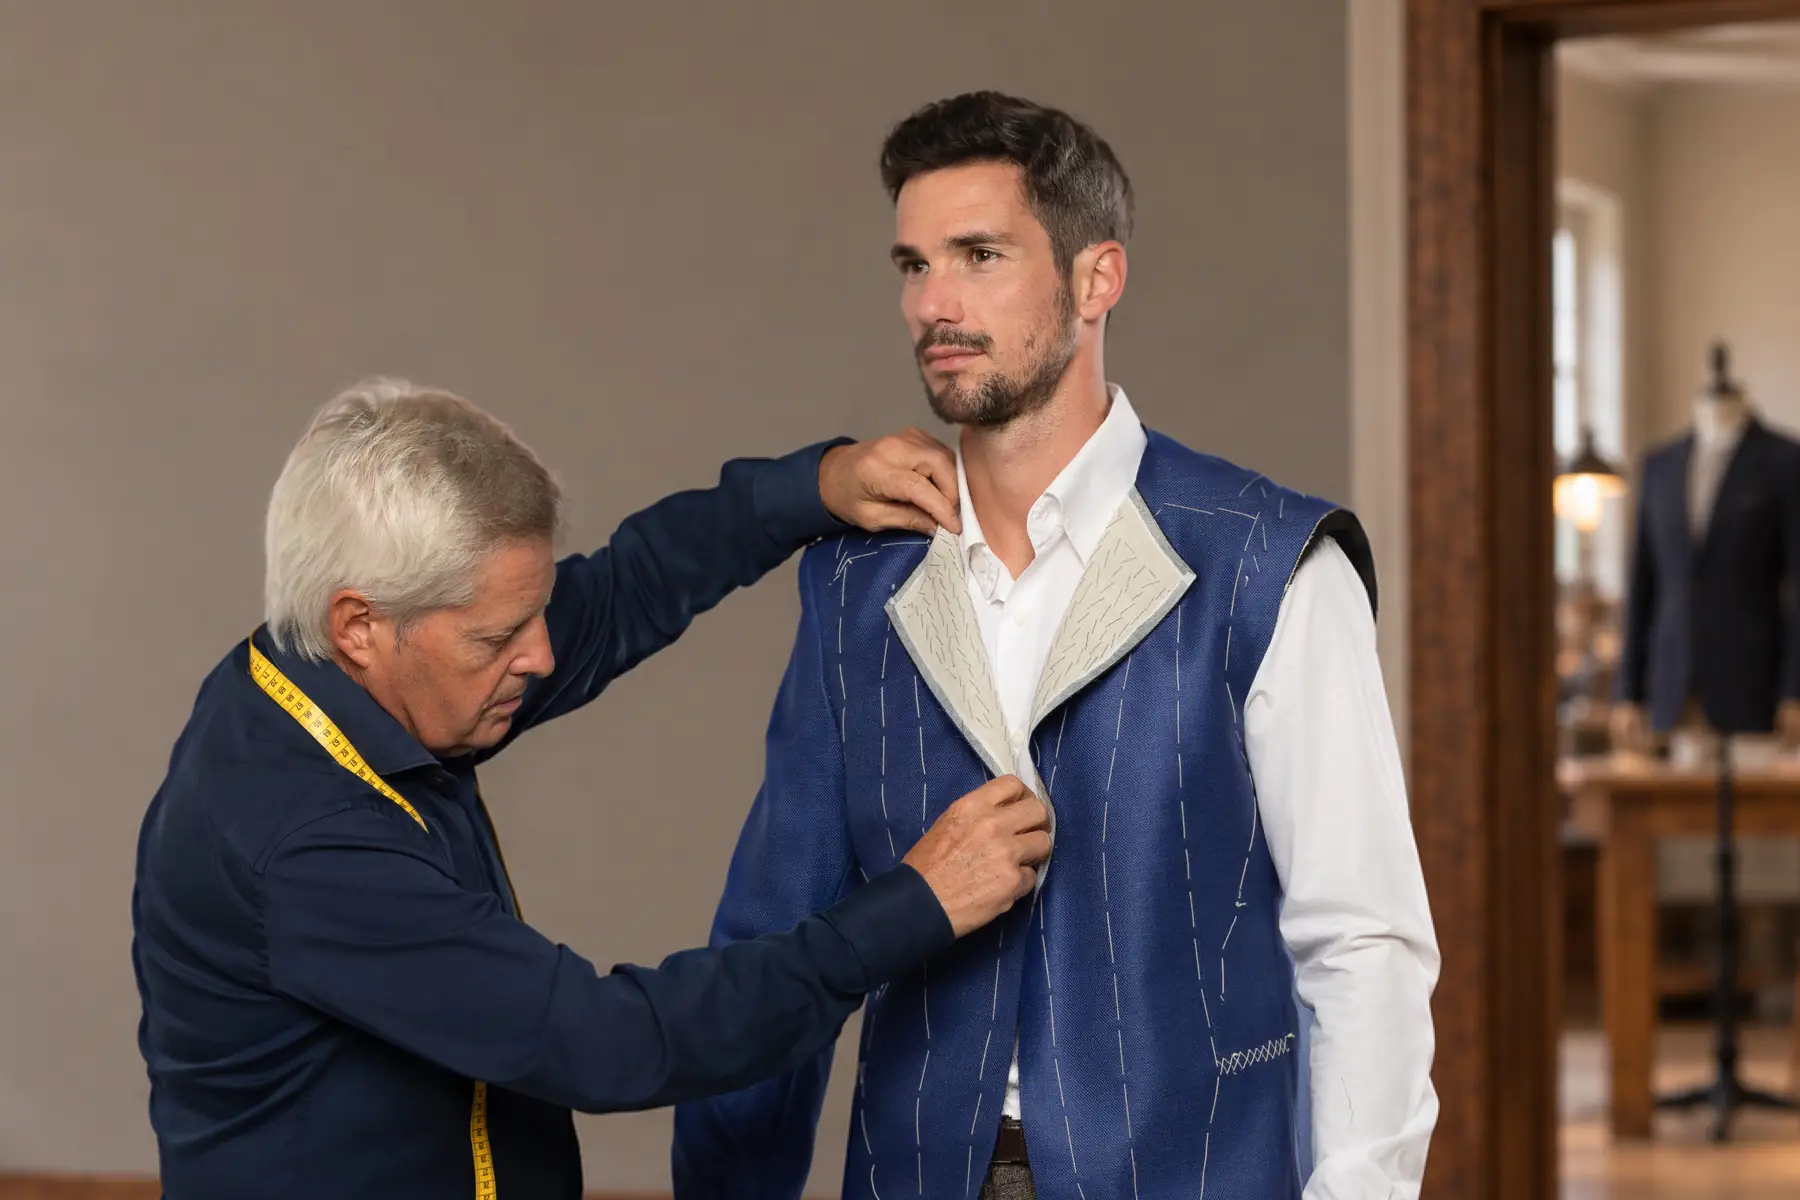
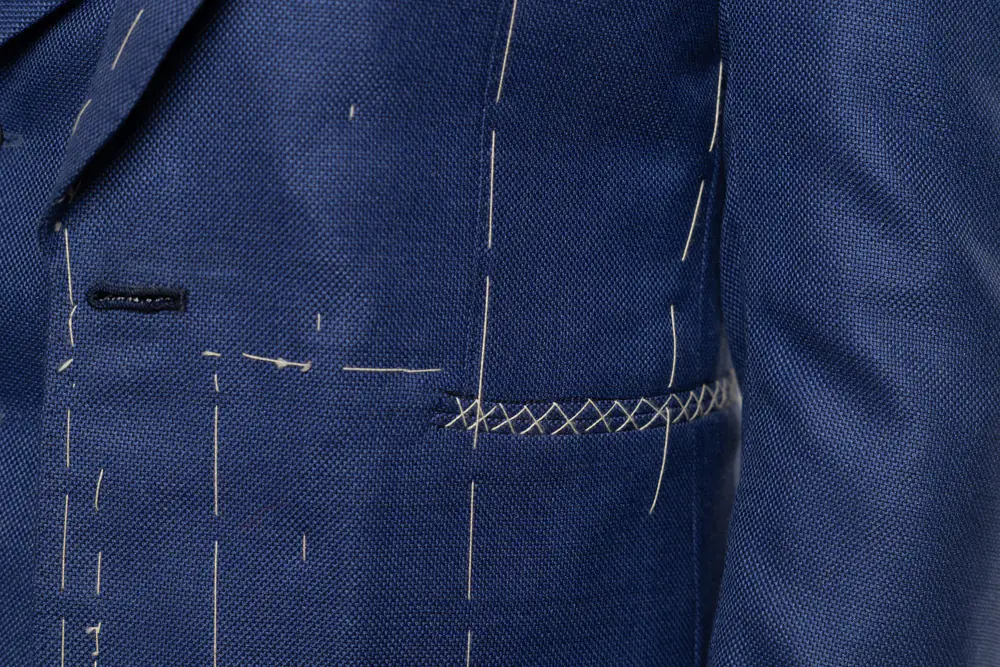
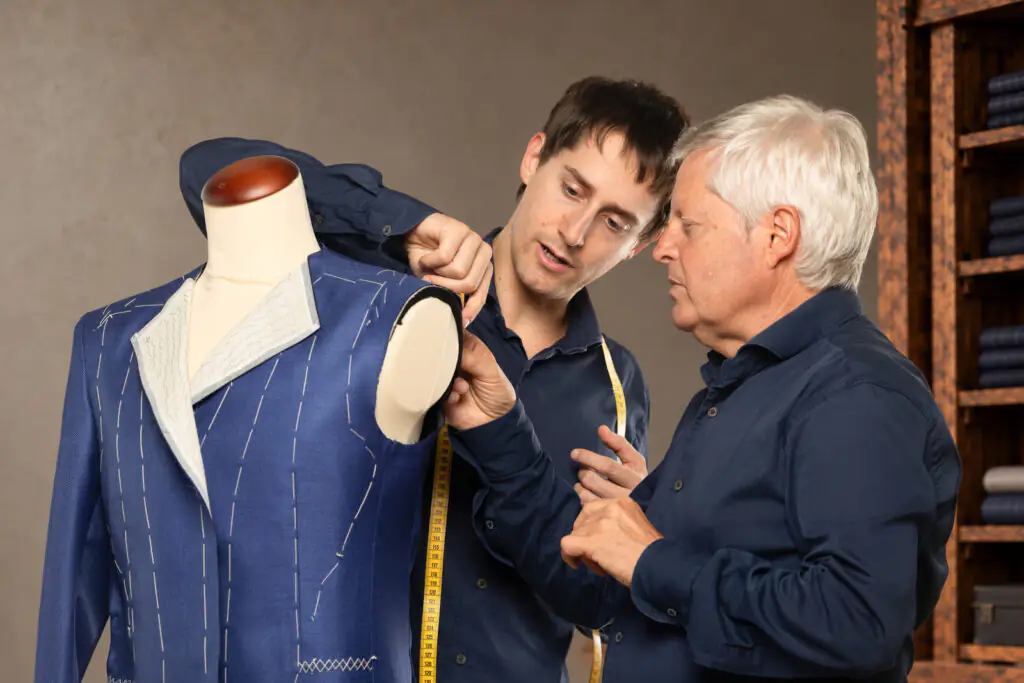
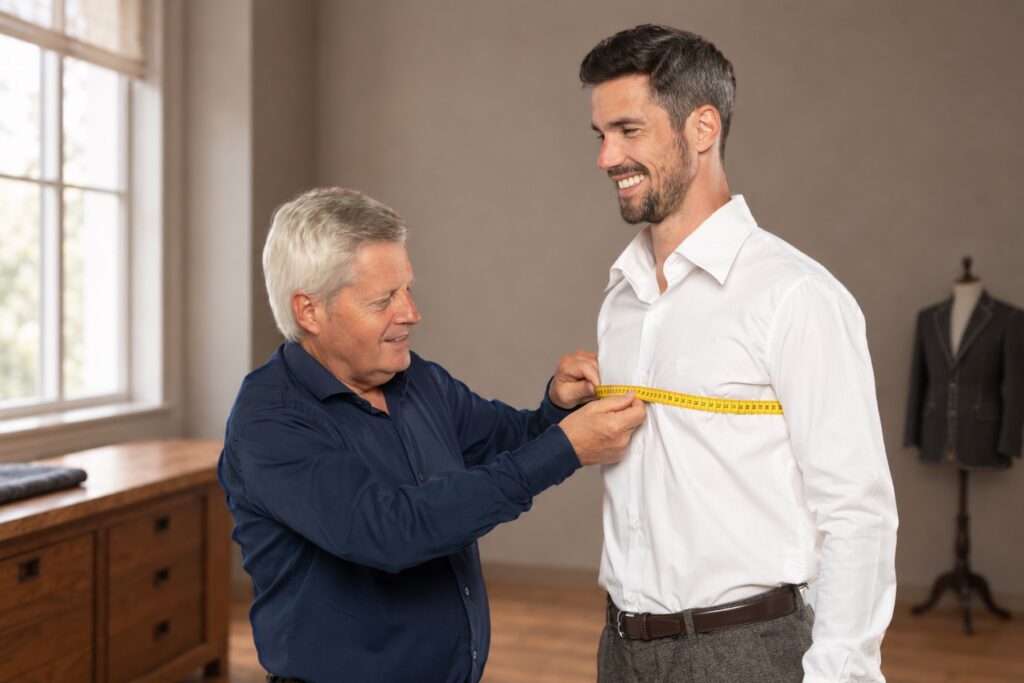
Preparing for a Fitting
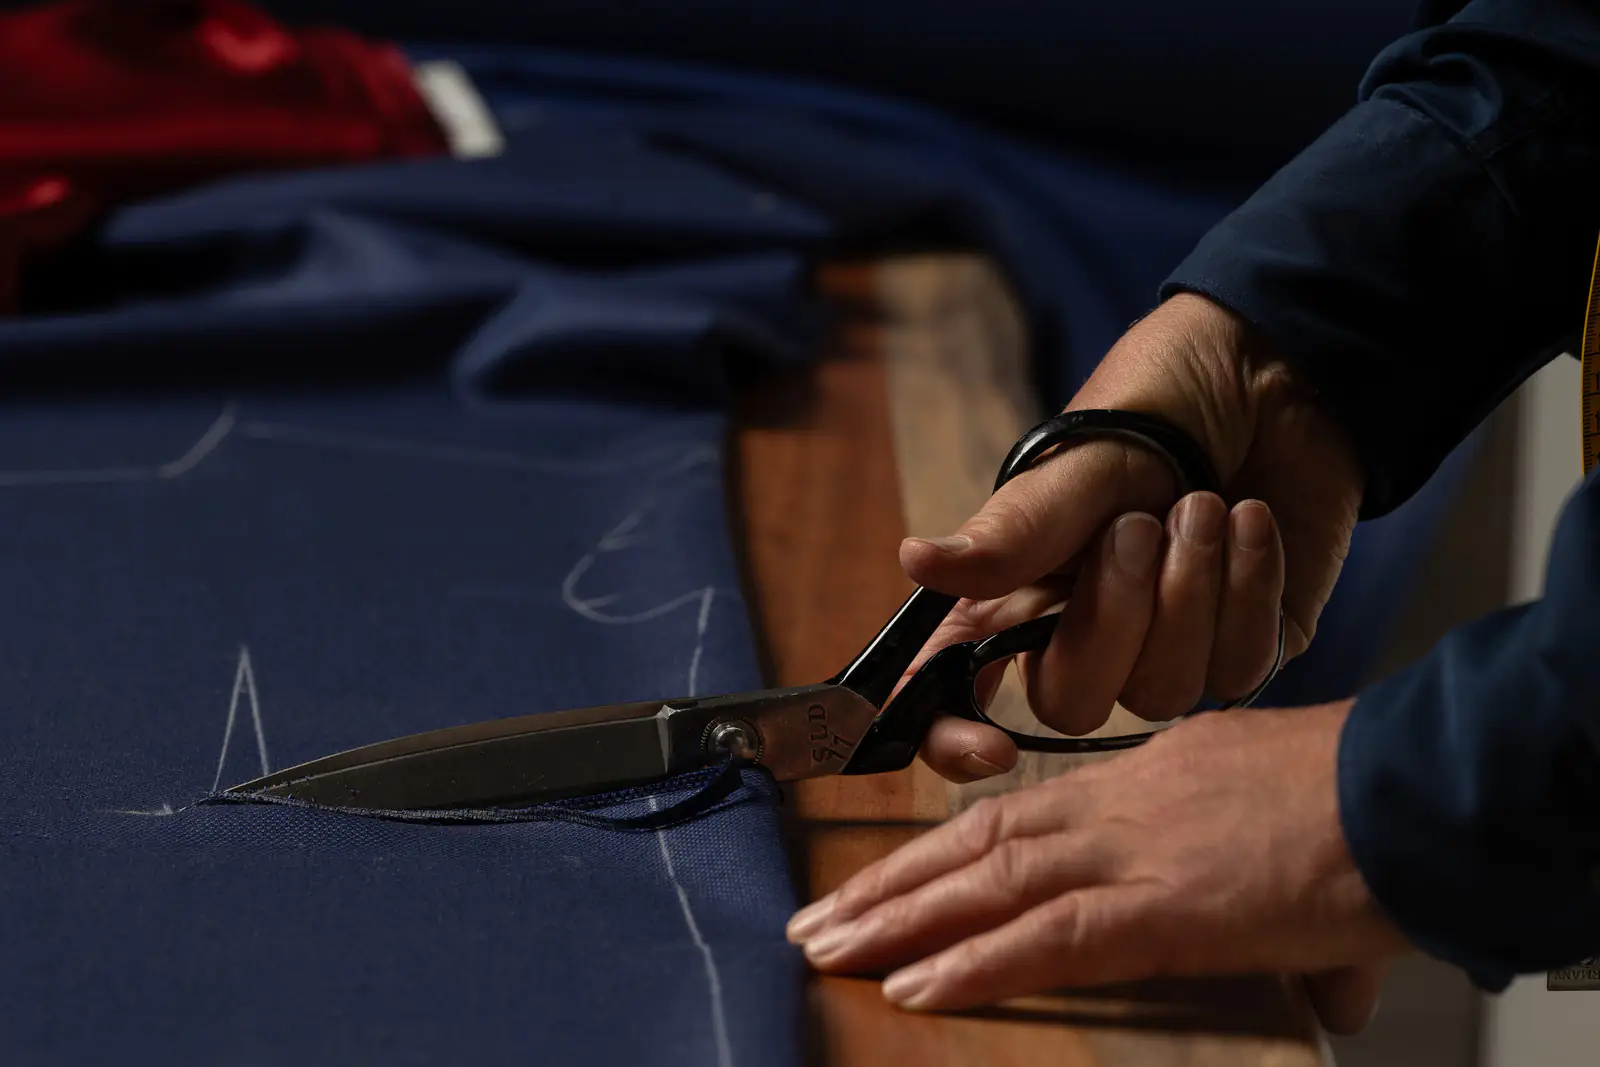
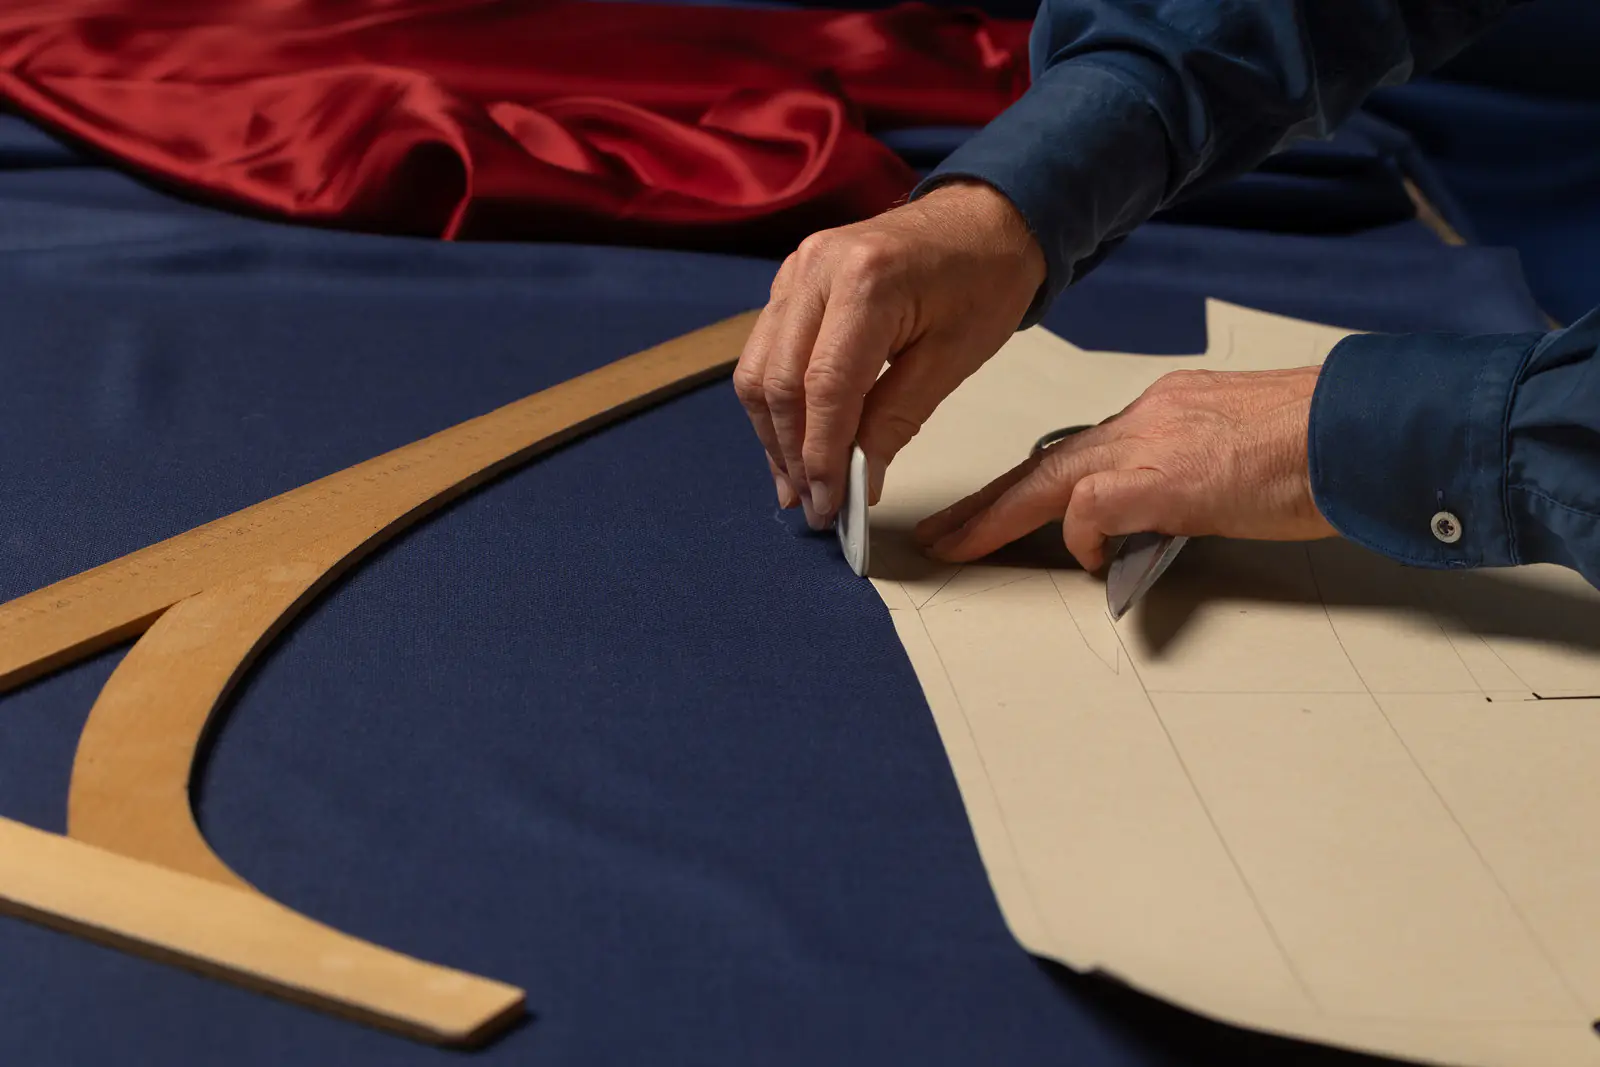
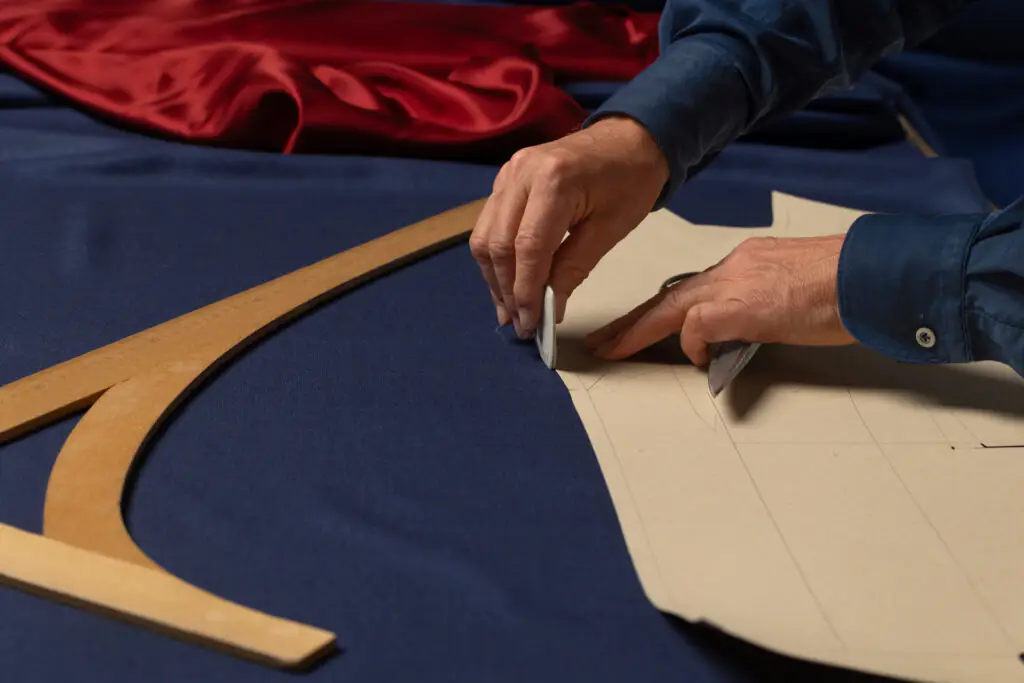
Cutting the Cloth
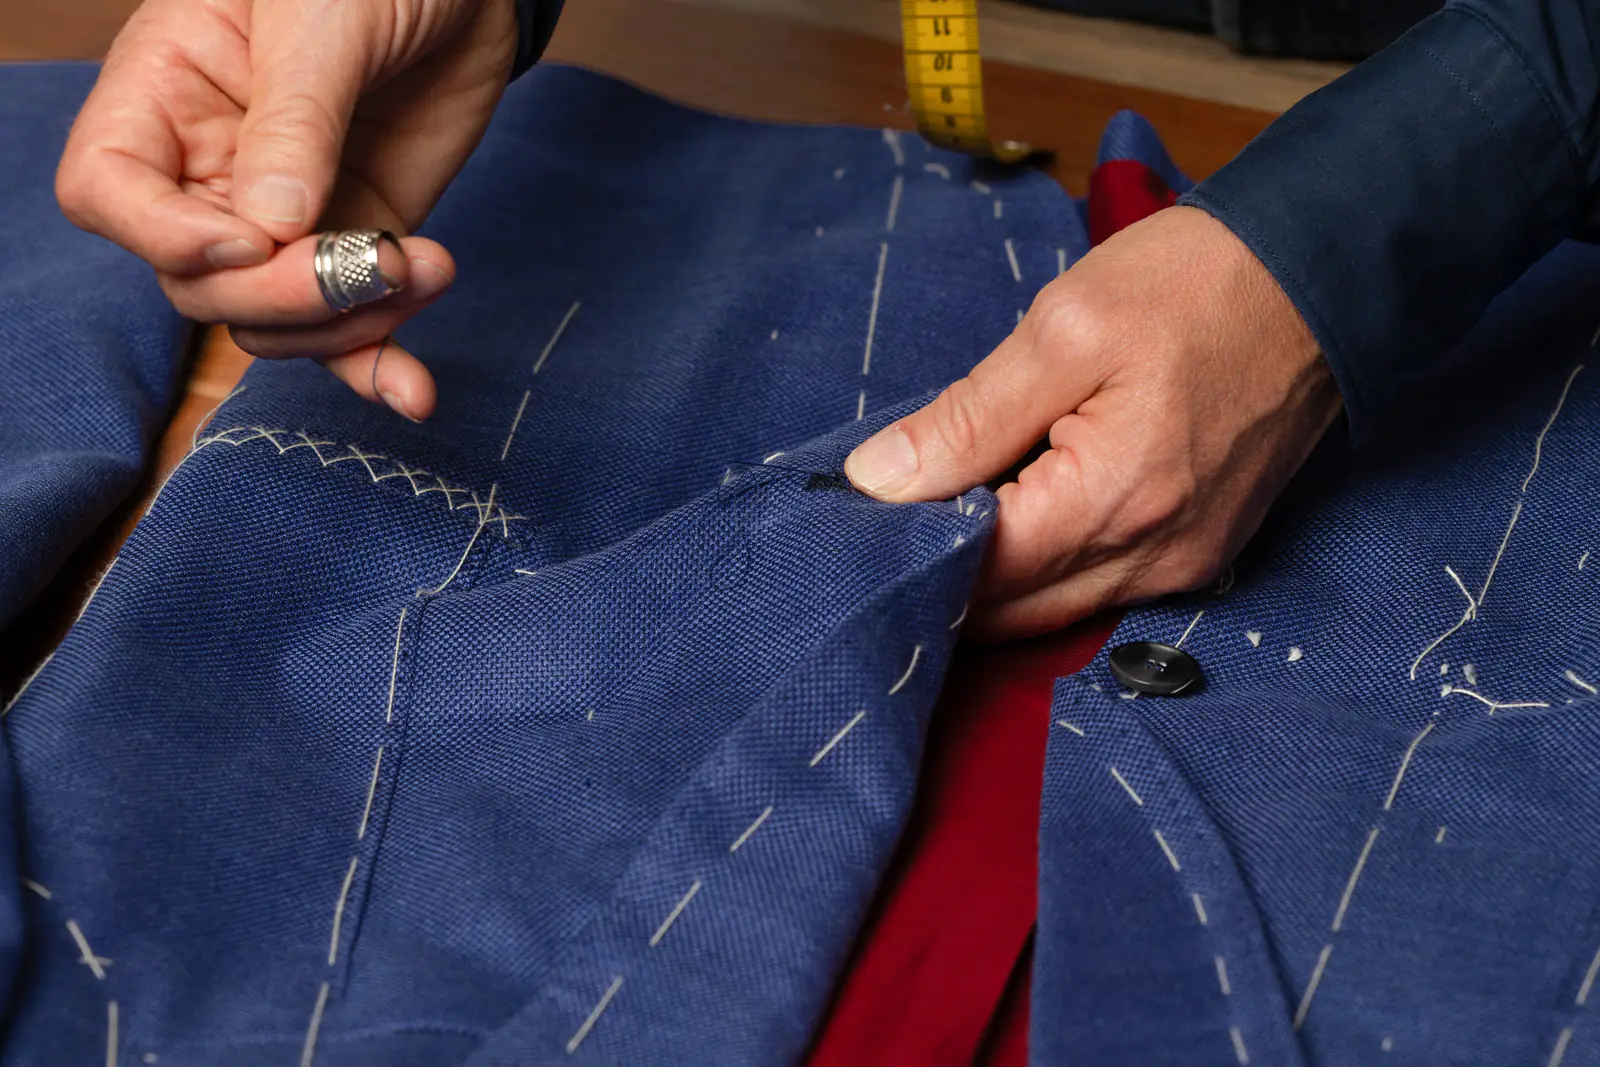
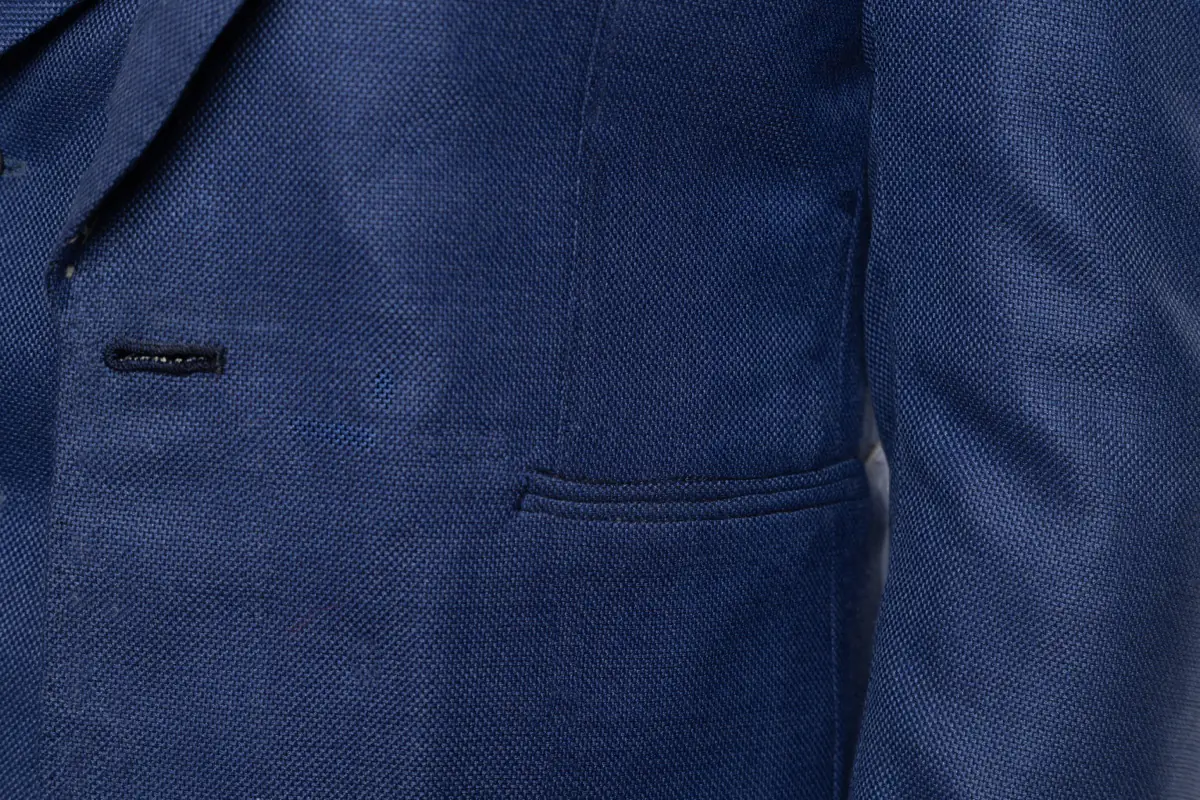
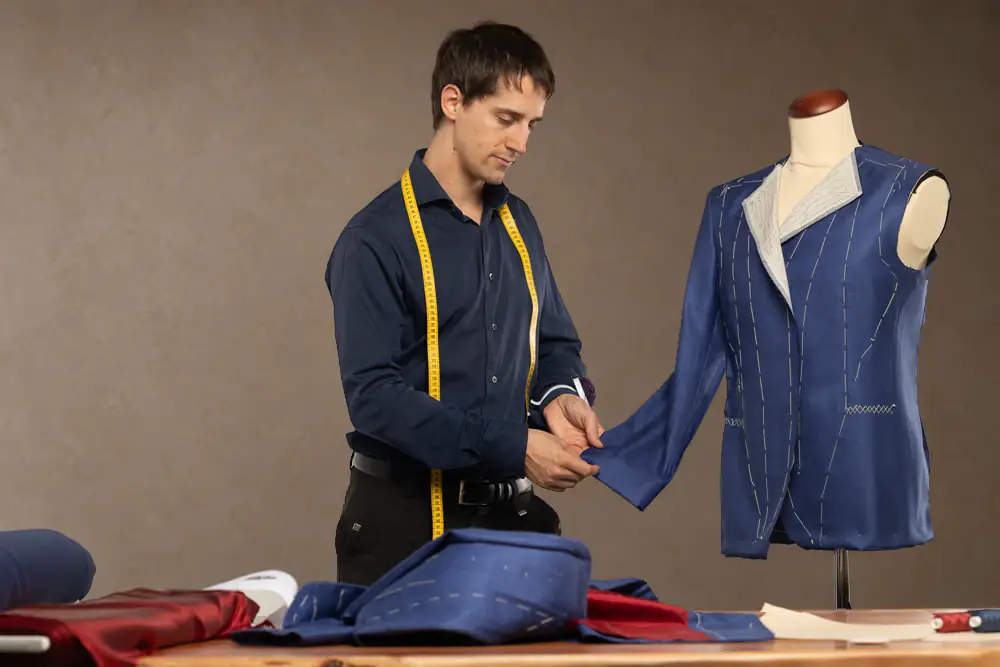
Careful Hand Stitching
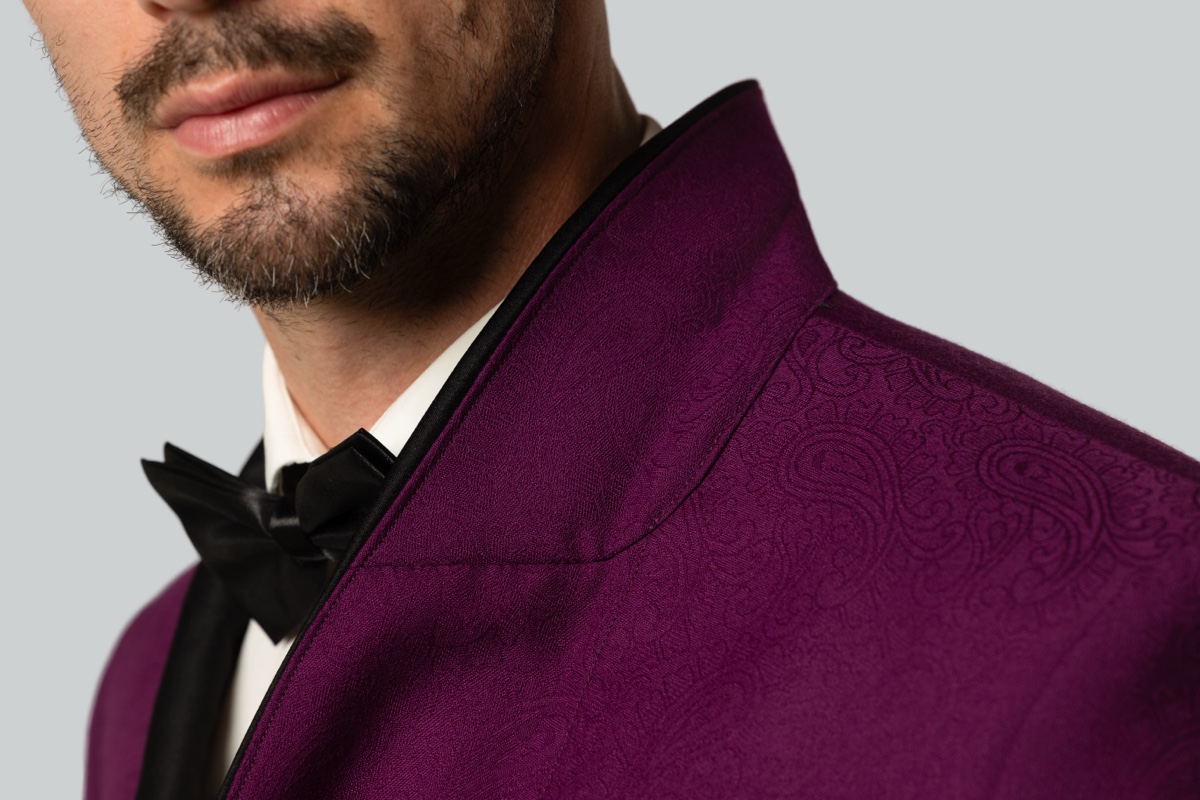
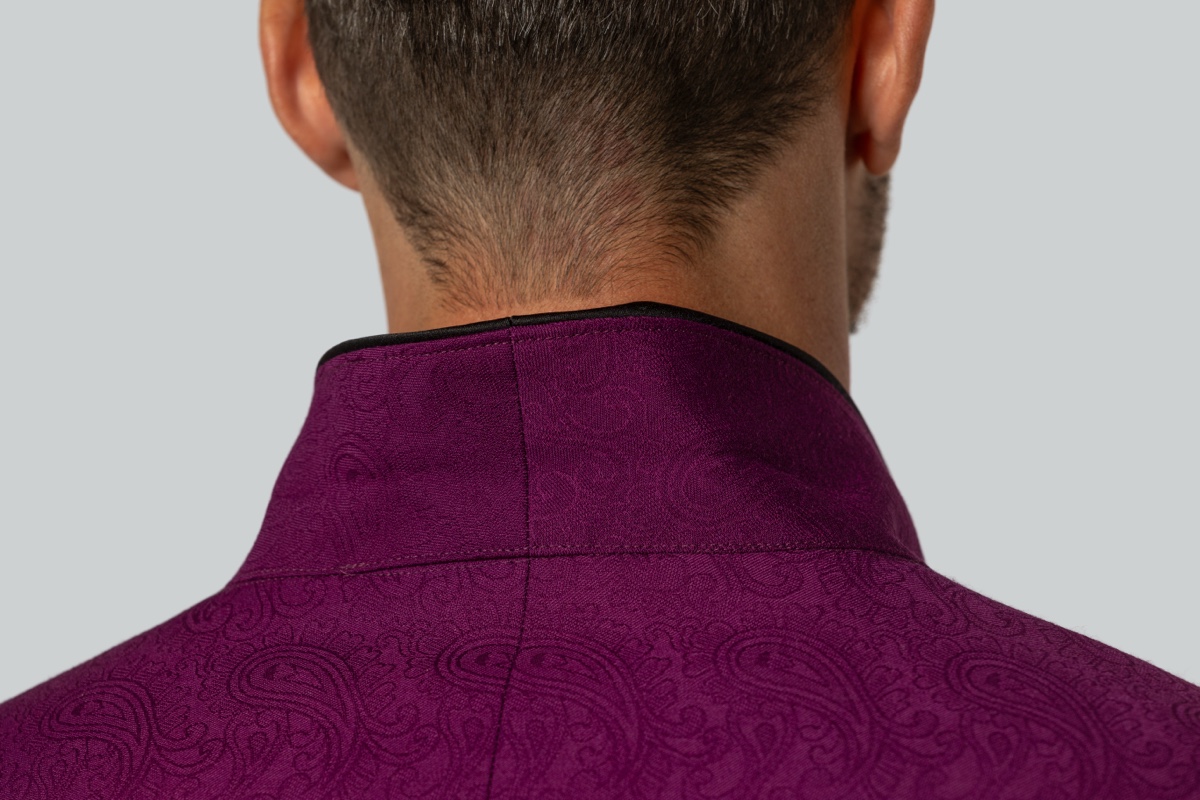
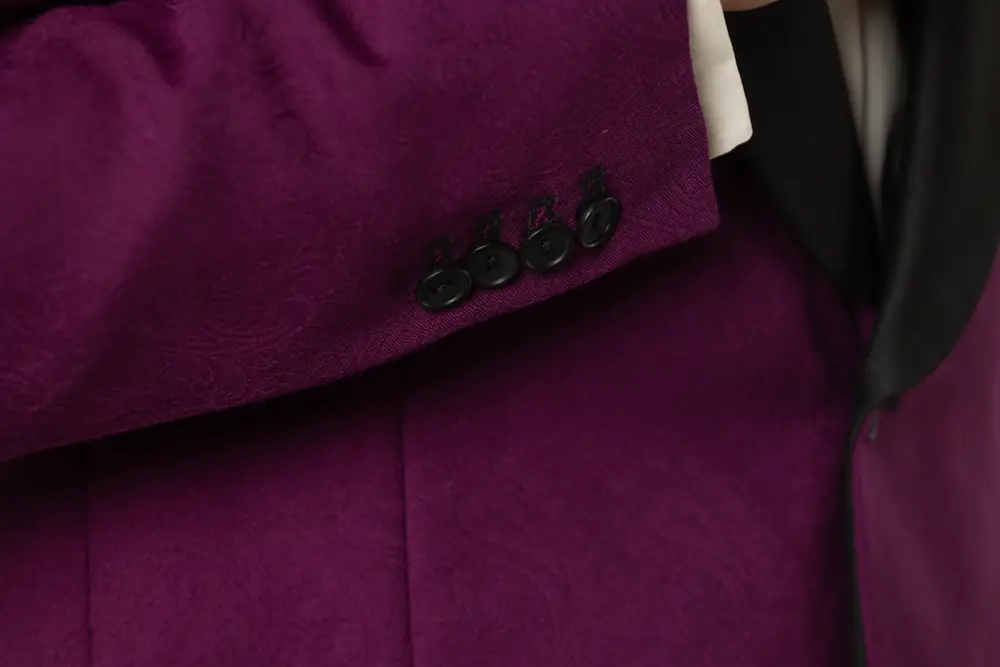
THE DETAILS MAKE THE DIFFERENCE
What Sets Fine Tailoring Apart
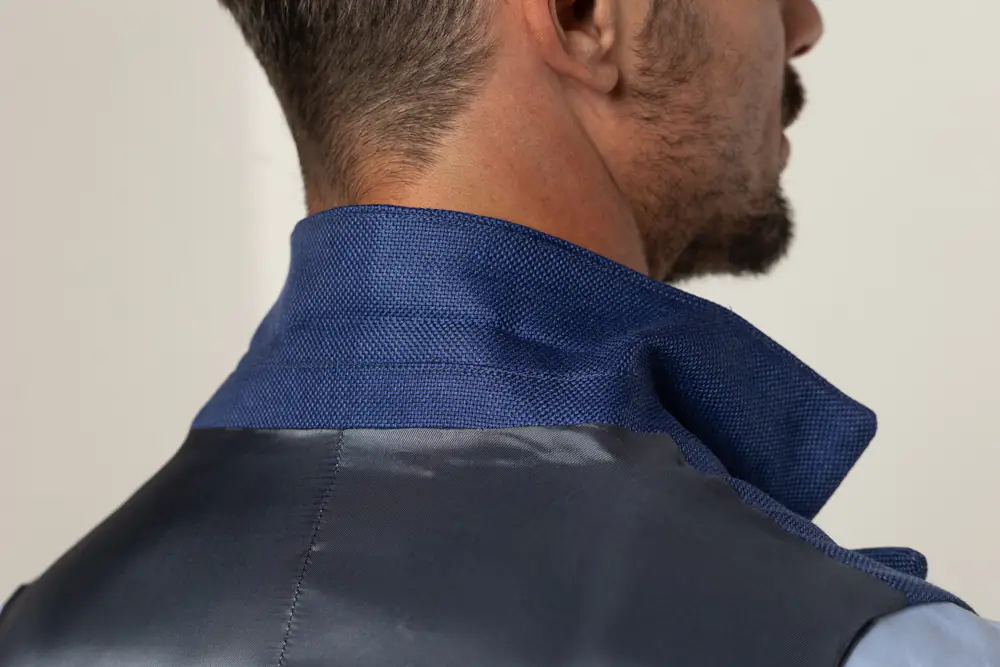
Canvas, hand-stitching and carefully finished details shape how a garment looks and feels. Learn to apply these techniques, from the inner construction to the final stitch.
Fitting Preparation
Learn how to prepare garments for a fitting and shape cloth with the iron.
Canvas & Structure
Learn how canvas, chest pieces and interlinings give tailored garments their shape and support.
Traditional Hand-Sewing
Practice pad stitching, hand-sewn buttonholes and pick stitching.
Collars, Lapels & Pockets
Construct collars, rolled lapels, welt pockets and working sleeve vents across the course projects.
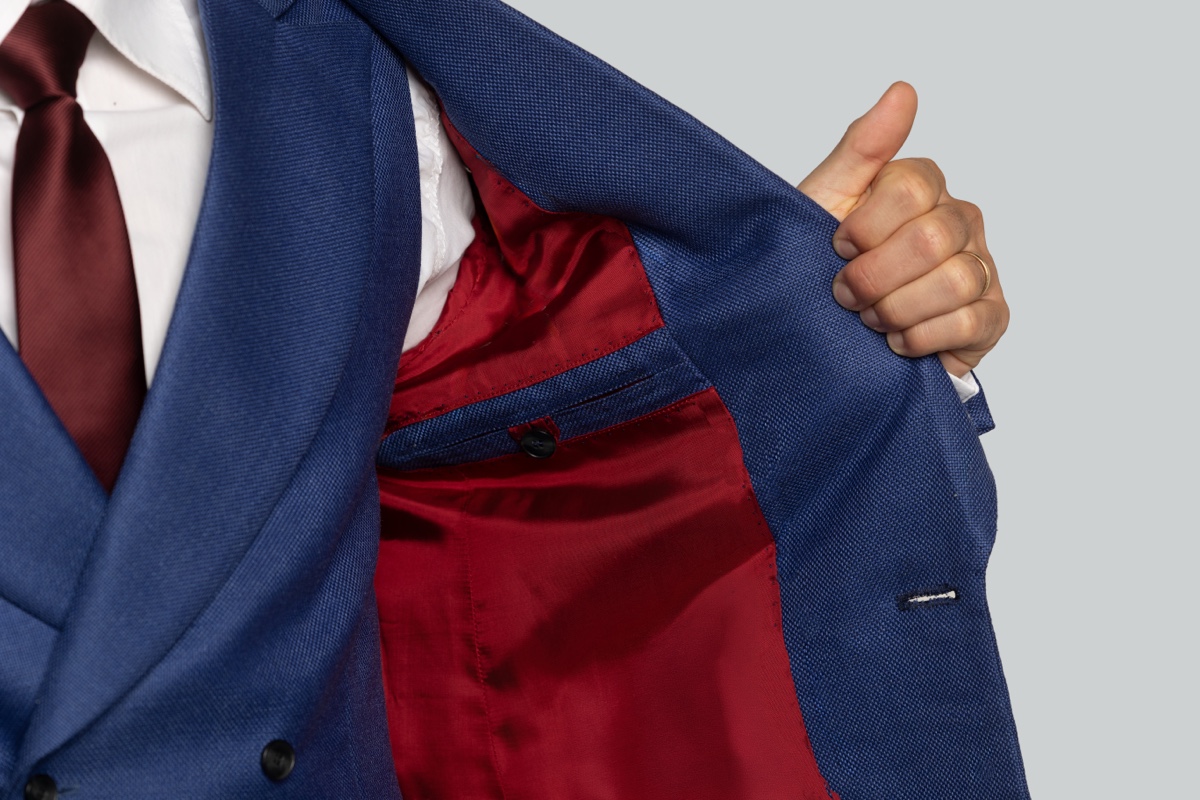
Lining & Finishing
Construct linings, finish edges neatly and give the inside the same care as the outside.
Pattern Adaptation
Adapt the supplied patterns for shorter or taller figures, adjust proportions and explore design variations.
“Even as a trained tailor, the whole field of men’s tailoring was refreshed for me. The explanation of interlining construction in particular deserves special recognition.”
Michael
Trained tailor
★★★★★
The 13 Garments You’ll Make
Make waistcoats, trousers, shirts and coats, building towards a full-canvas jacket. Explore 13 menswear projects and the techniques behind them.
-
01
↗
Alford
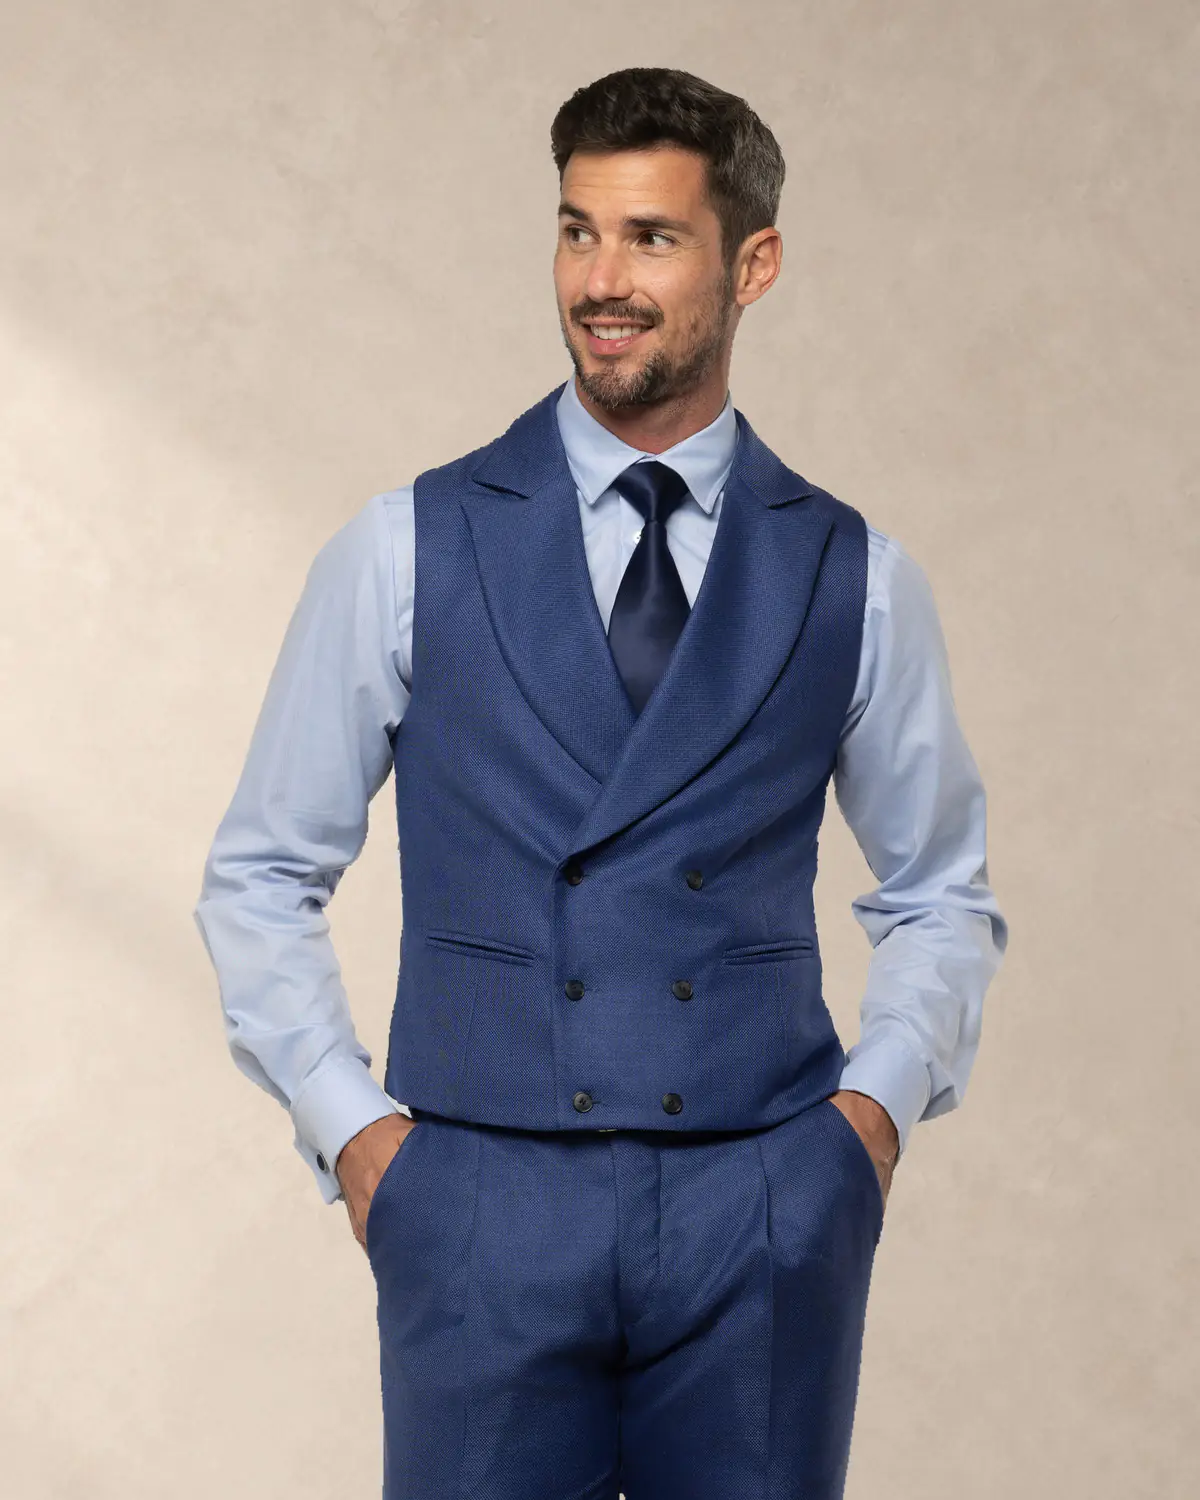
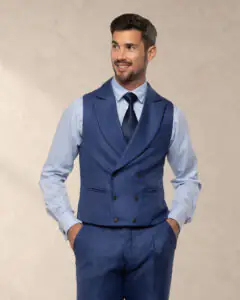
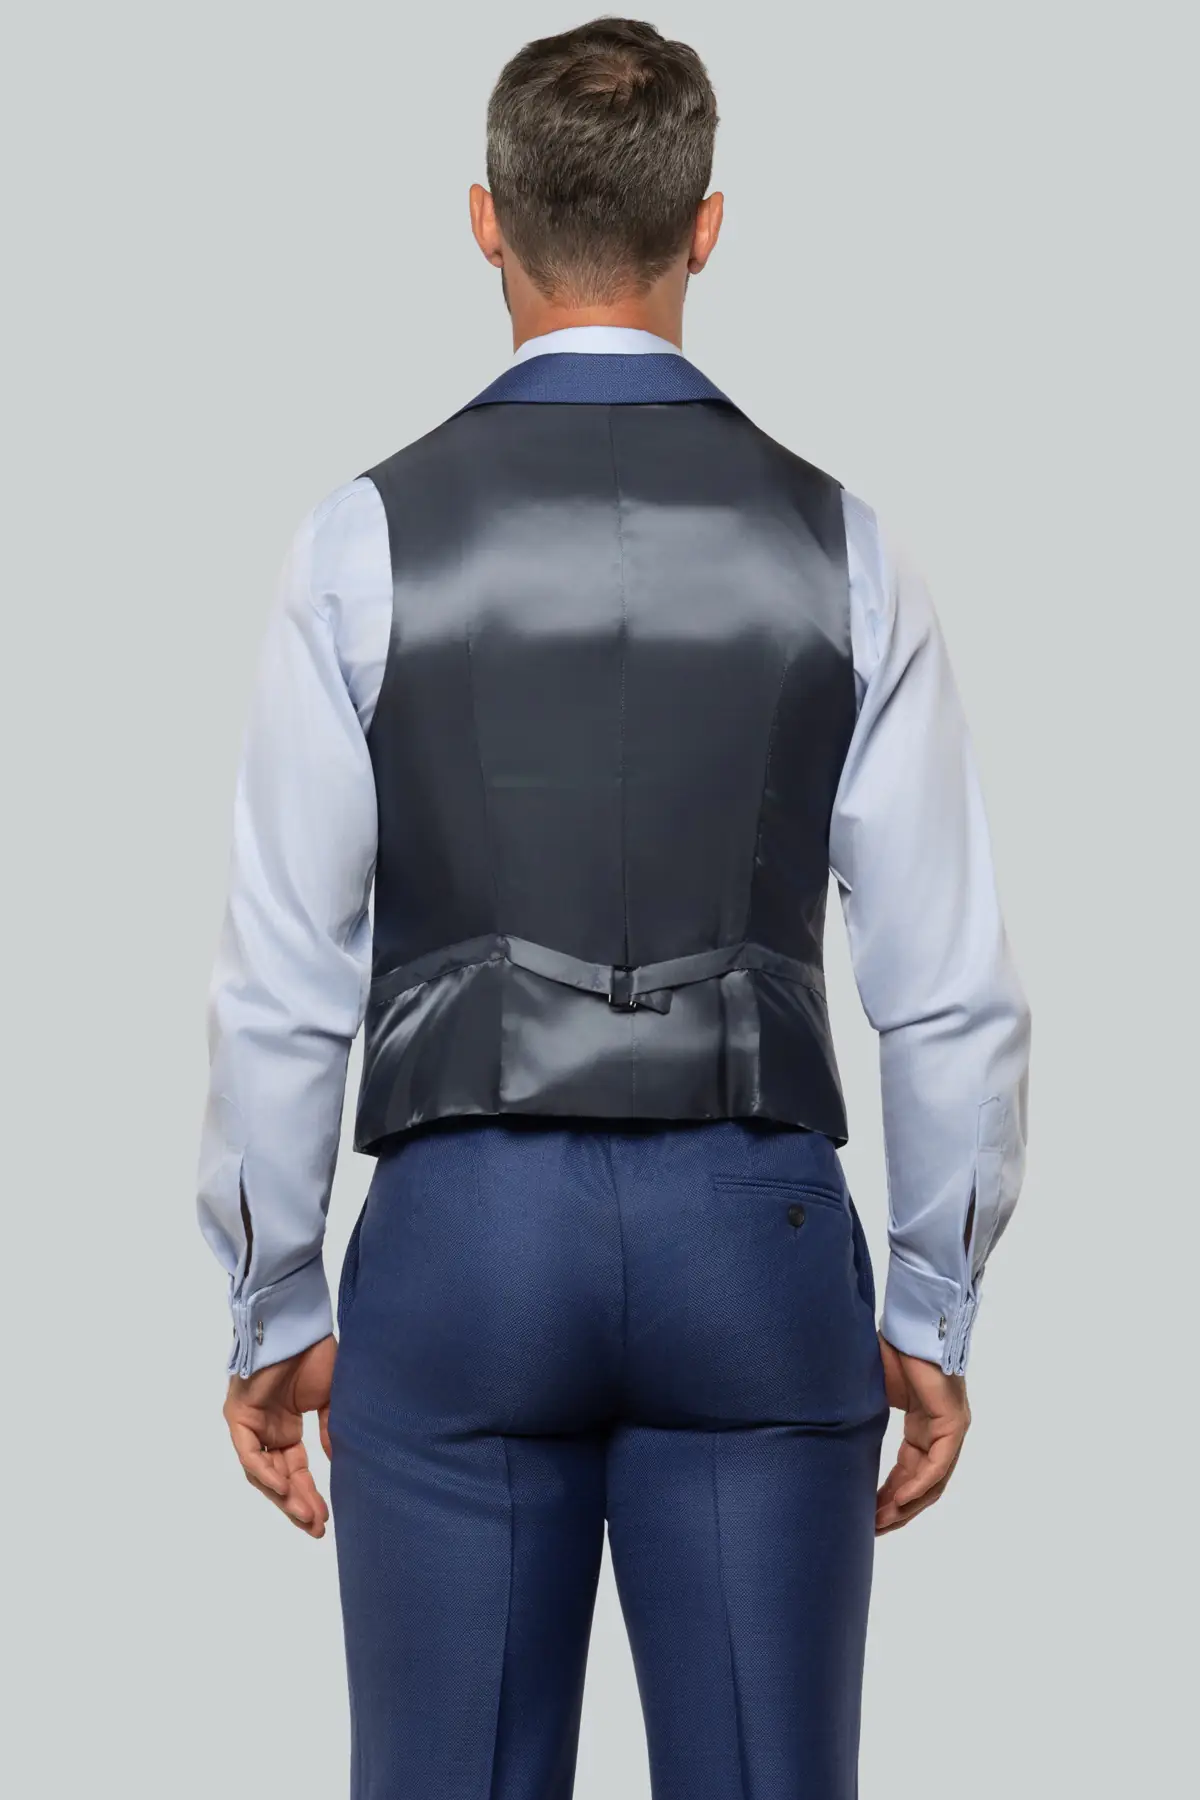
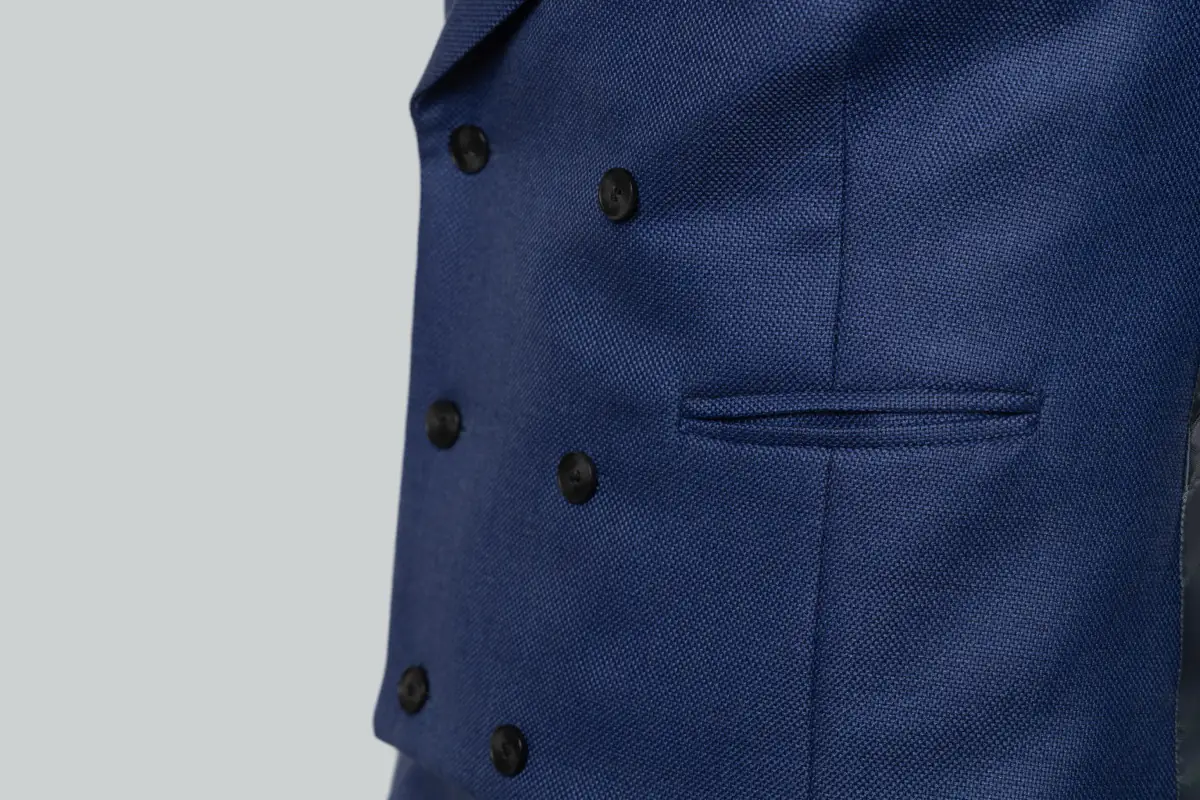
Double-breasted Waistcoat
-
02
↗
Bradford
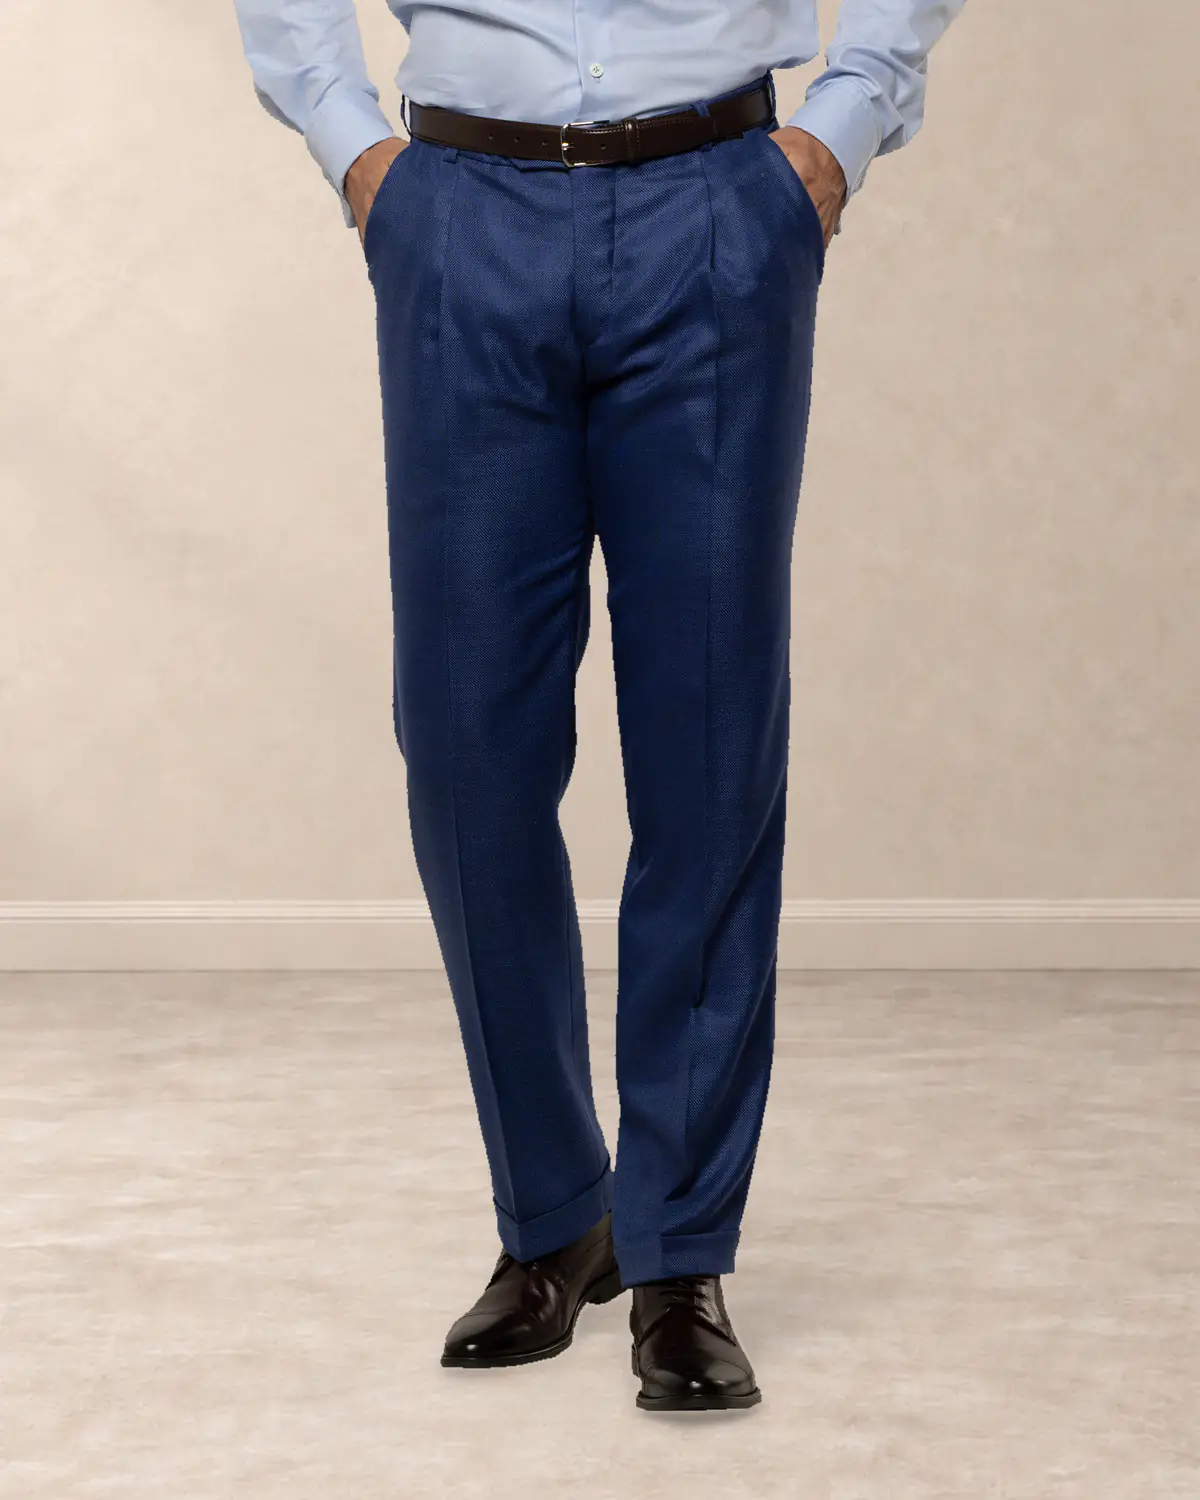
Tailored Trousers
-
03
↗
Cambridge
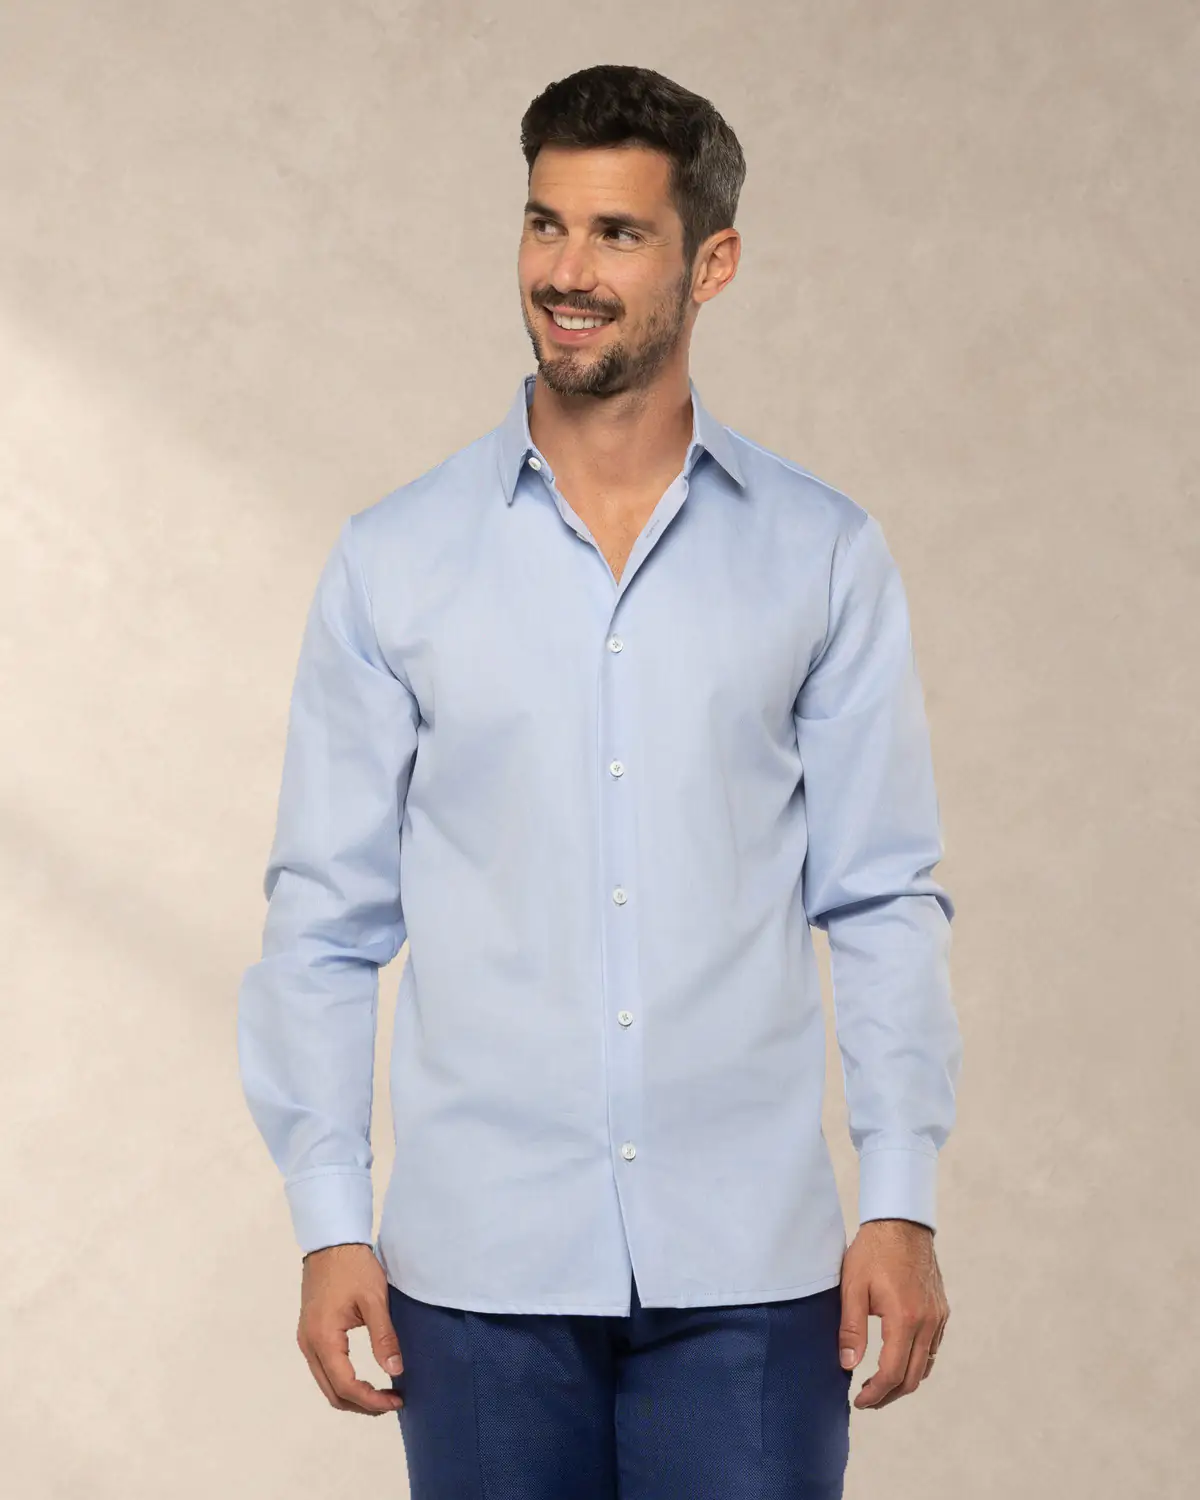
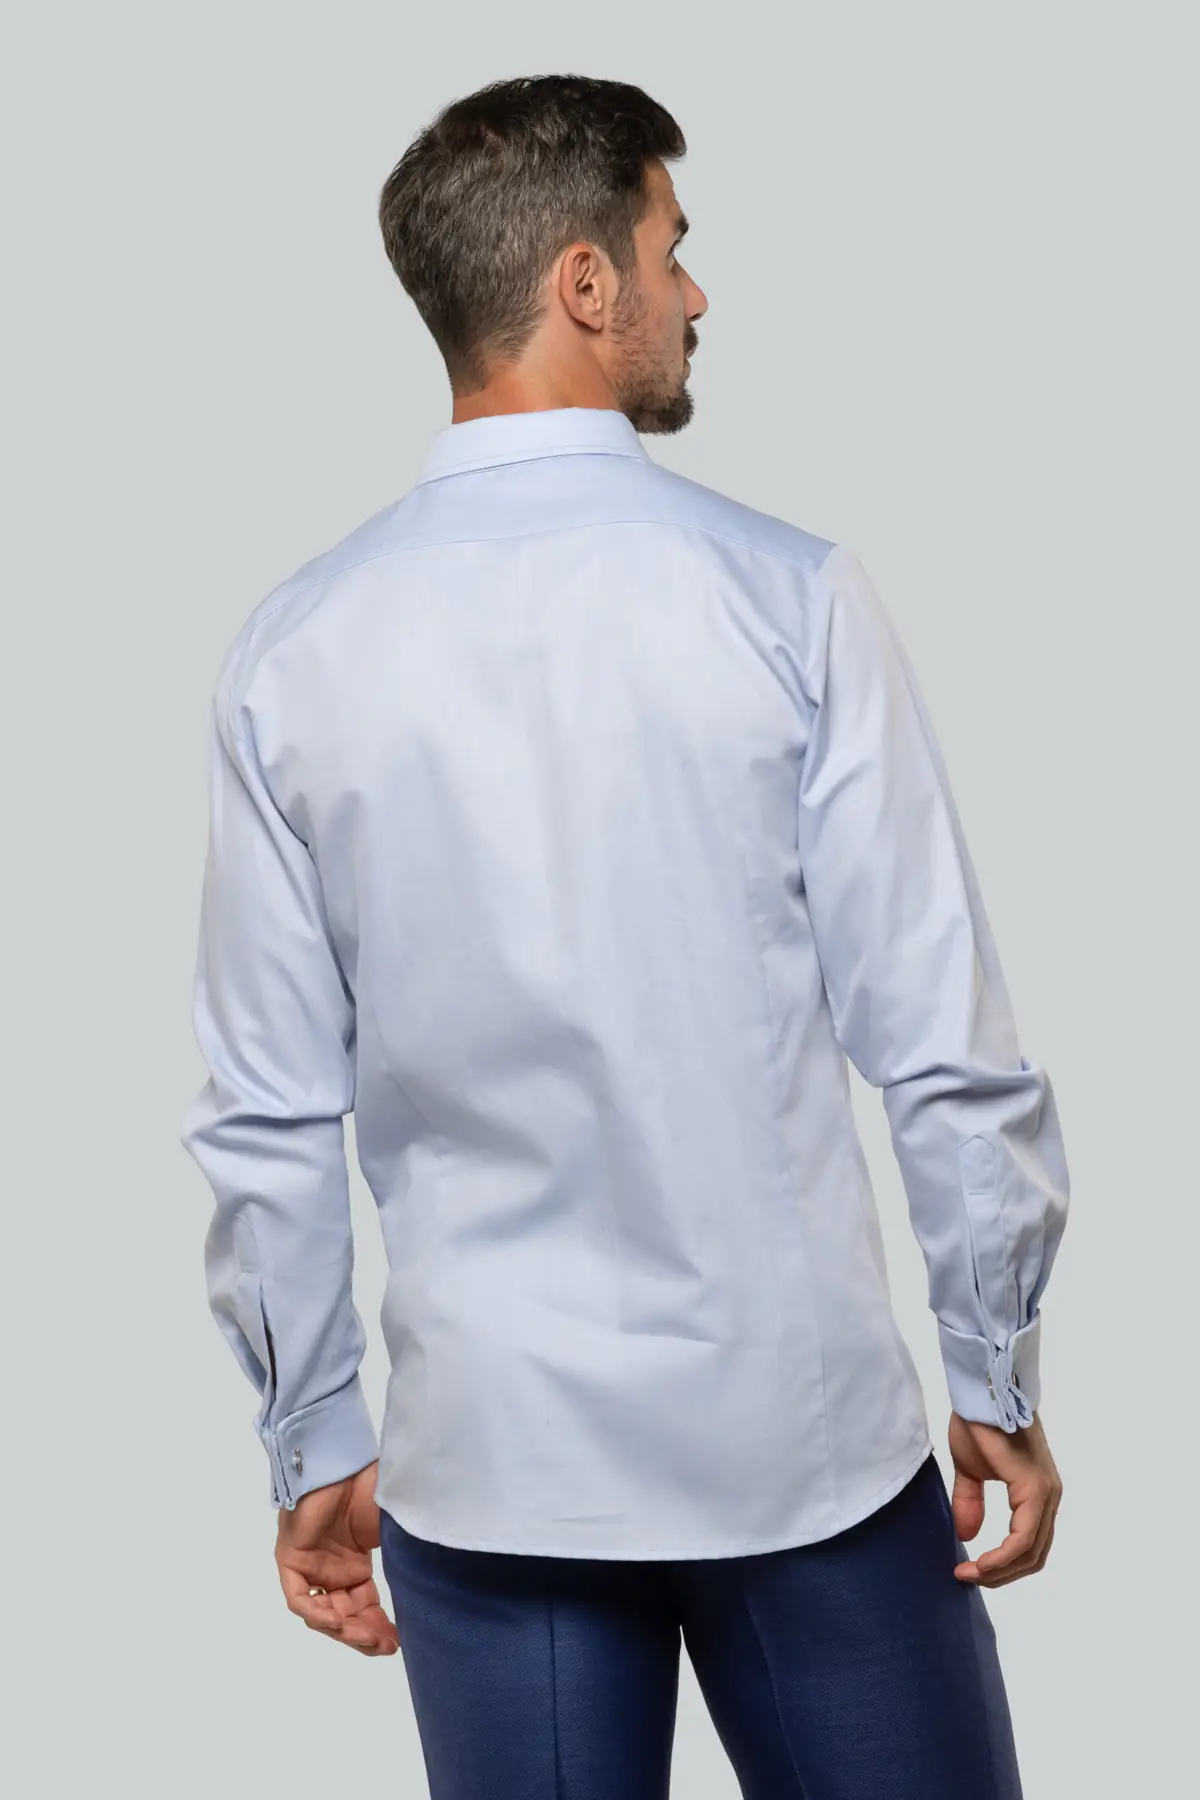
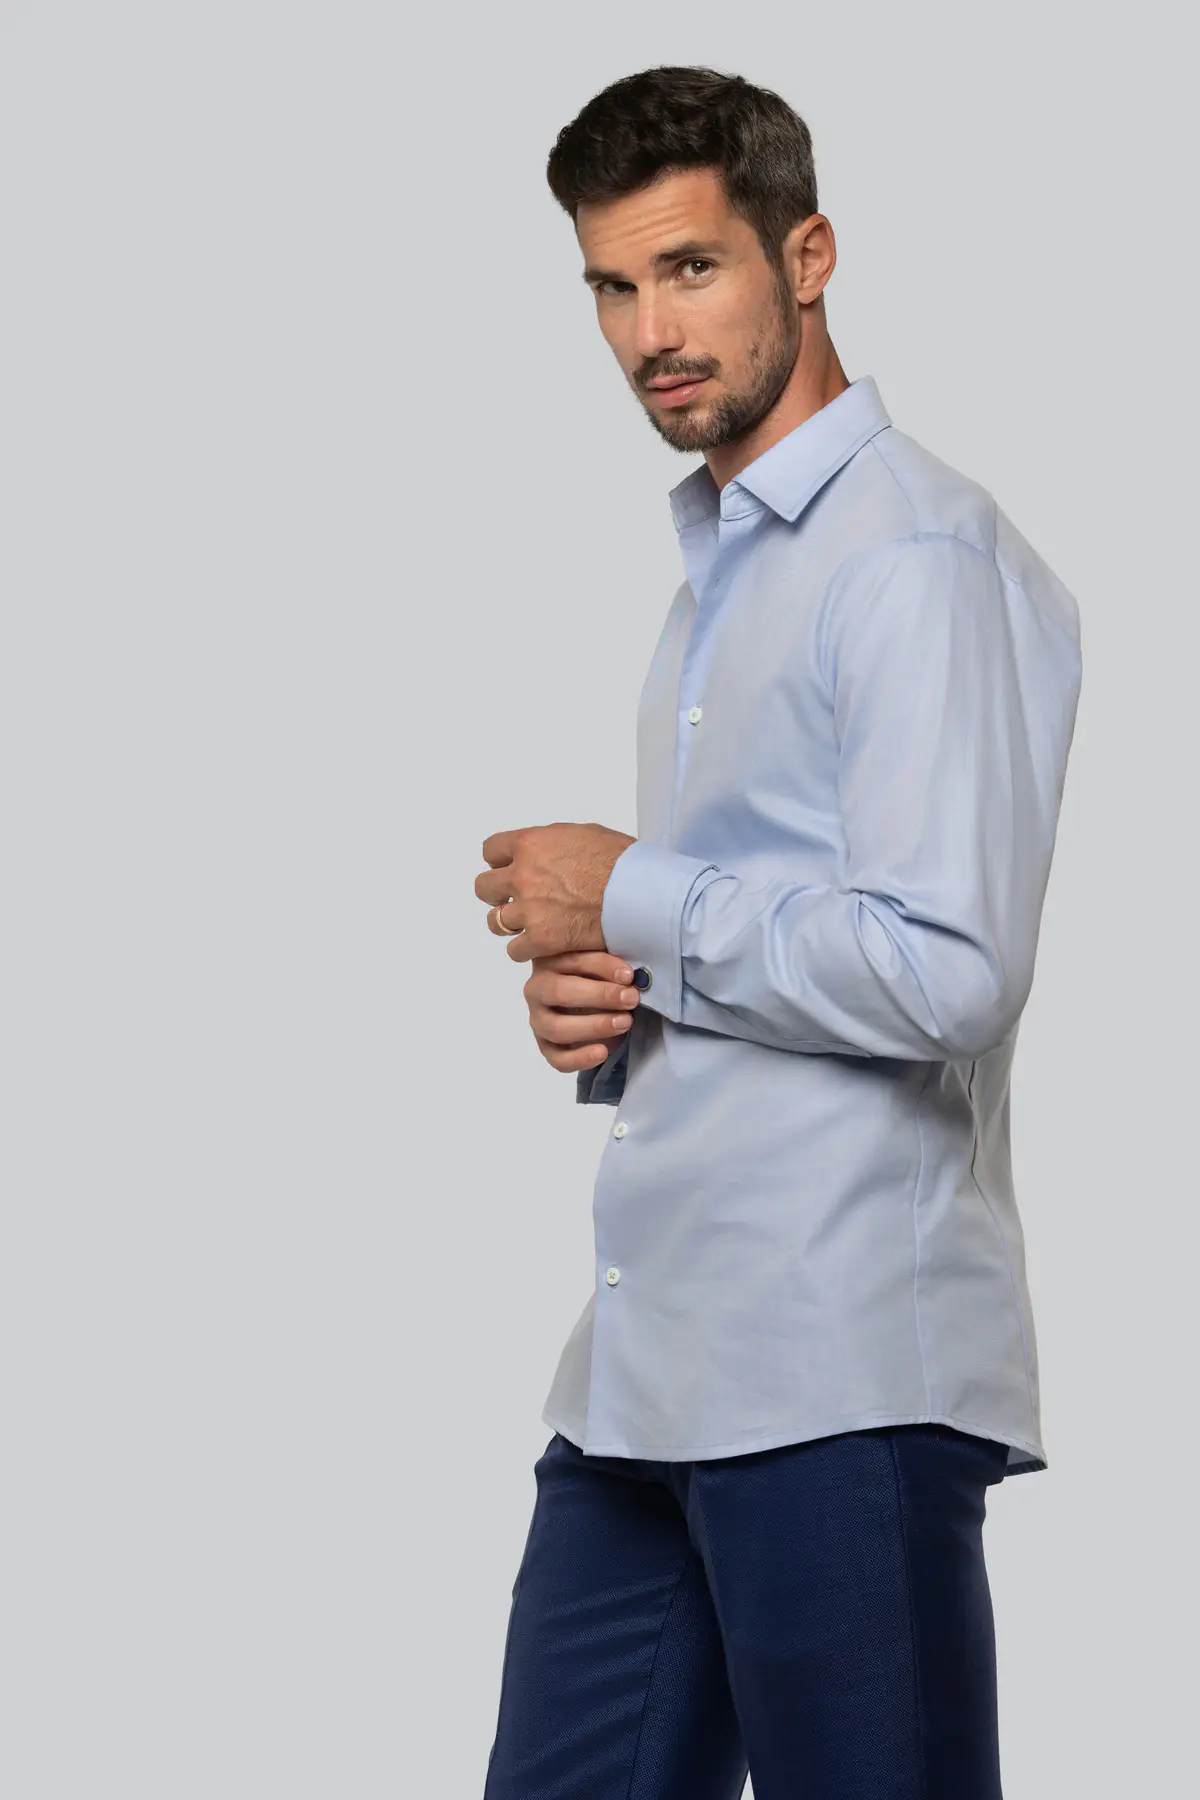
Double-Cuff Shirt
-
04
↗
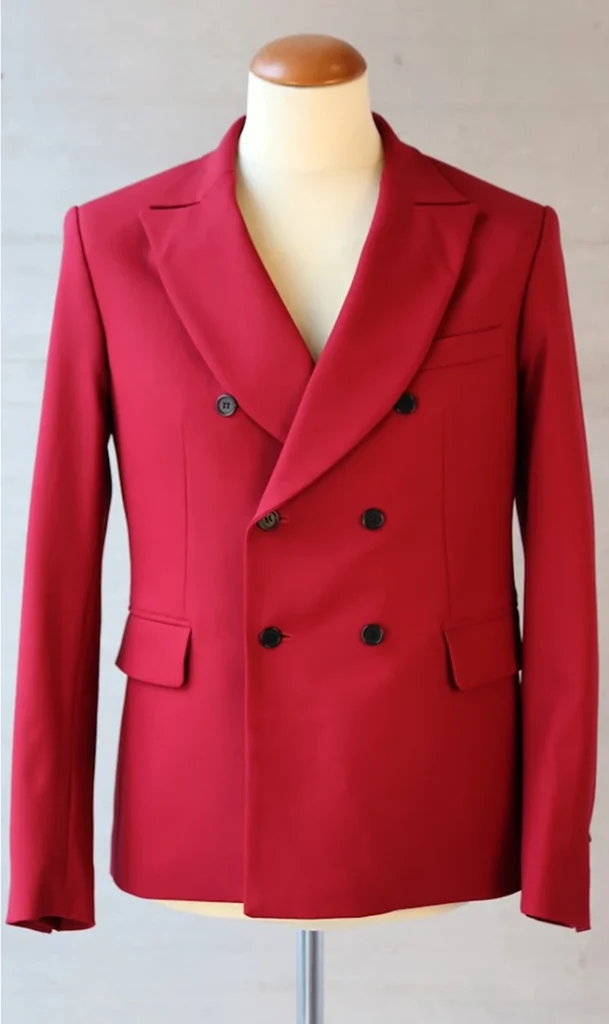
Dover
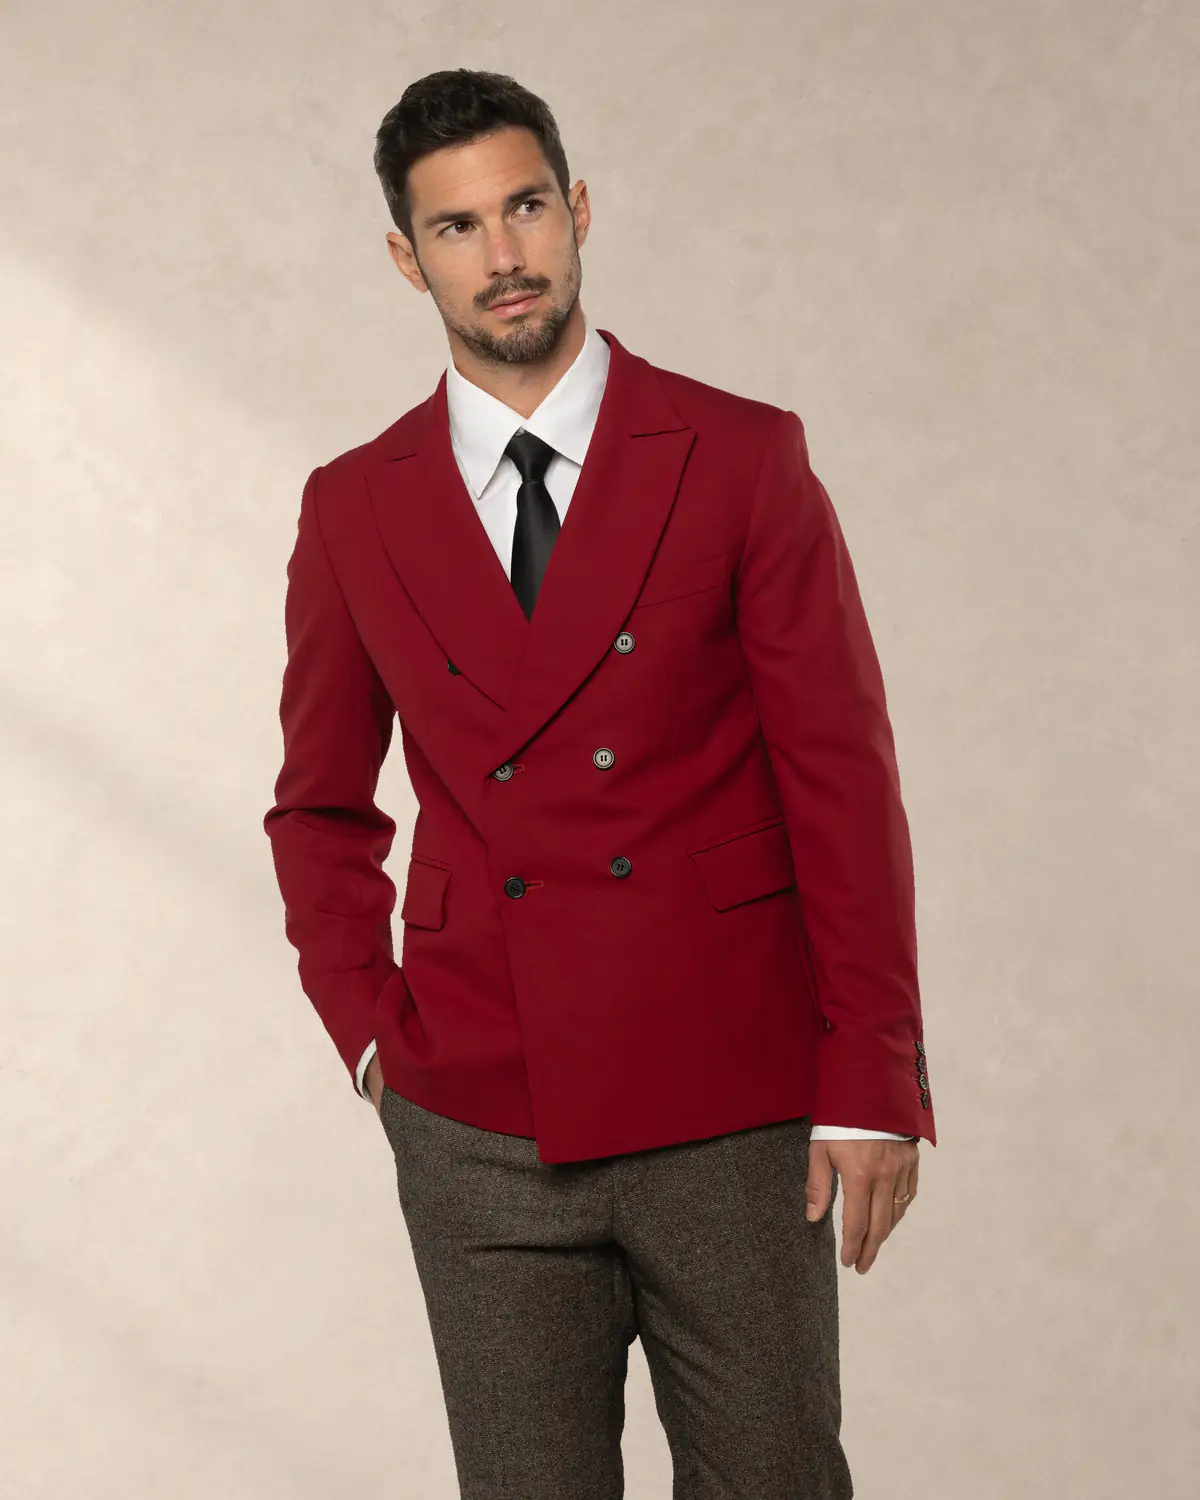
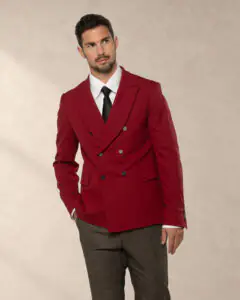
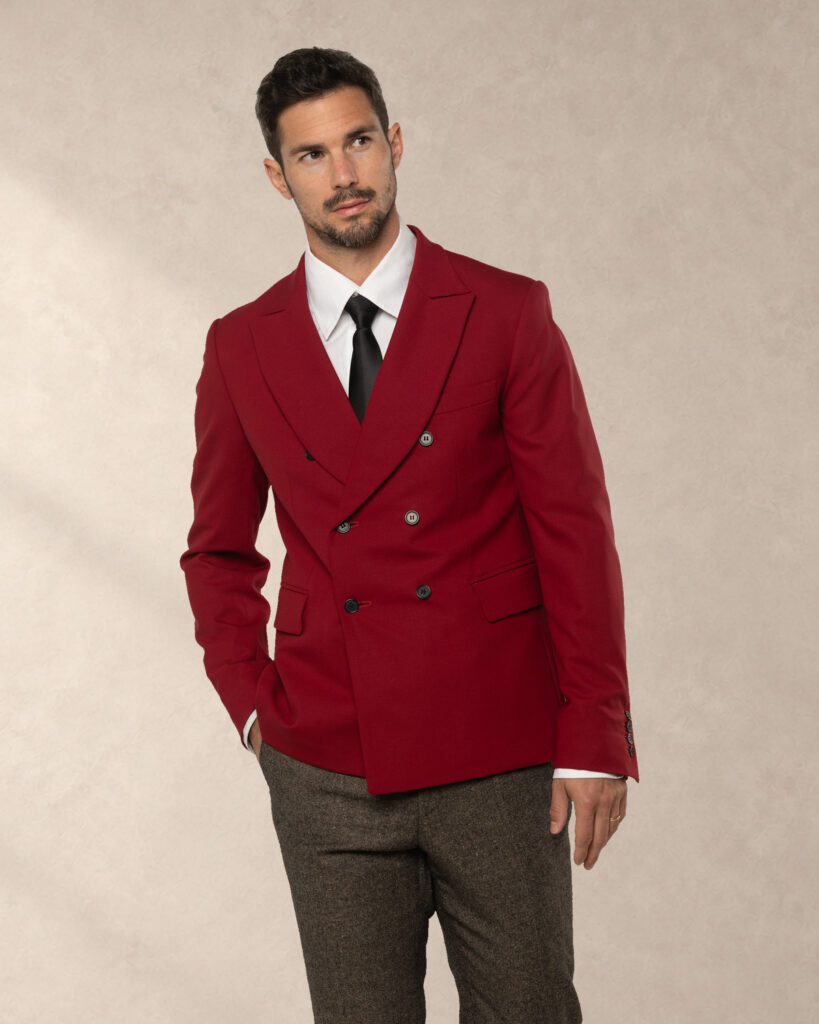
Double-breasted Jacket
-
05
↗
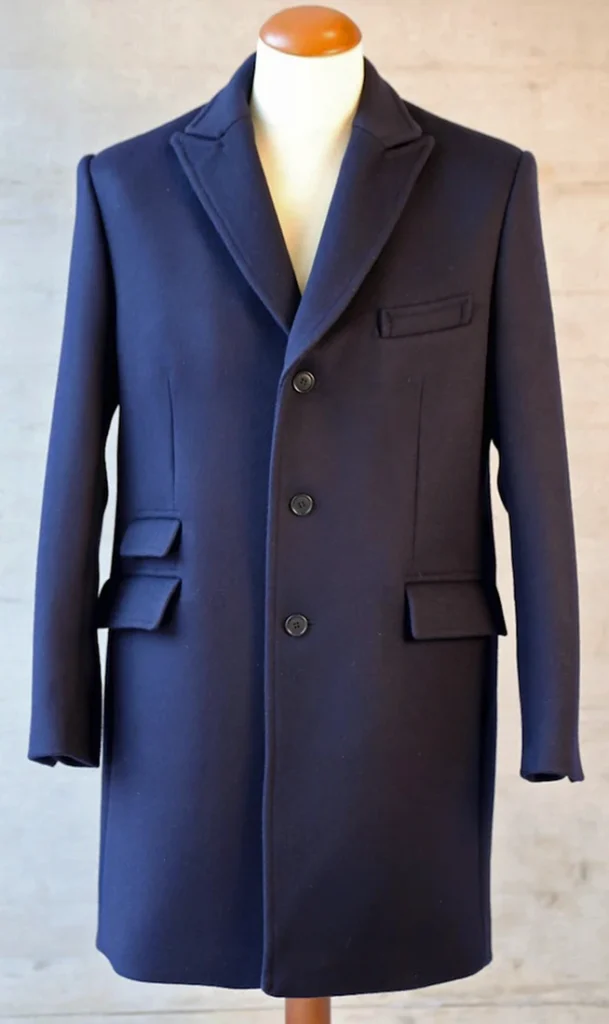
Eastbourne
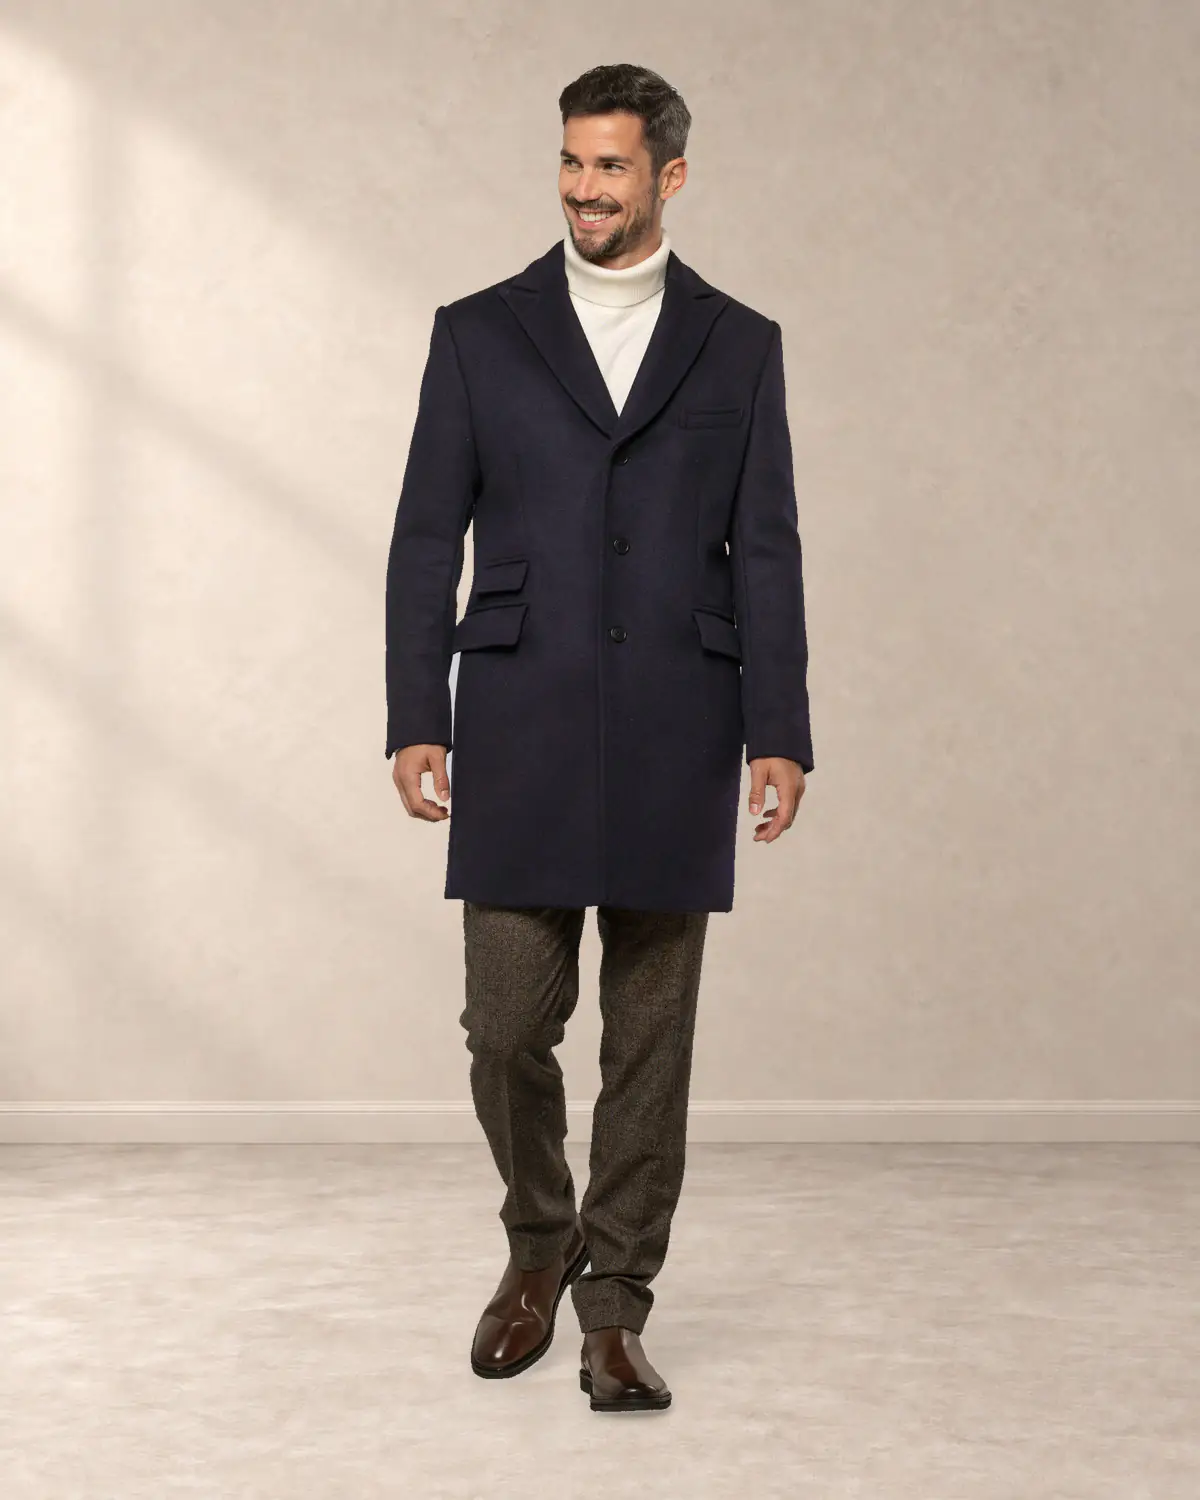
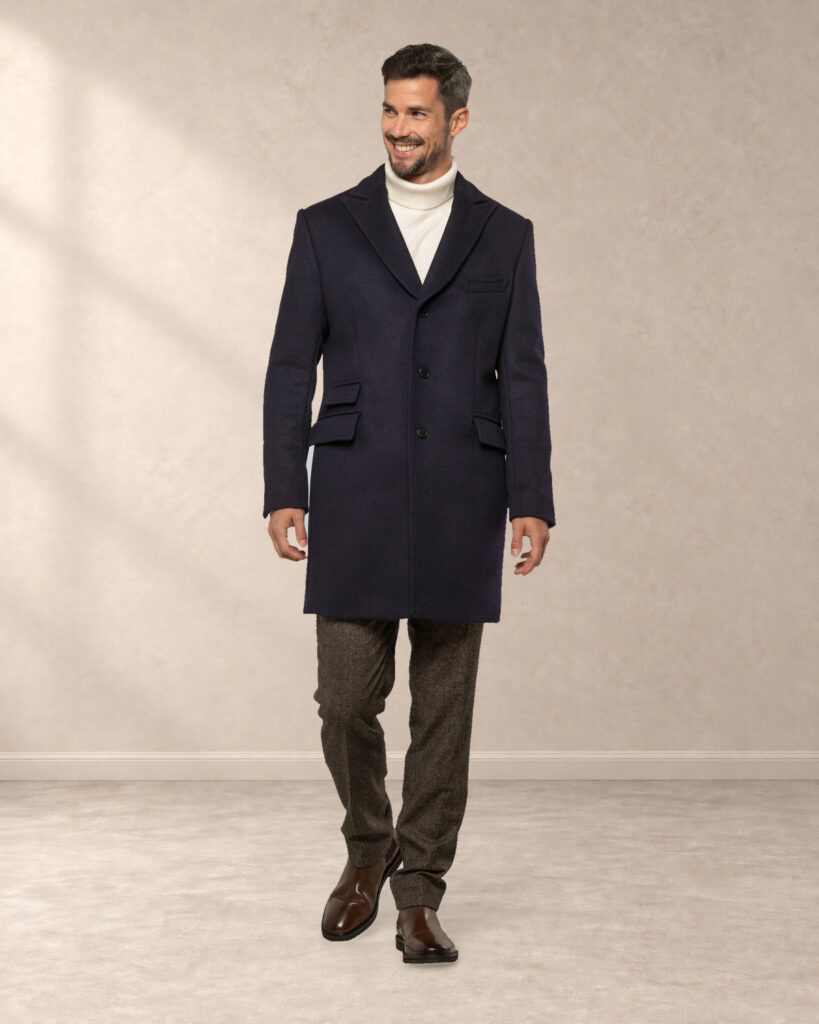
Overcoat
-
06
↗
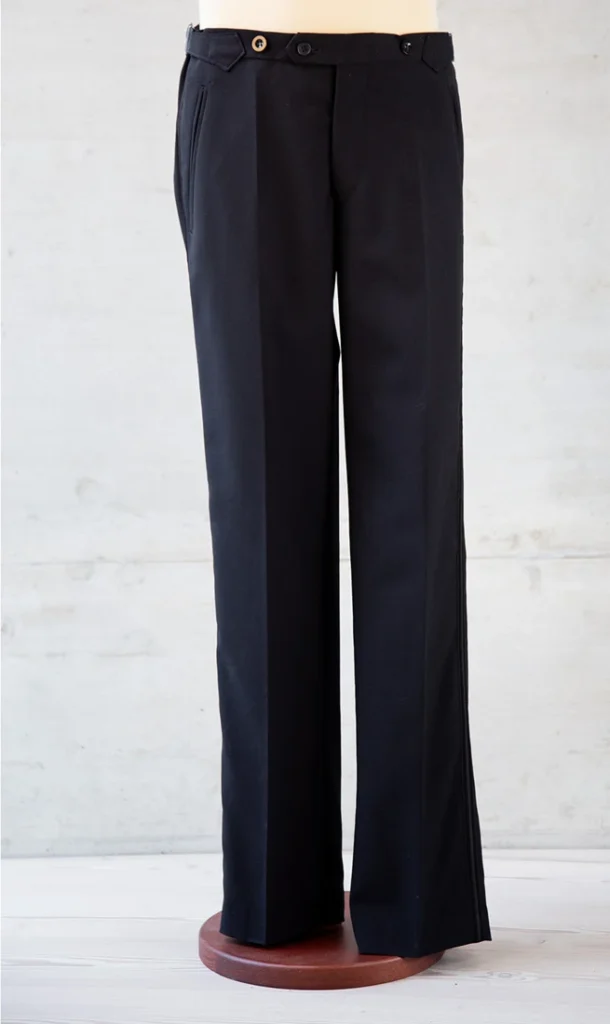
Folkestone
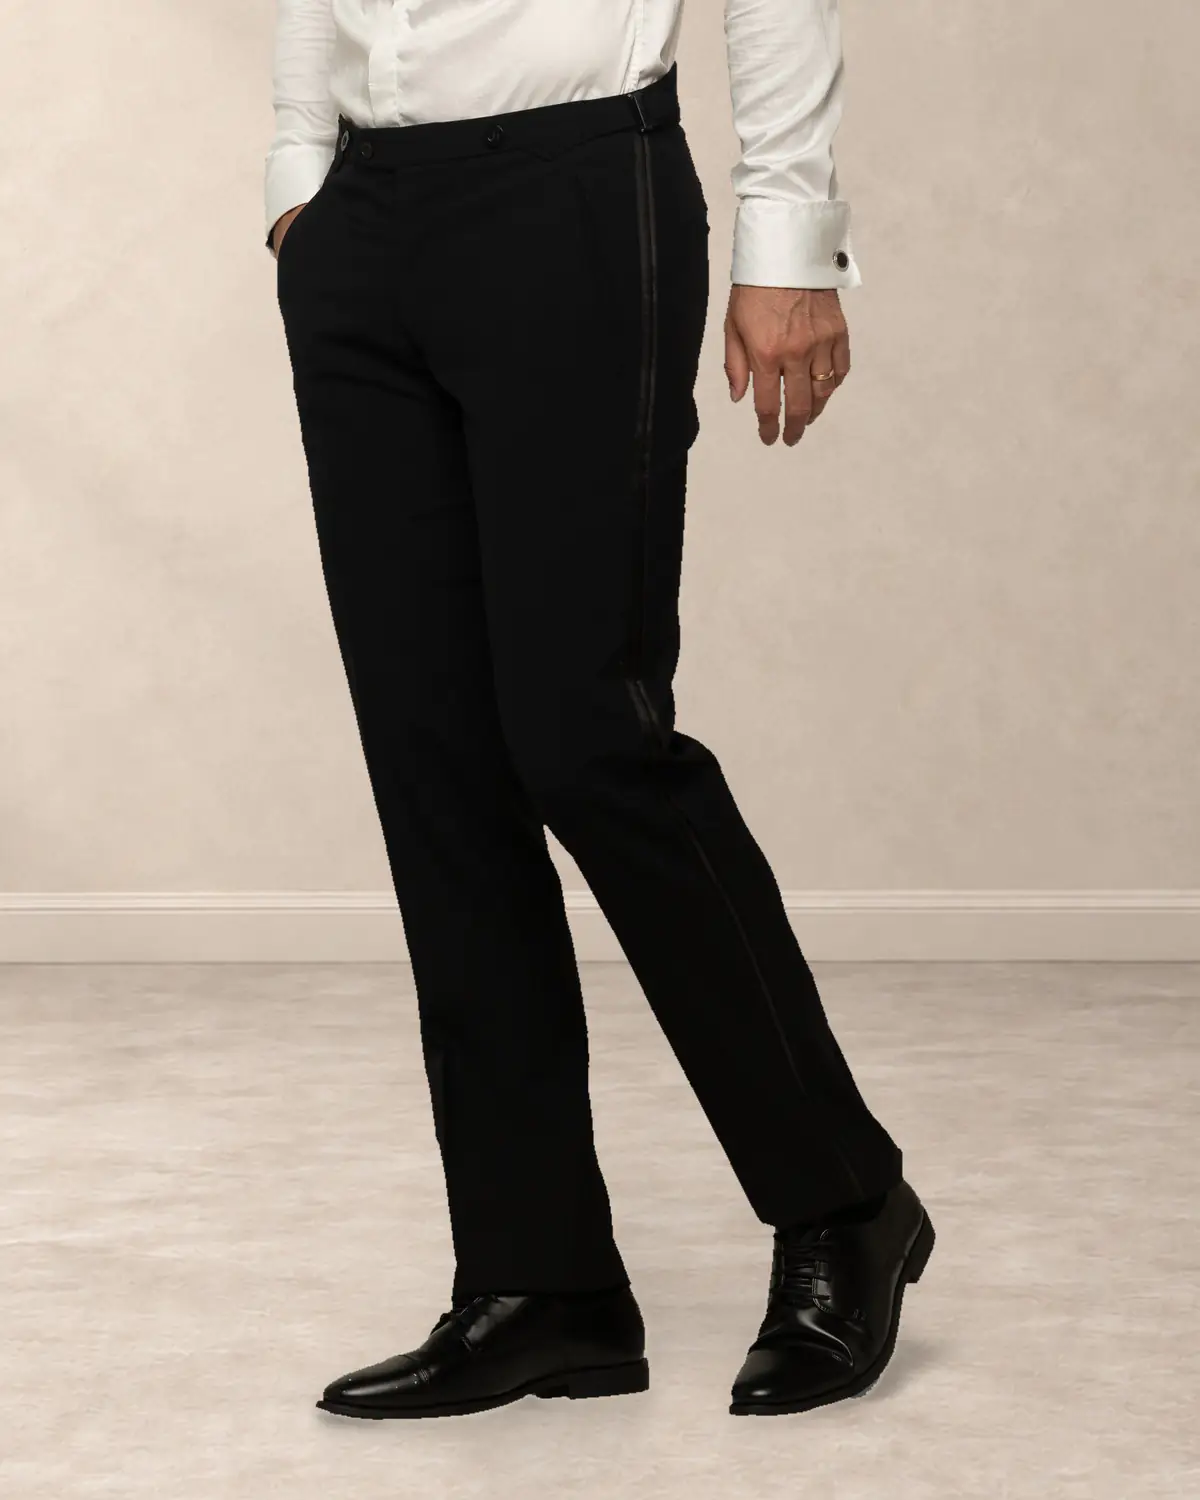
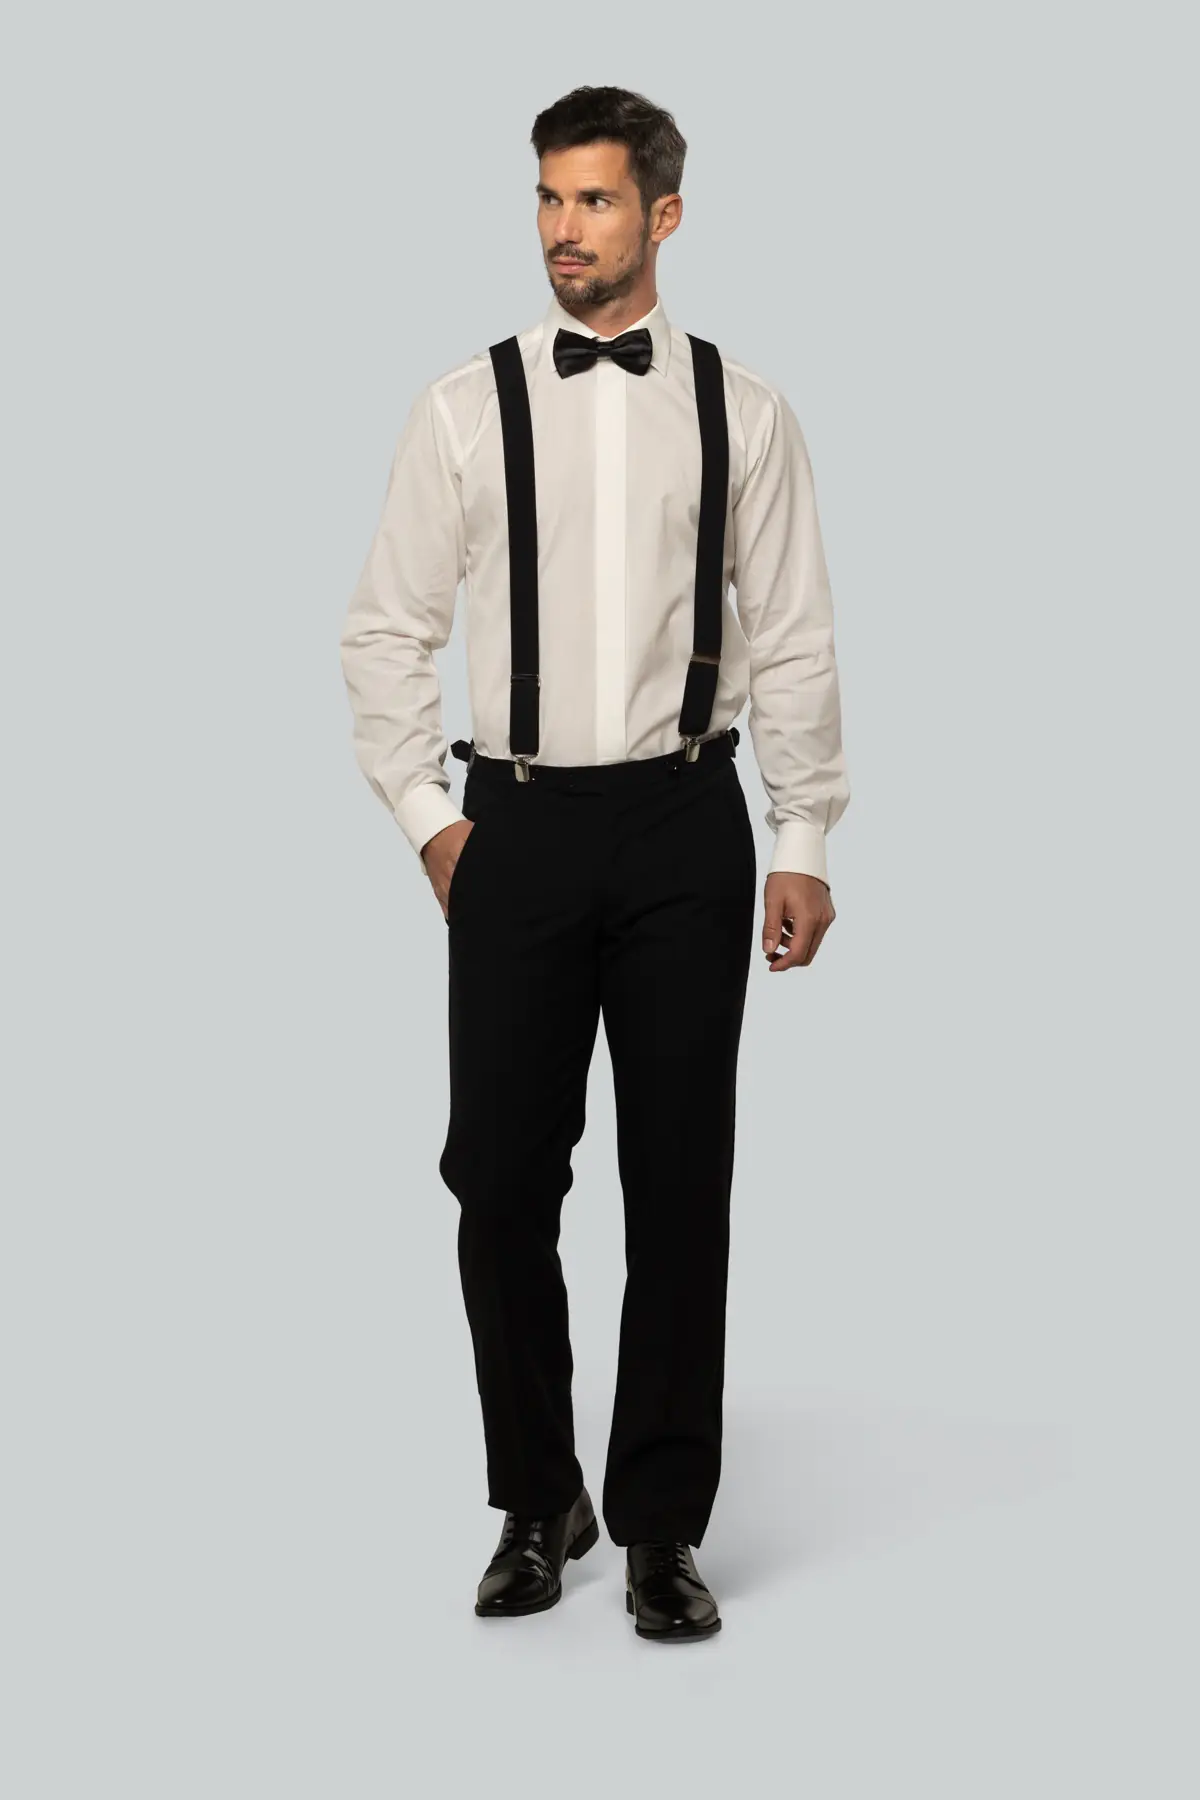
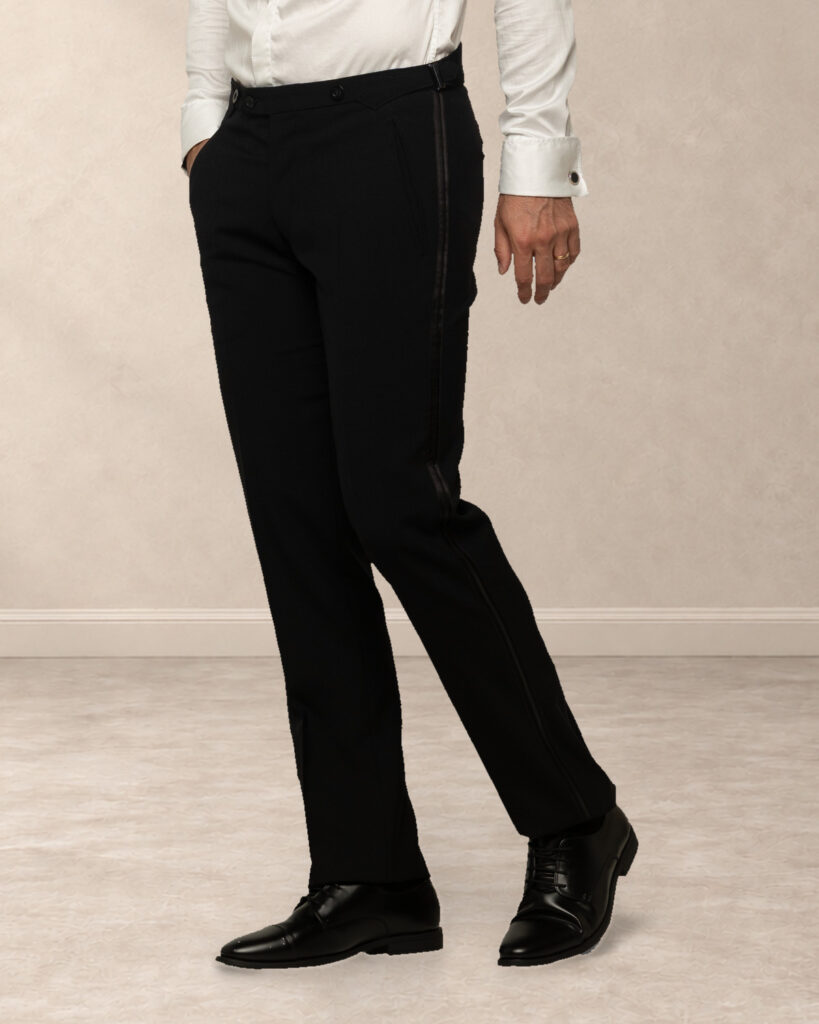
Tuxedo Trousers
-
07
↗
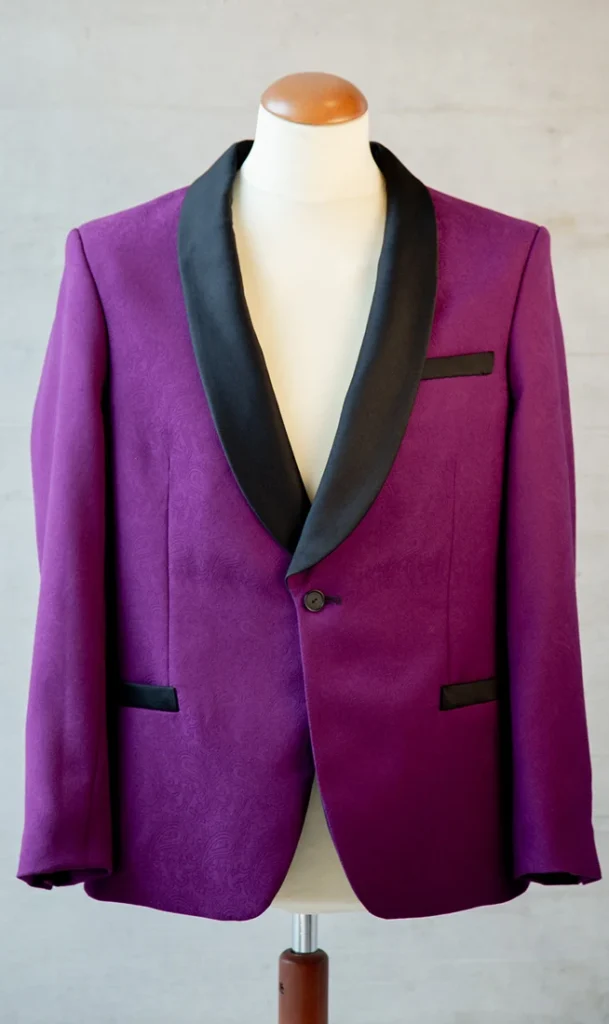
Guildford
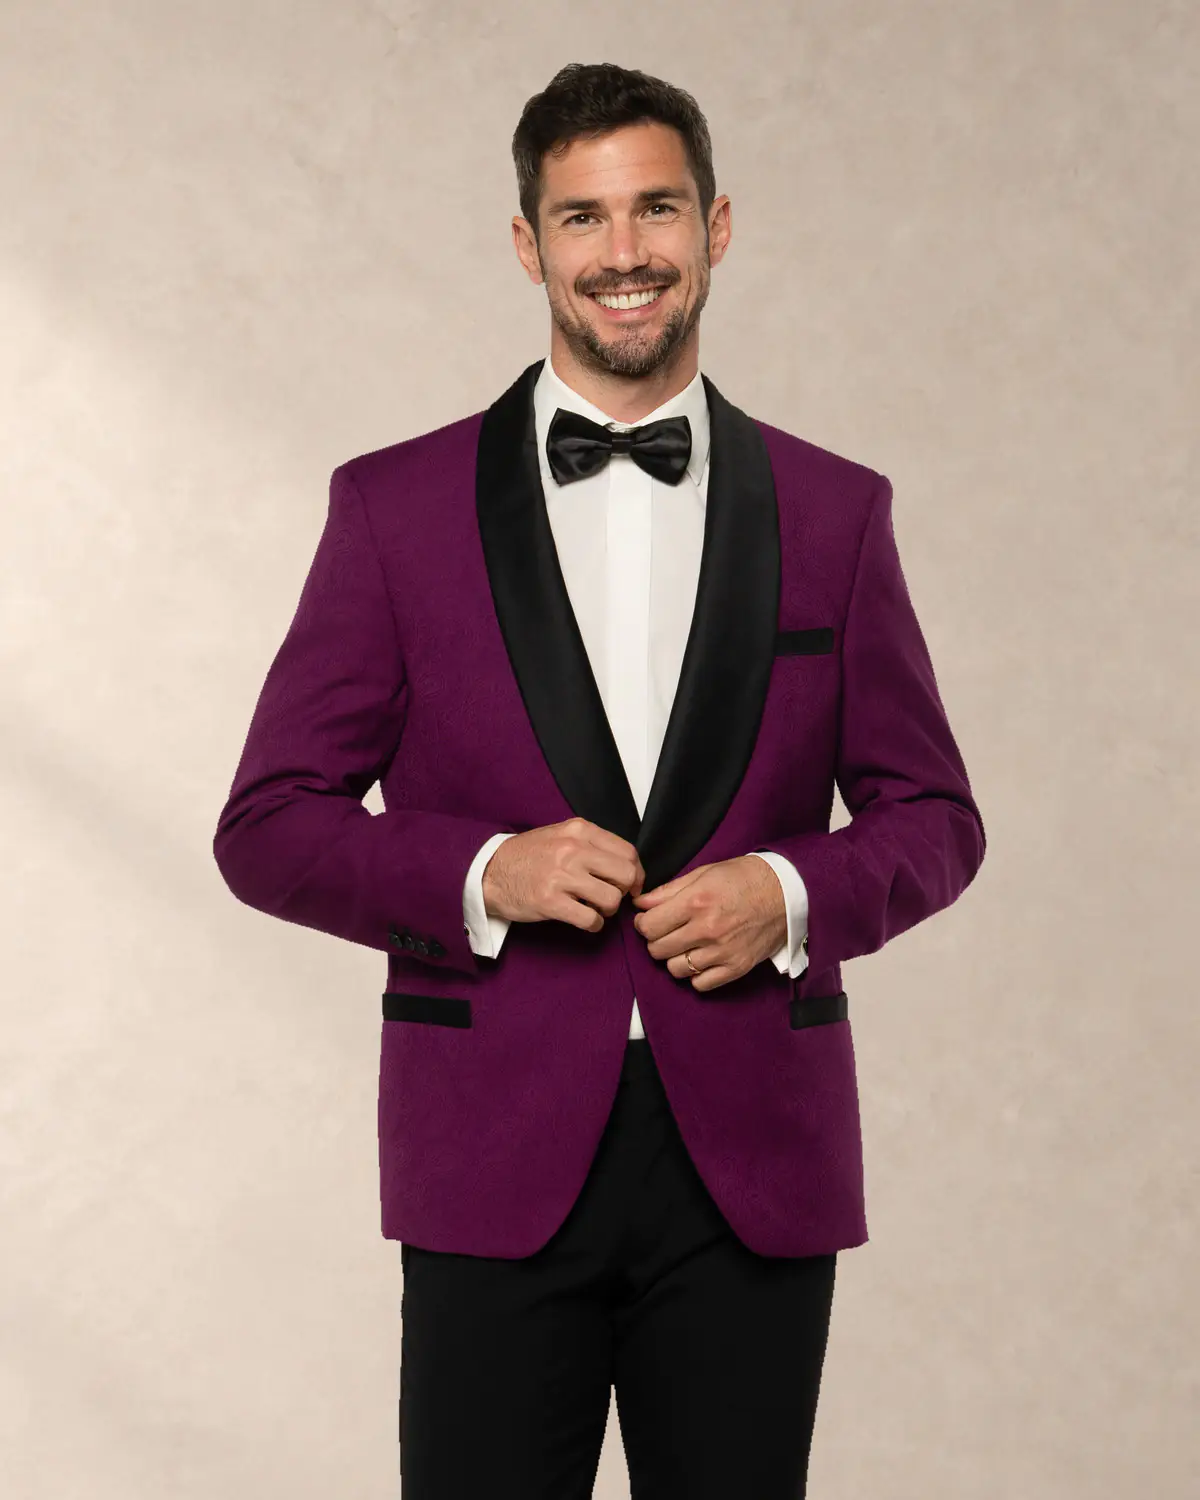
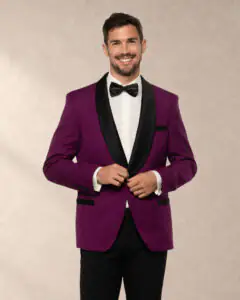
Shawl-Collar Tuxedo Jacket
-
08
↗
Haverhill
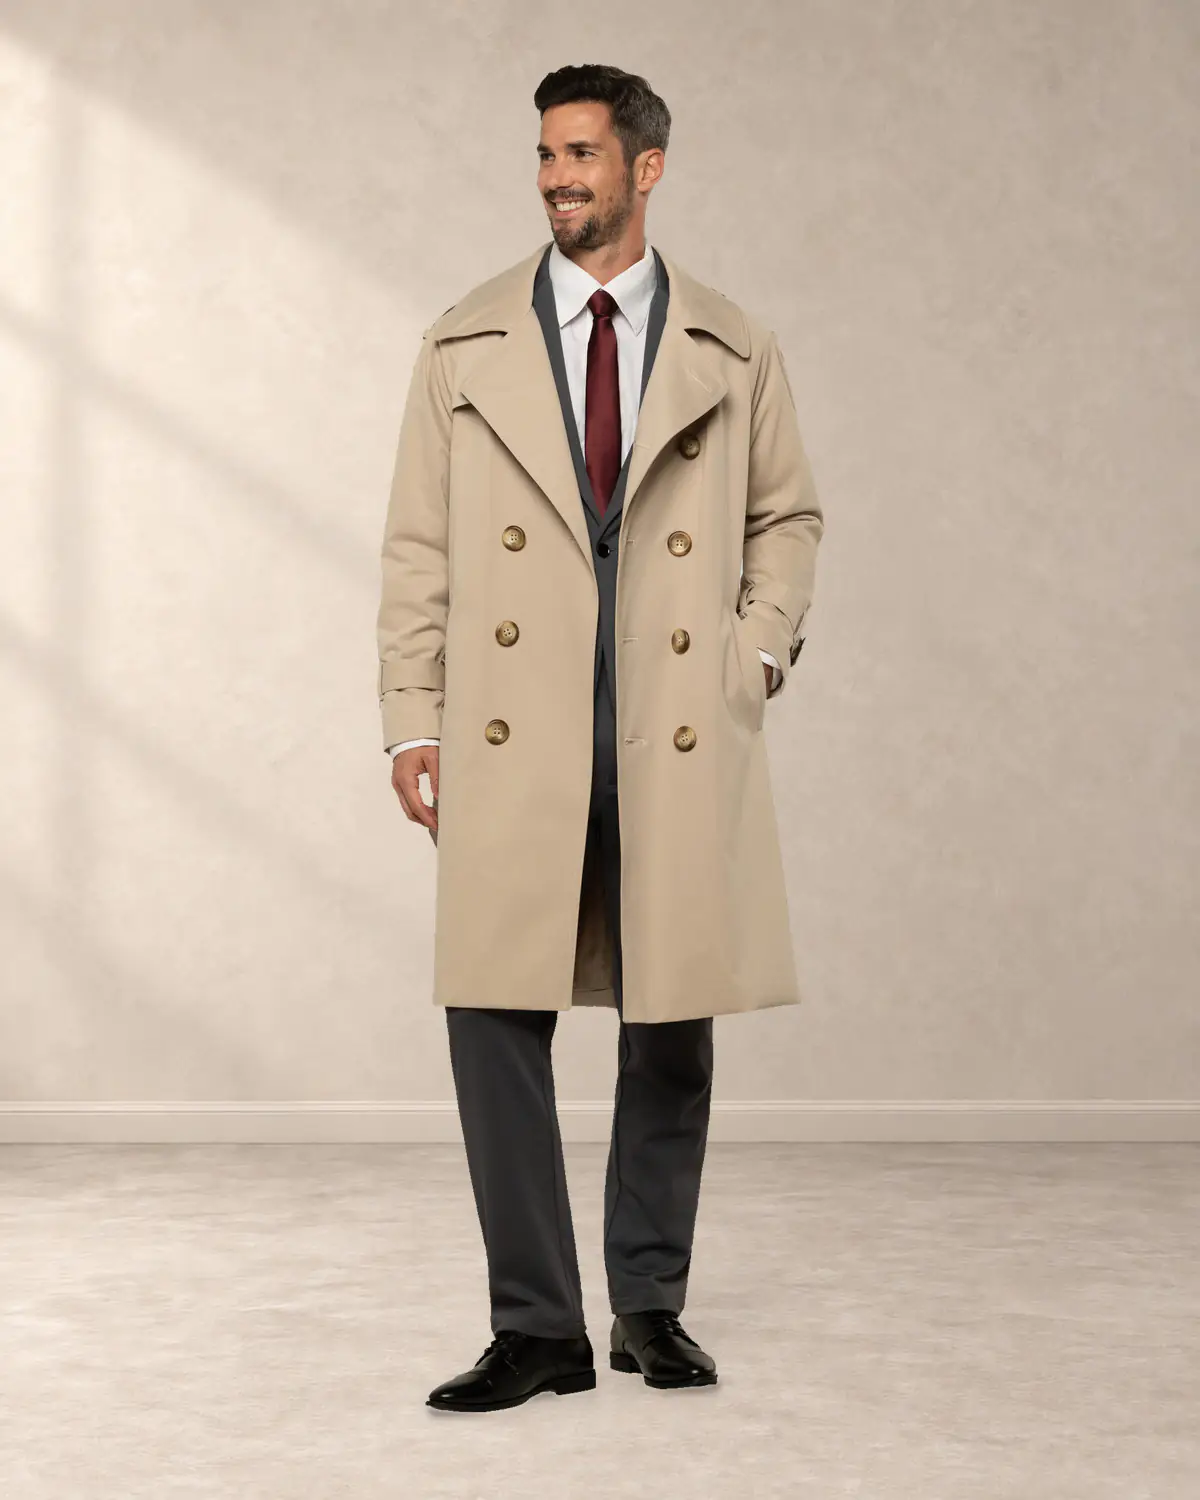
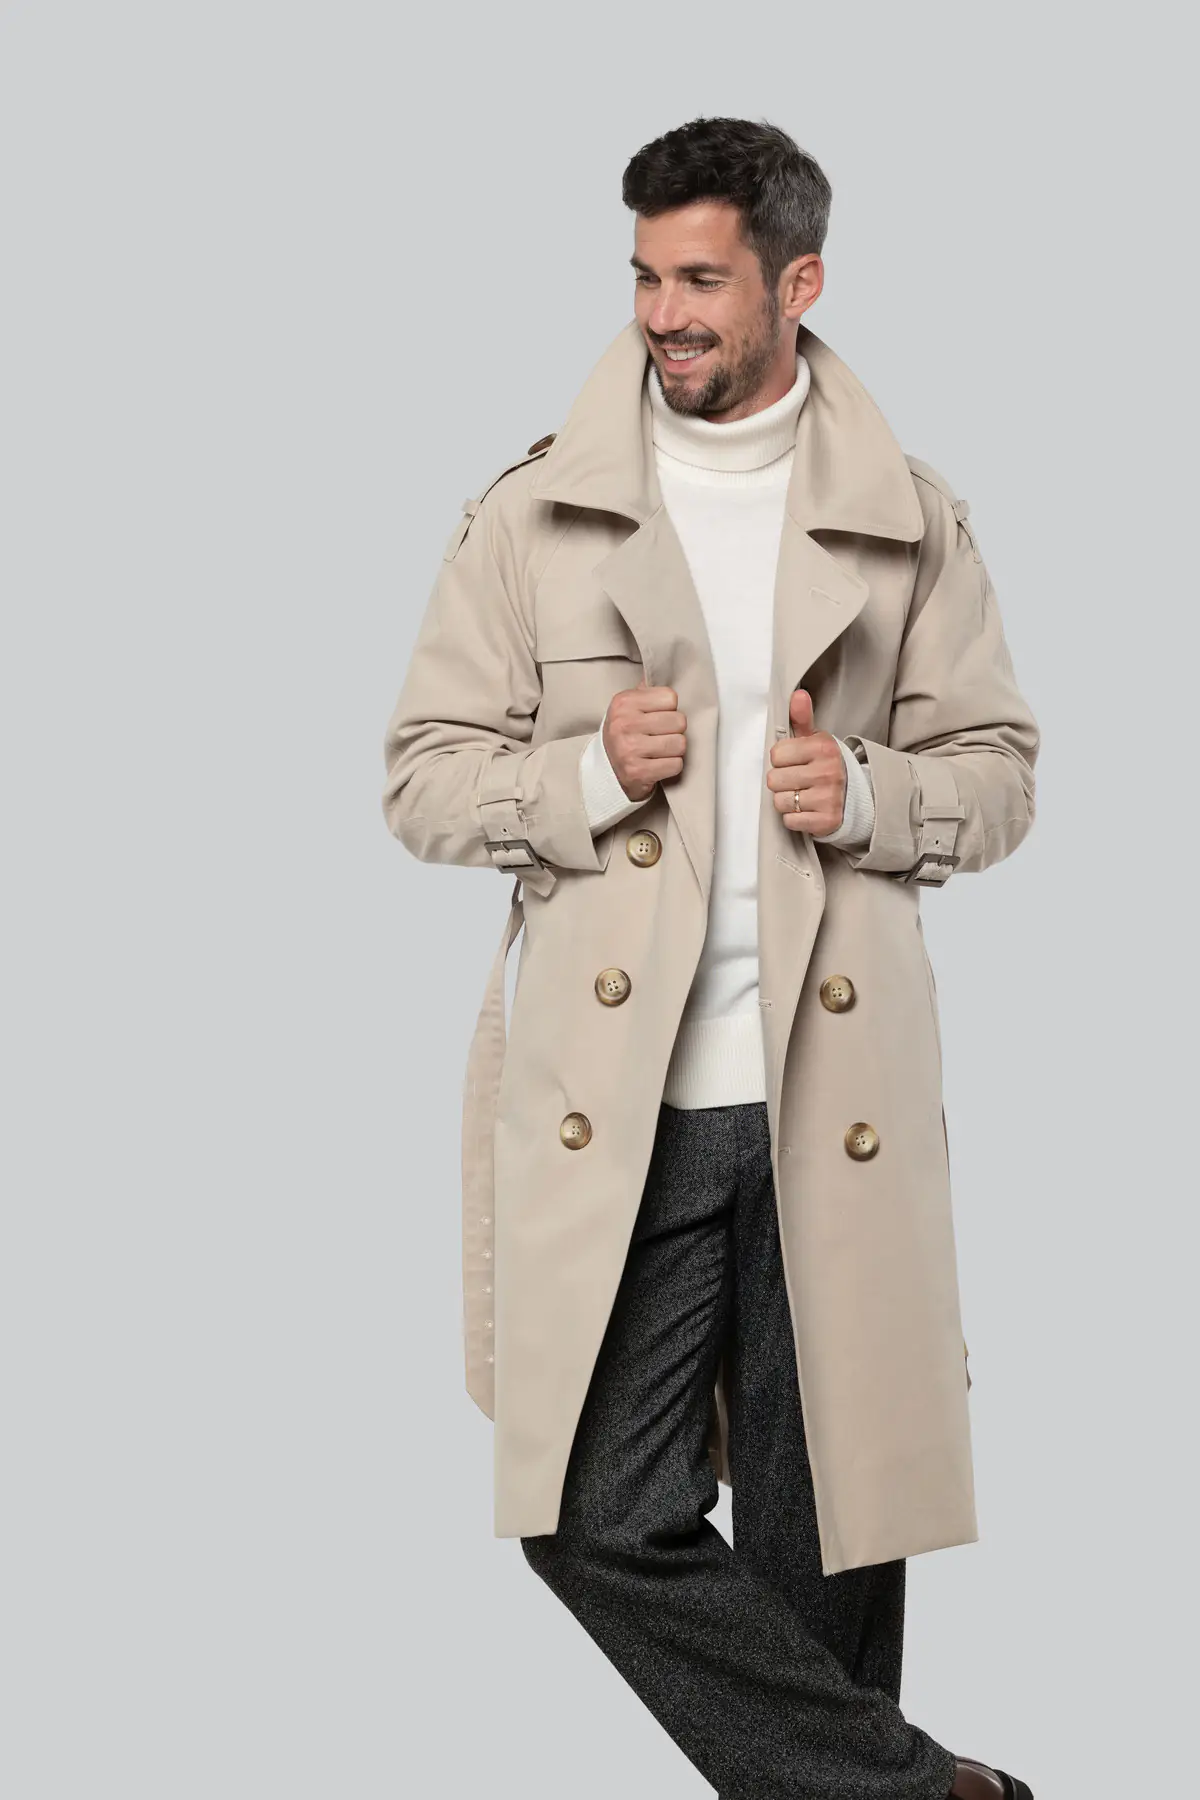
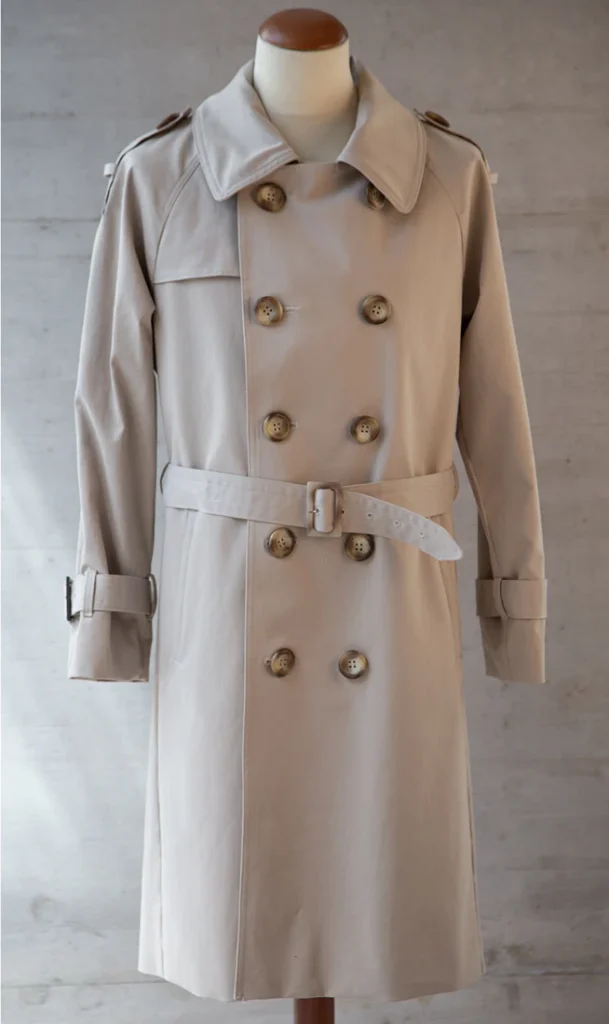
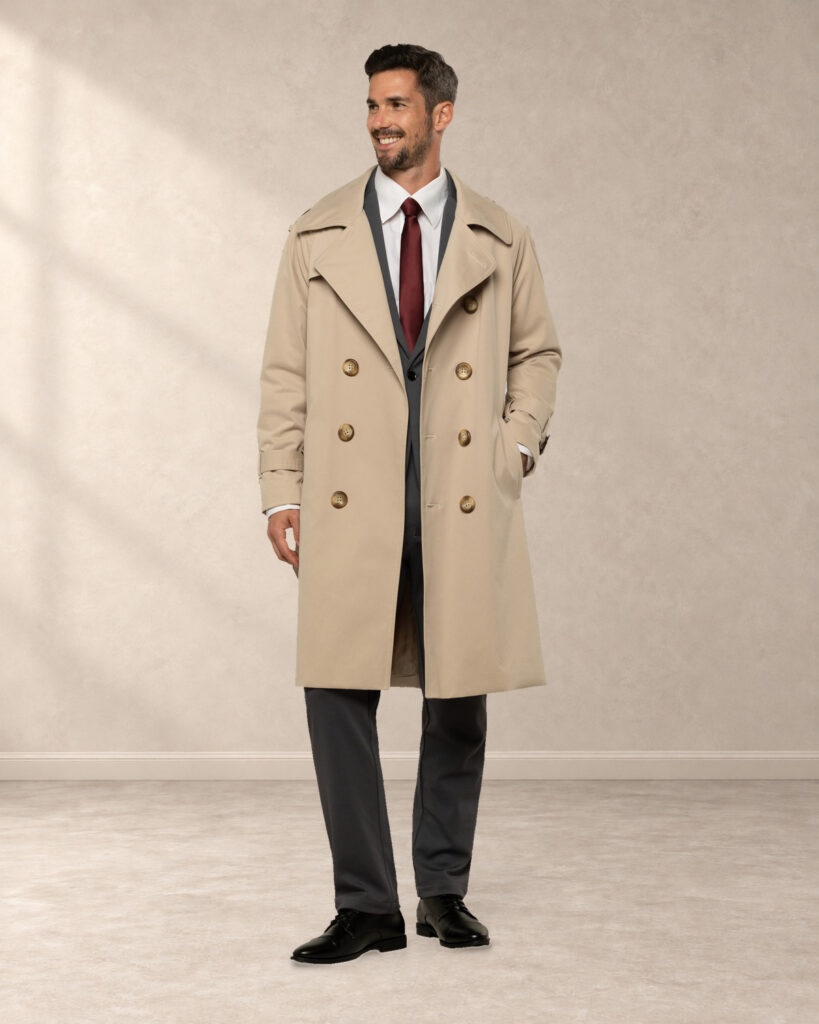
Classic Trench Coat
-
09
↗
Ipswich
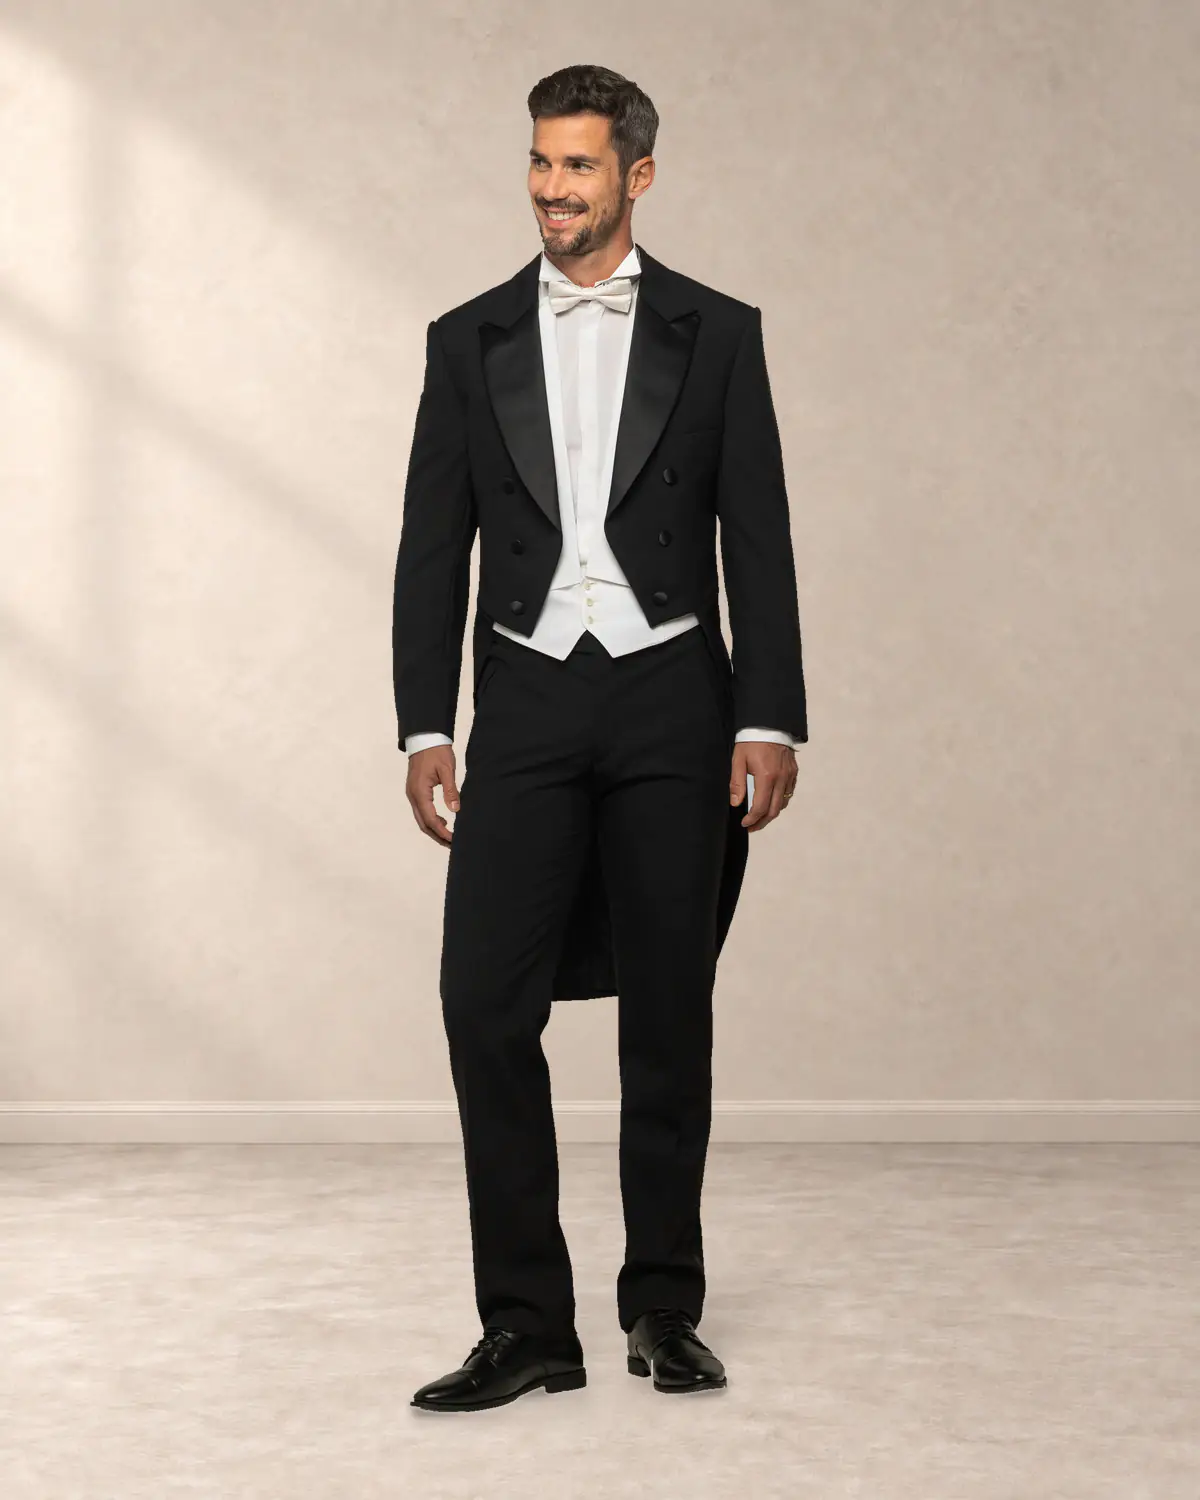
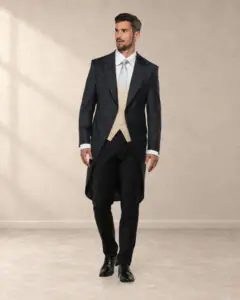
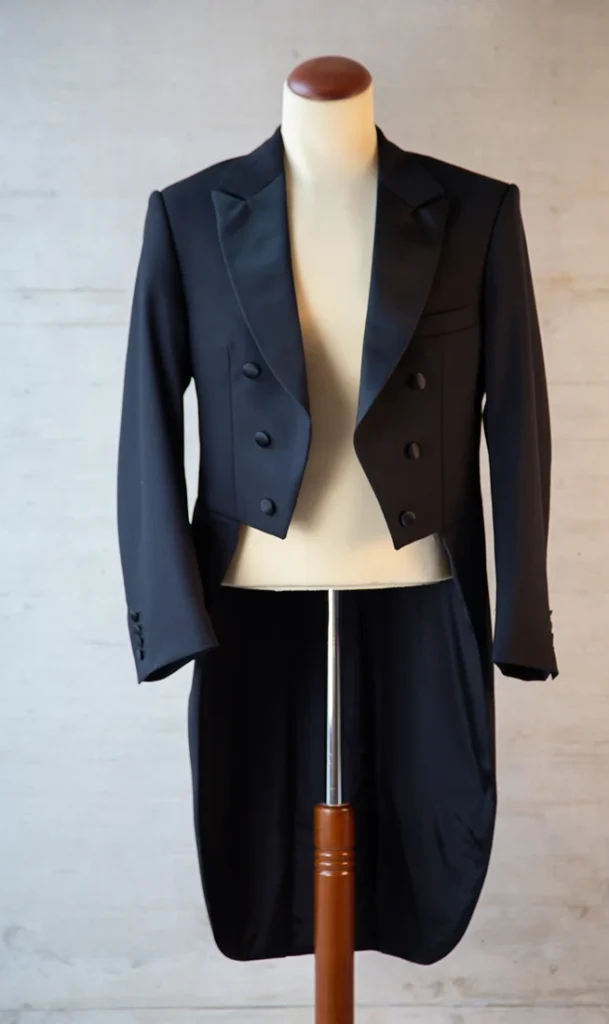
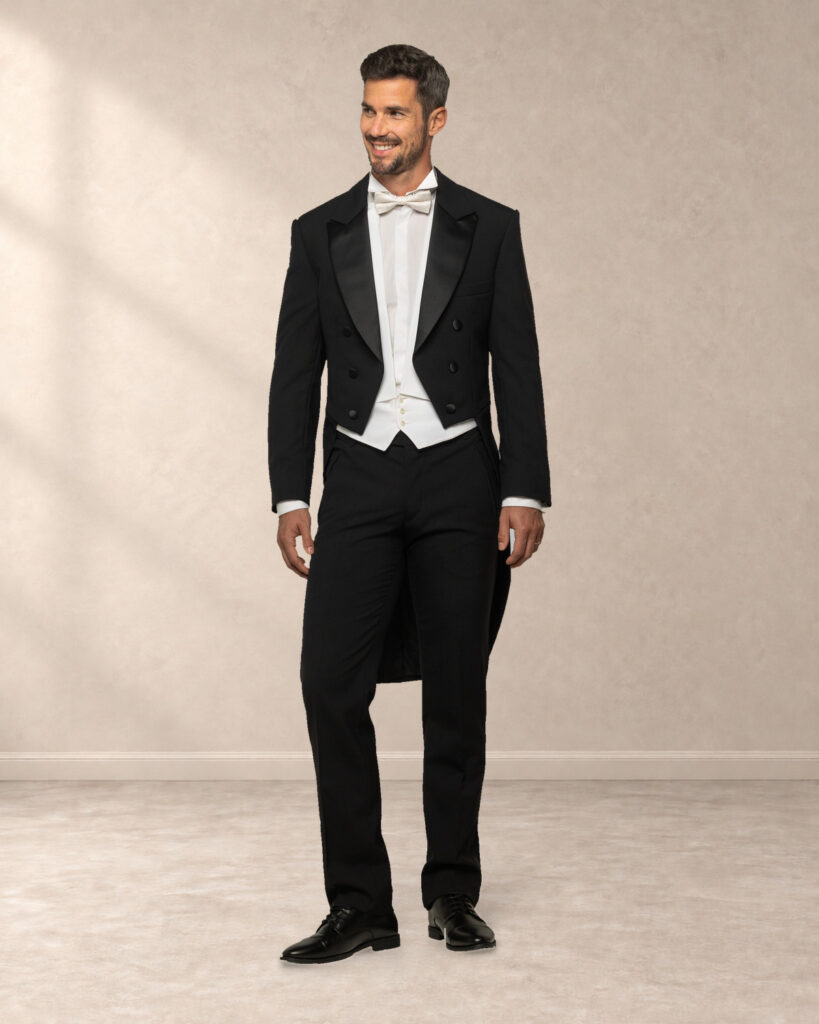
Evening Tailcoat
-
10
↗
Jarrow
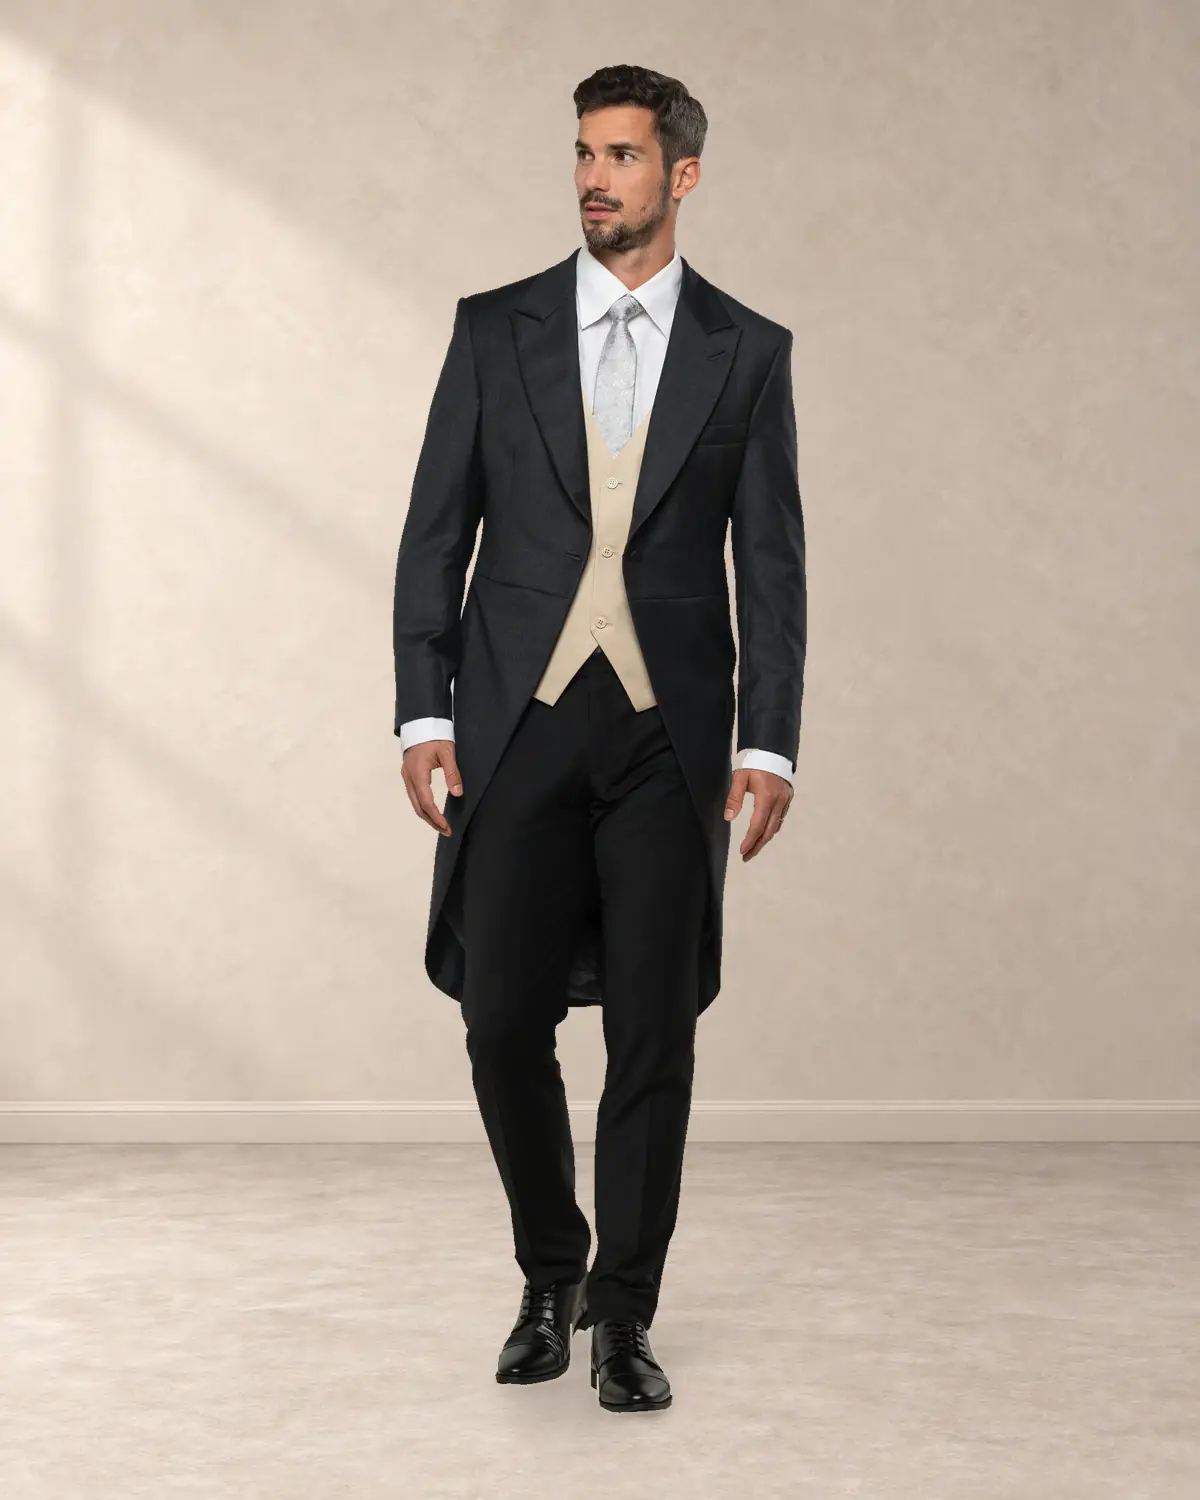
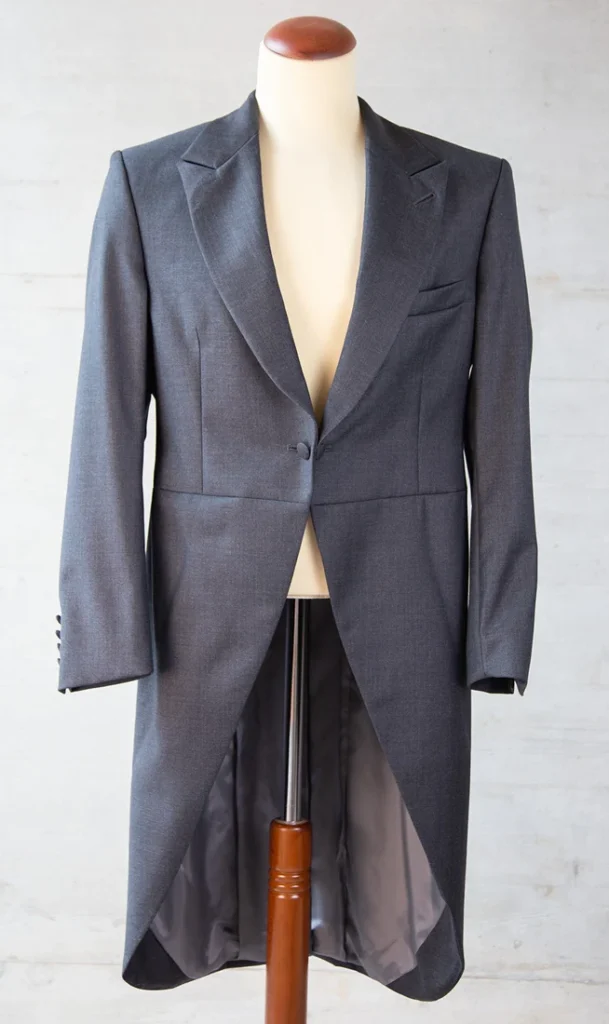
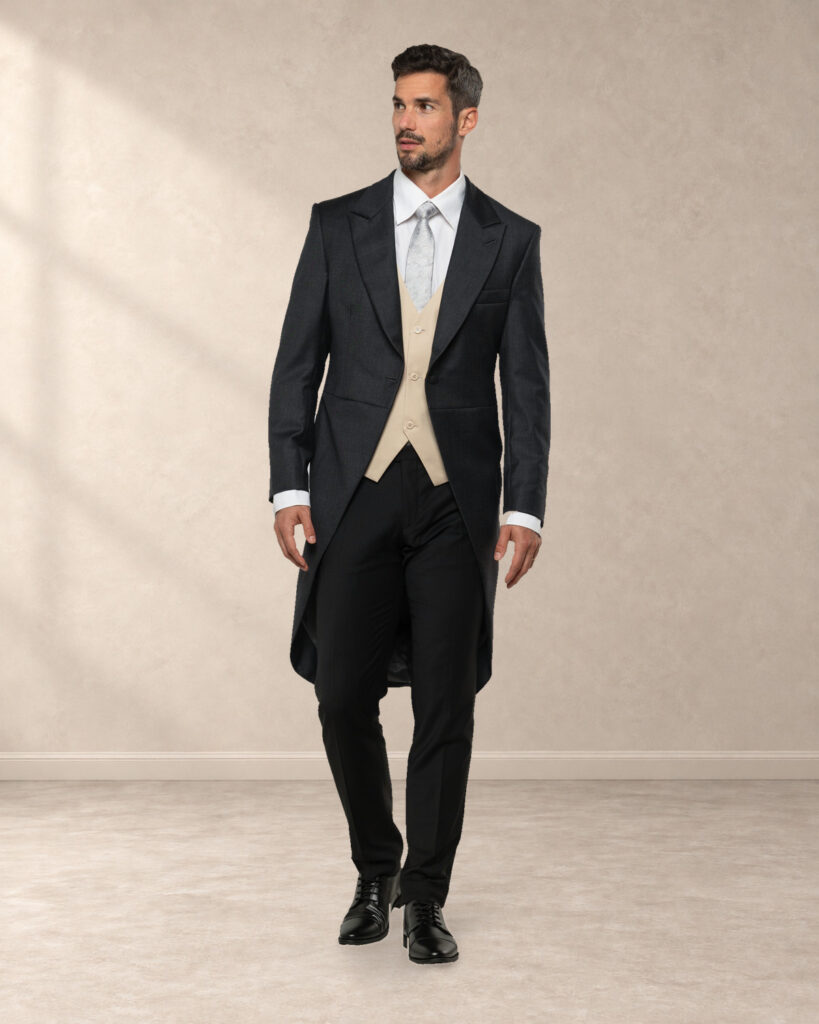
Morning Coat (Cutaway)
-
11
↗
Kent
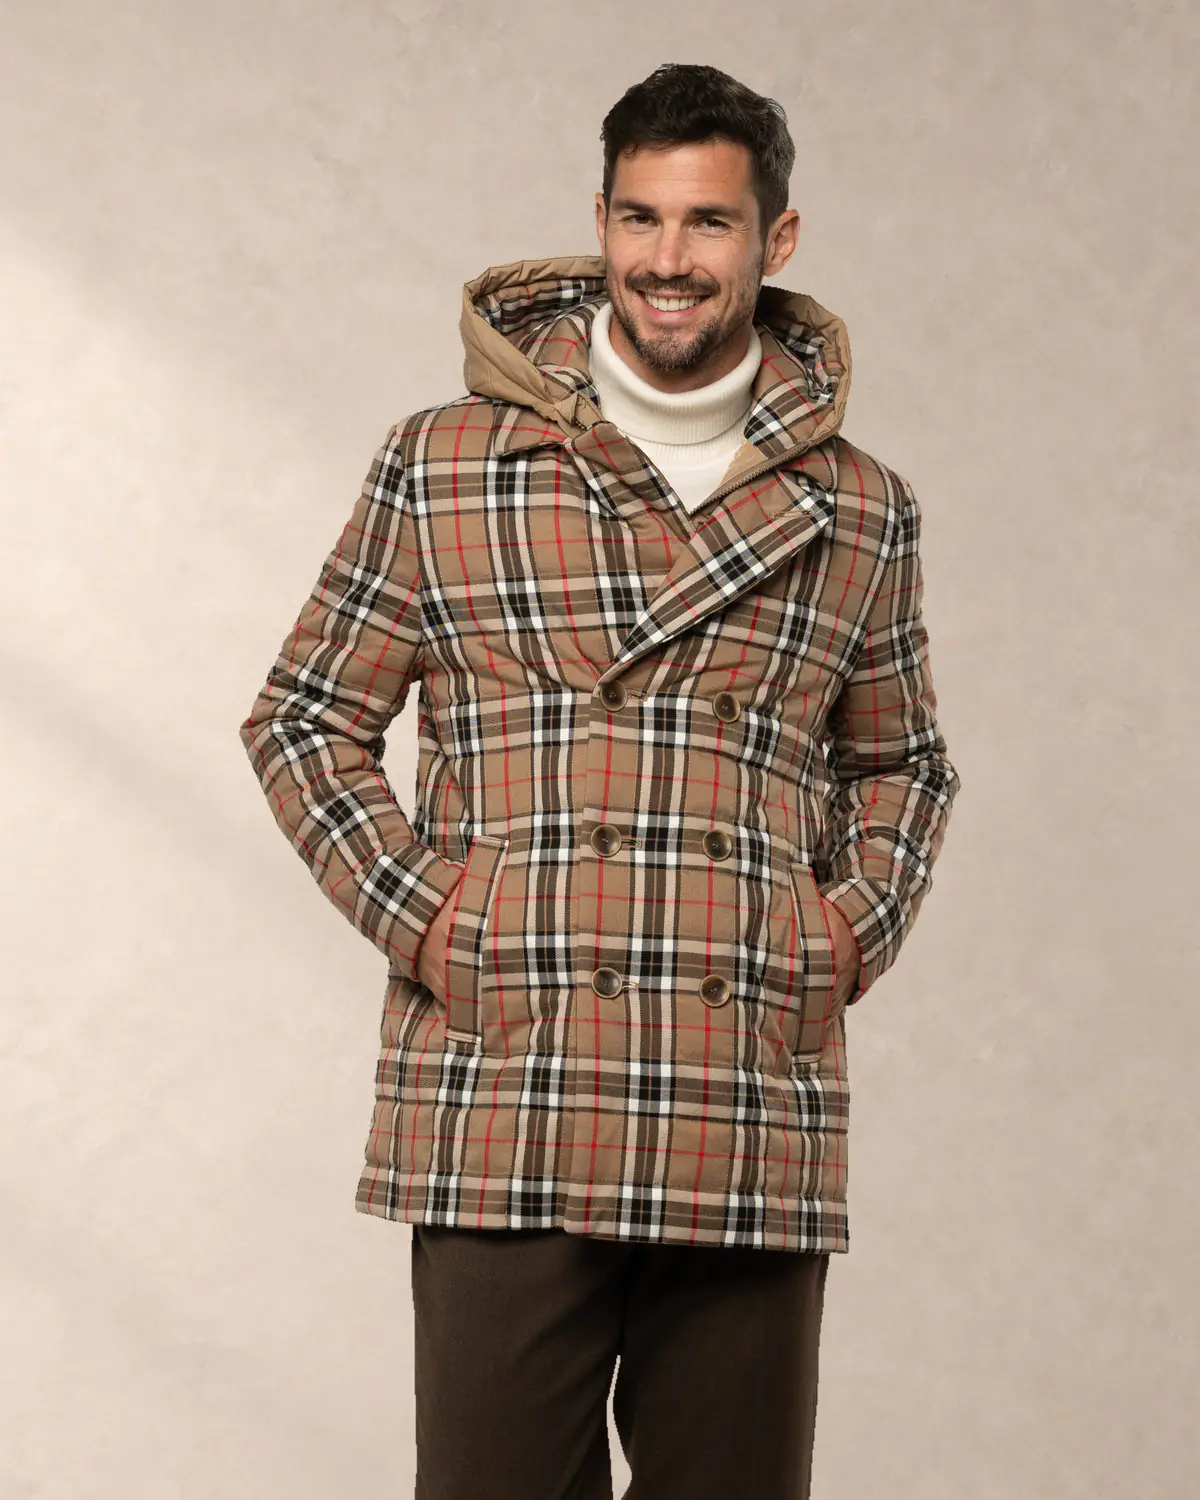
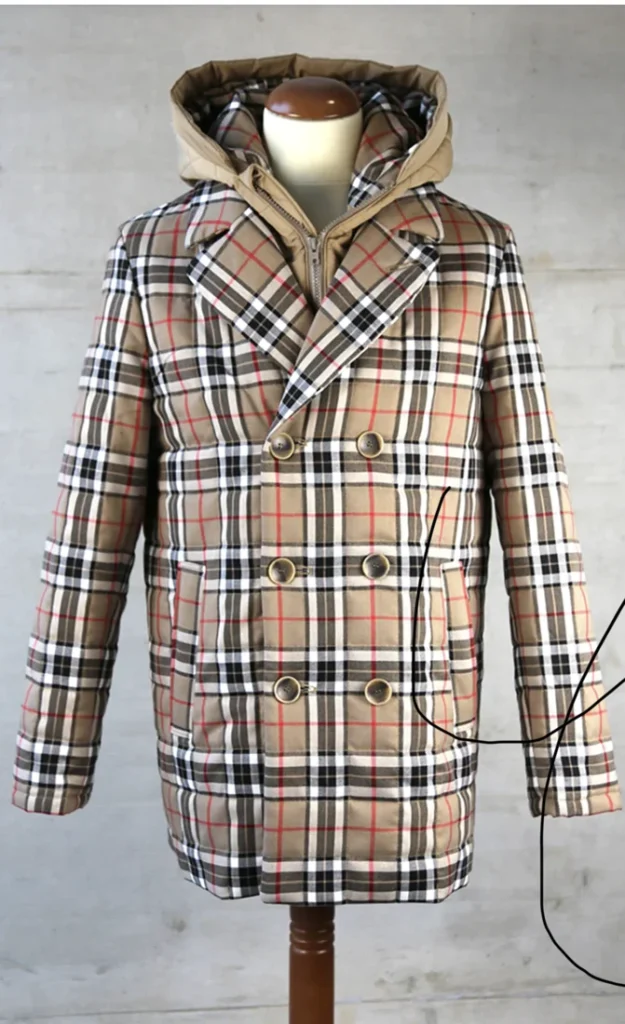
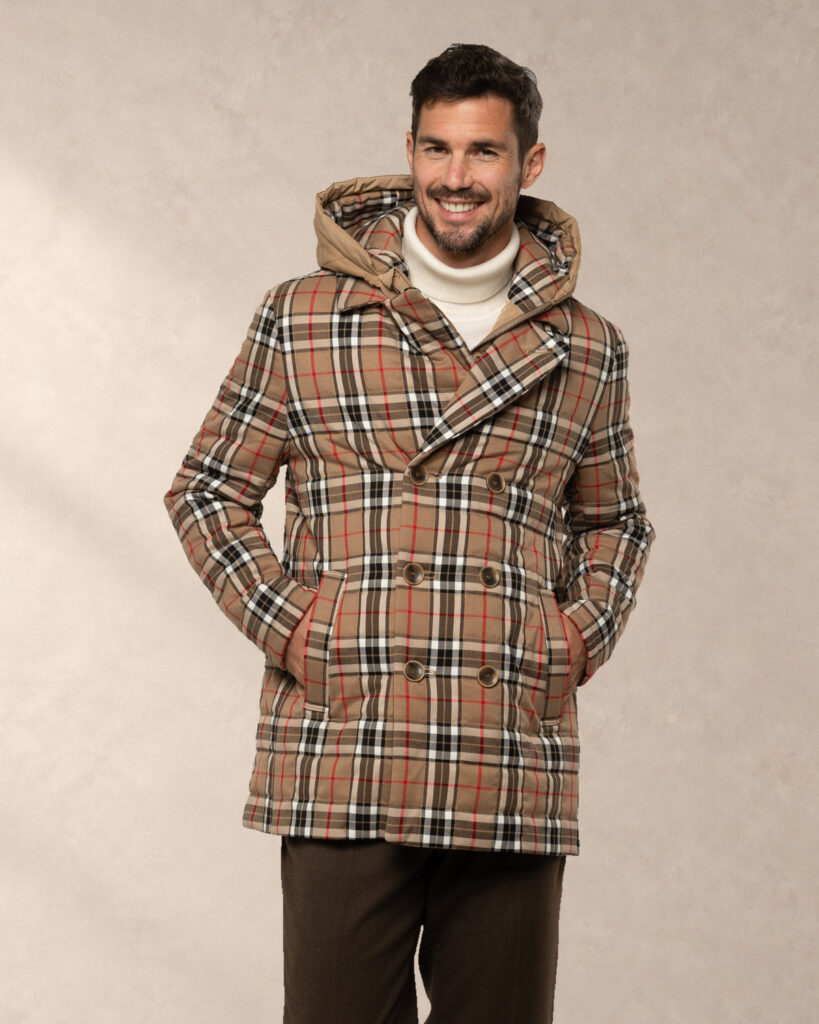
Hooded Jacket
-
12
↗
London
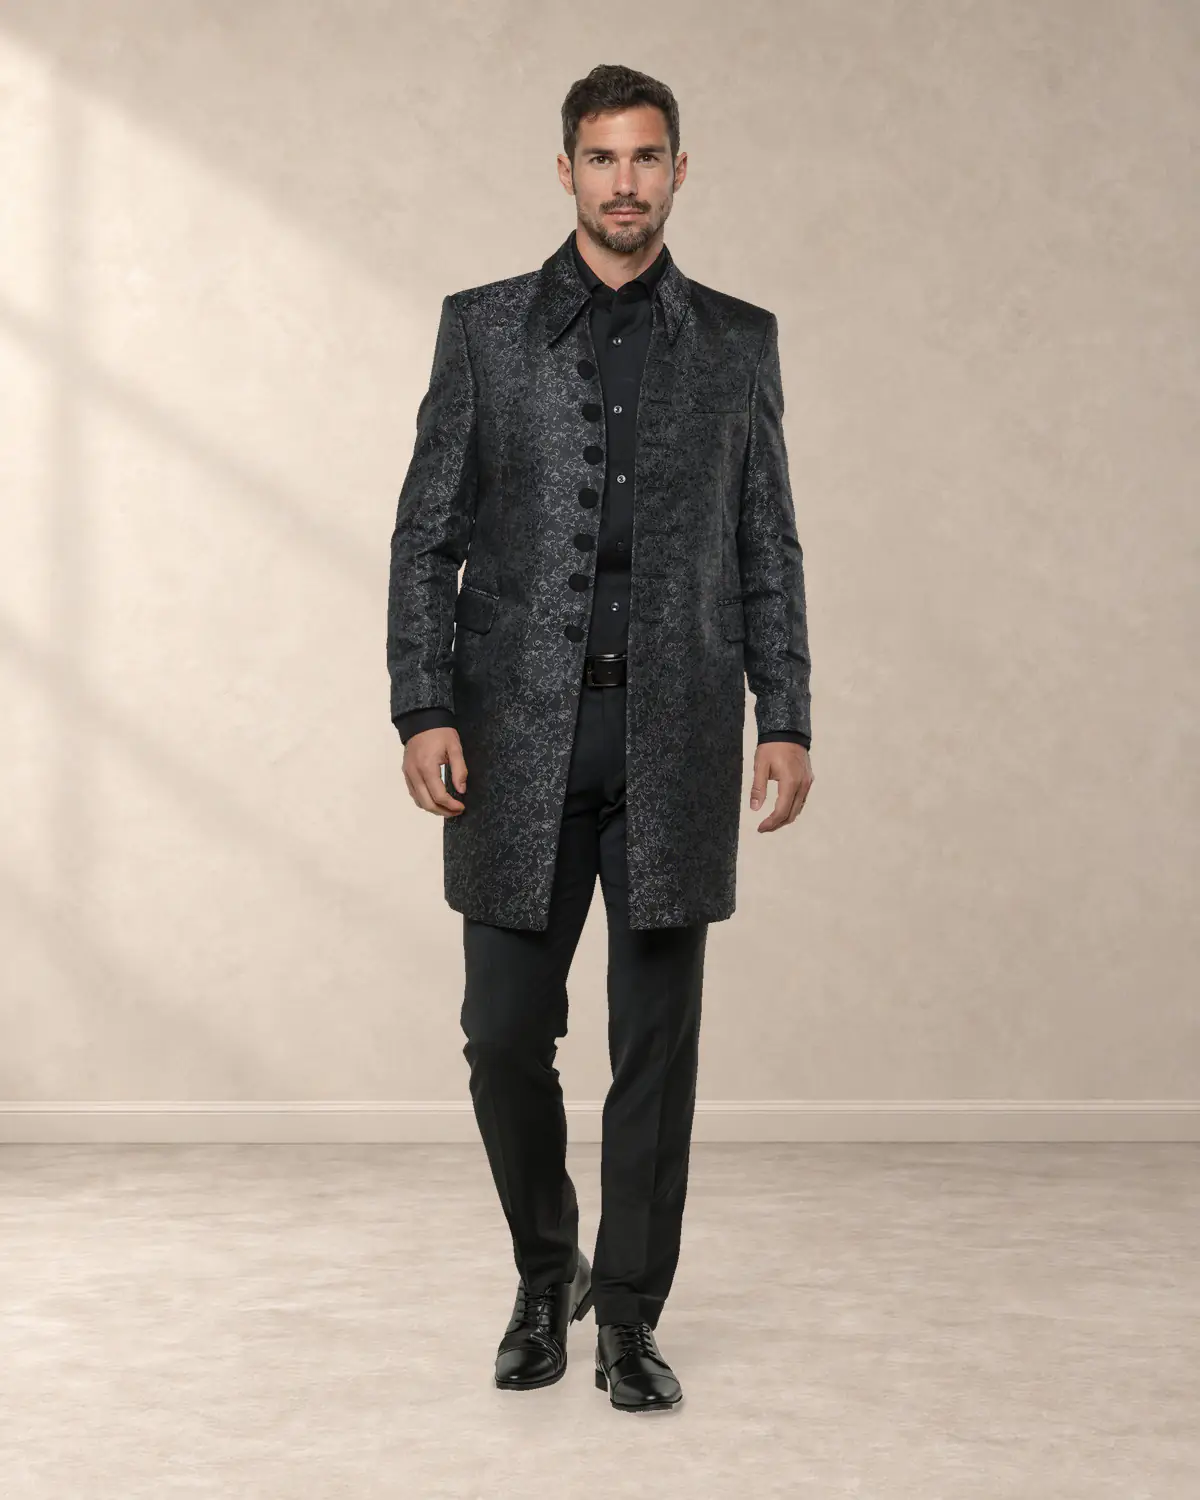
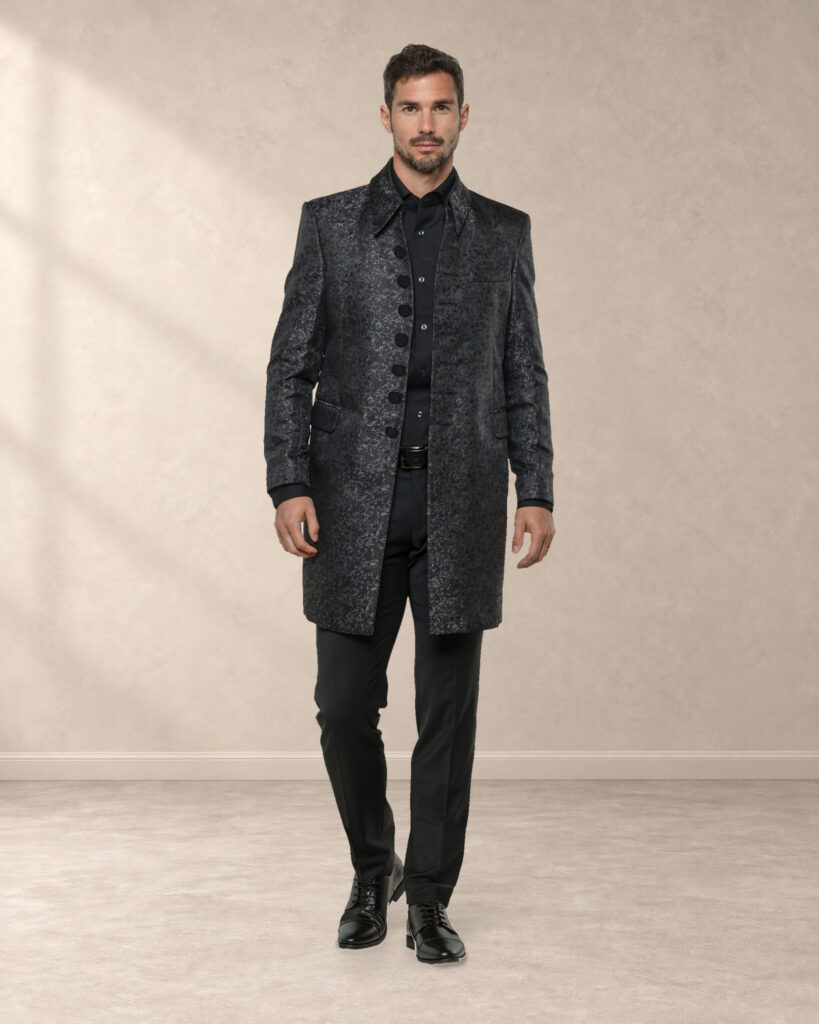
Frock Coat
-
THE FINAL PROJECT Manchester Full-Canvas Jacket From the first basting stitch to the last hand stitch. Bring your tailoring skills together in the bespoke jacket. View garment & details
For each garment, you will receive:
01
Pattern variations and different ways to construct and finish your garments, including lapel shapes, waistbands and fastenings.
02
Professional menswear patterns, with a commercial license to make and sell garments for clients.
03
Follow every construction step with detailed video tutorials and personal expert support.
EXPLORE THE 13 GARMENTS
×


01 / FOUNDATIONS
Alford
Double-breasted Waistcoat
Make a double-breasted waistcoat (vest) with a collar and lapels. Practice precise welt pockets, shaping darts, lining and cleanly finished edges.
What you’ll learn
- Shaping & darts
- Lapels & welt pockets
- Lining & closure


02 / FOUNDATIONS
Bradford
Tailored Trousers
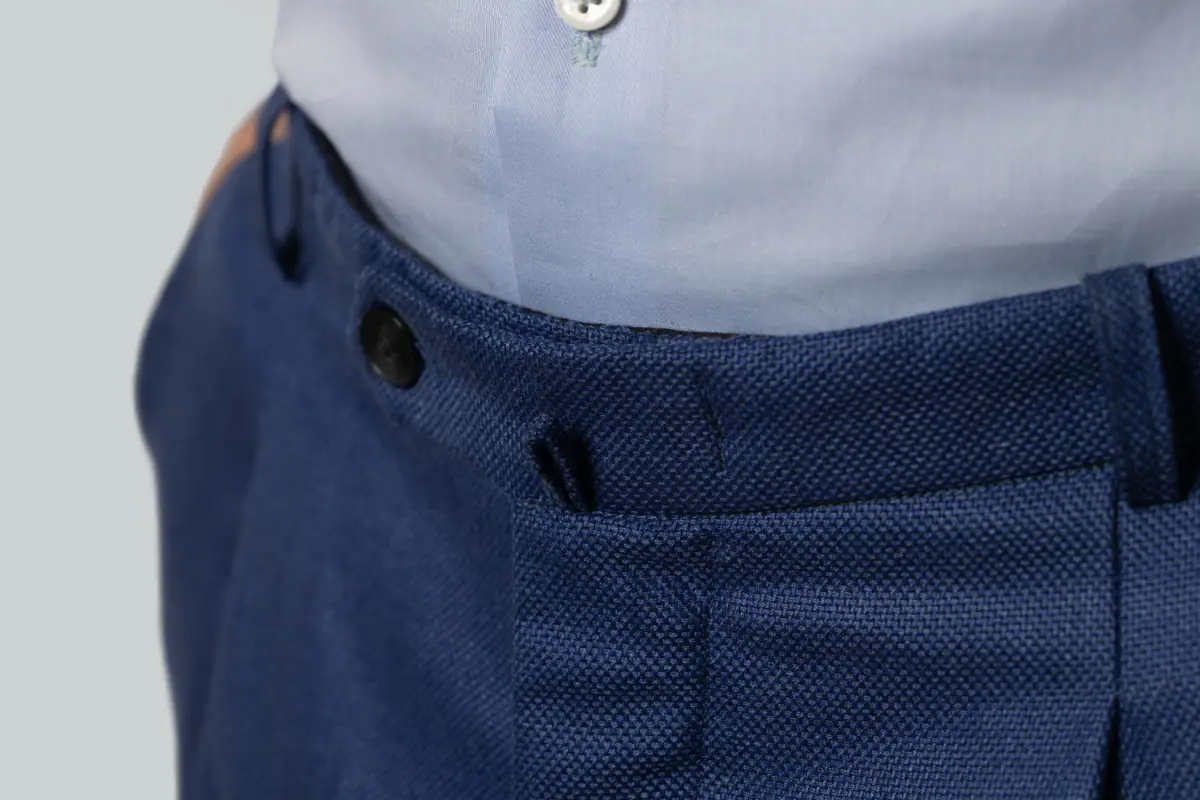
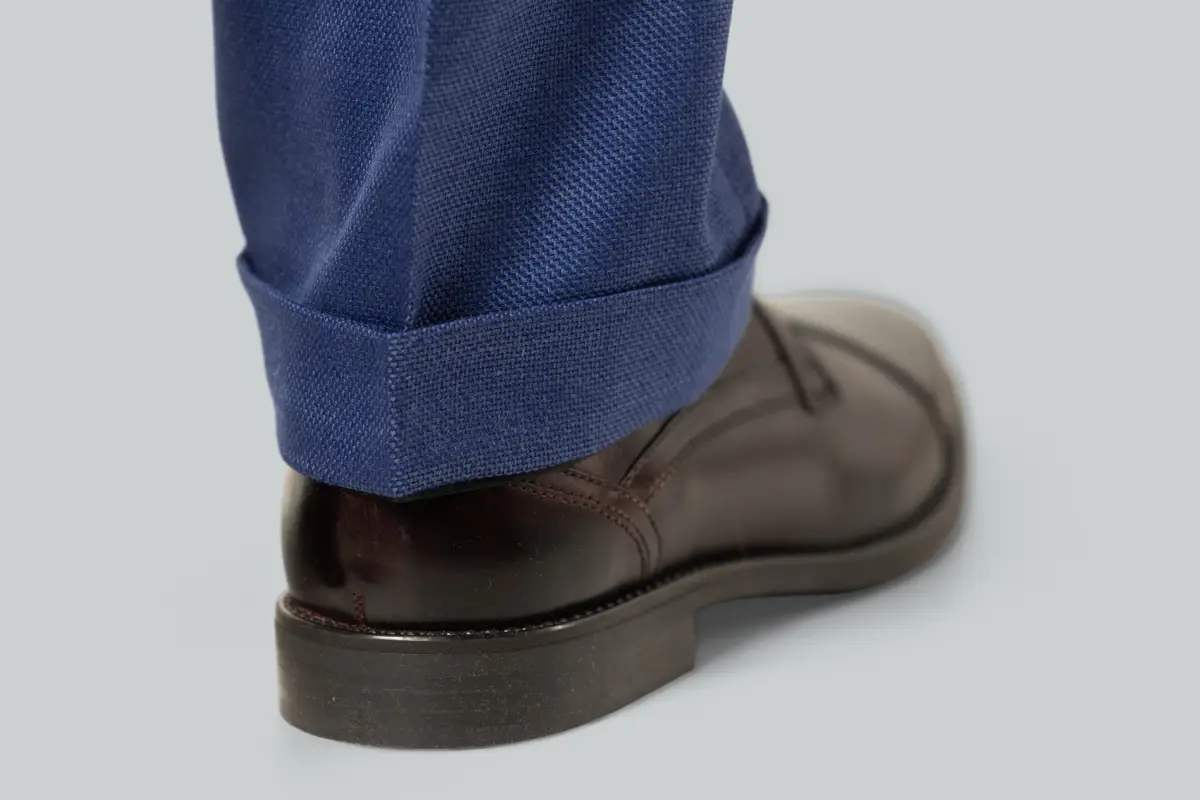
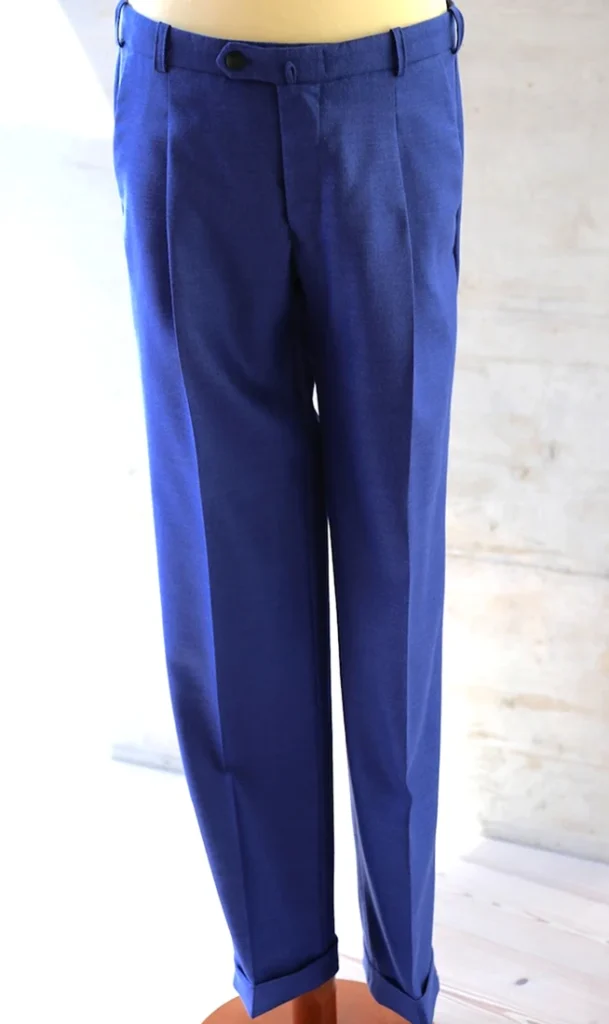
Sew pleated trousers with turn-ups (cuffs). Learn to construct the waistband, fly and pockets, and press a sharp, accurate crease.
What you’ll learn
- Waistband & fly
- Pockets & pleats
- Leg line & cuffs


03 / FOUNDATIONS
Cambridge
Cufflink Shirt
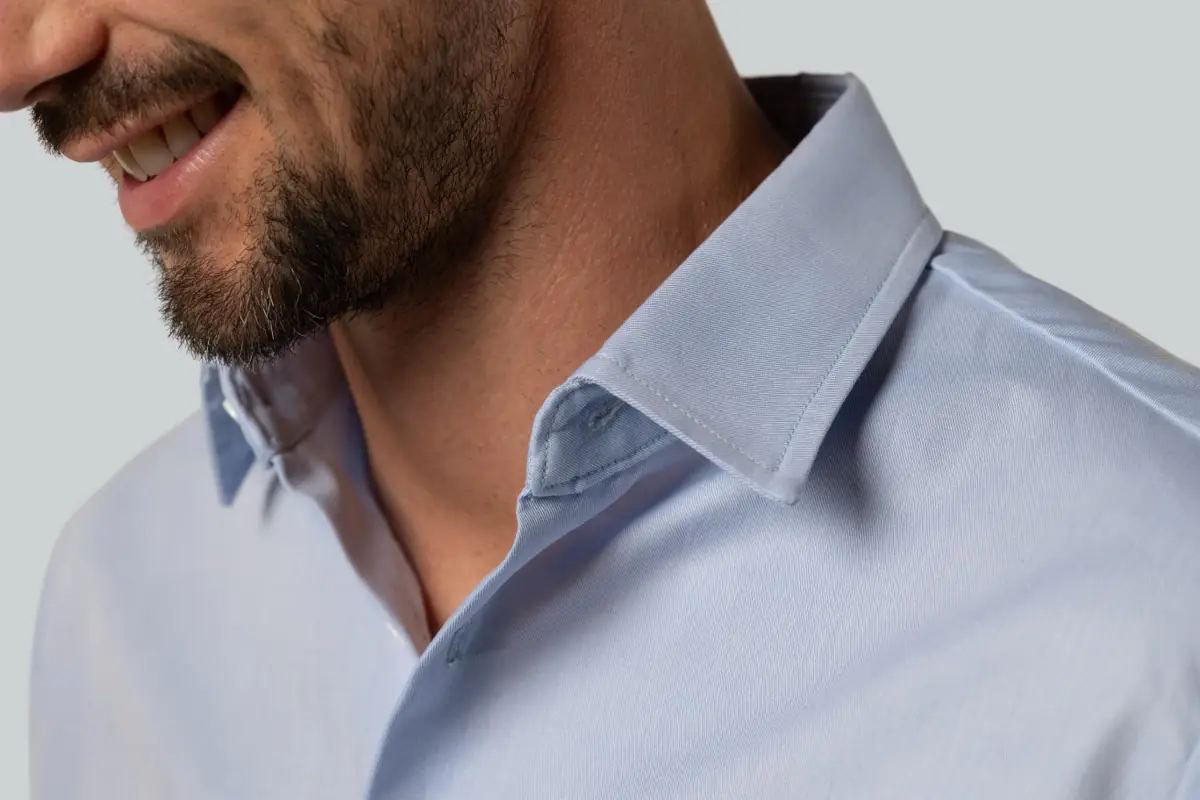
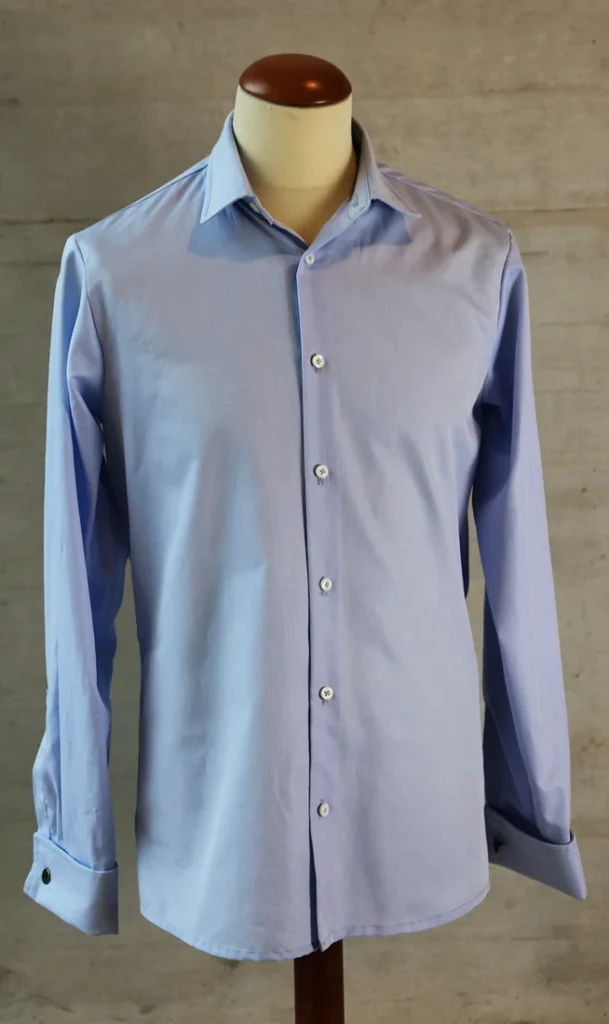
Make a shirt with French cuffs (double cuffs). Work through the collar, sleeves and back yoke, then explore different collar shapes and front fastenings.
What you’ll learn
- Collar construction
- Sleeves & cuffs
- Precise edges


04 / TAILORED JACKETS
Dover
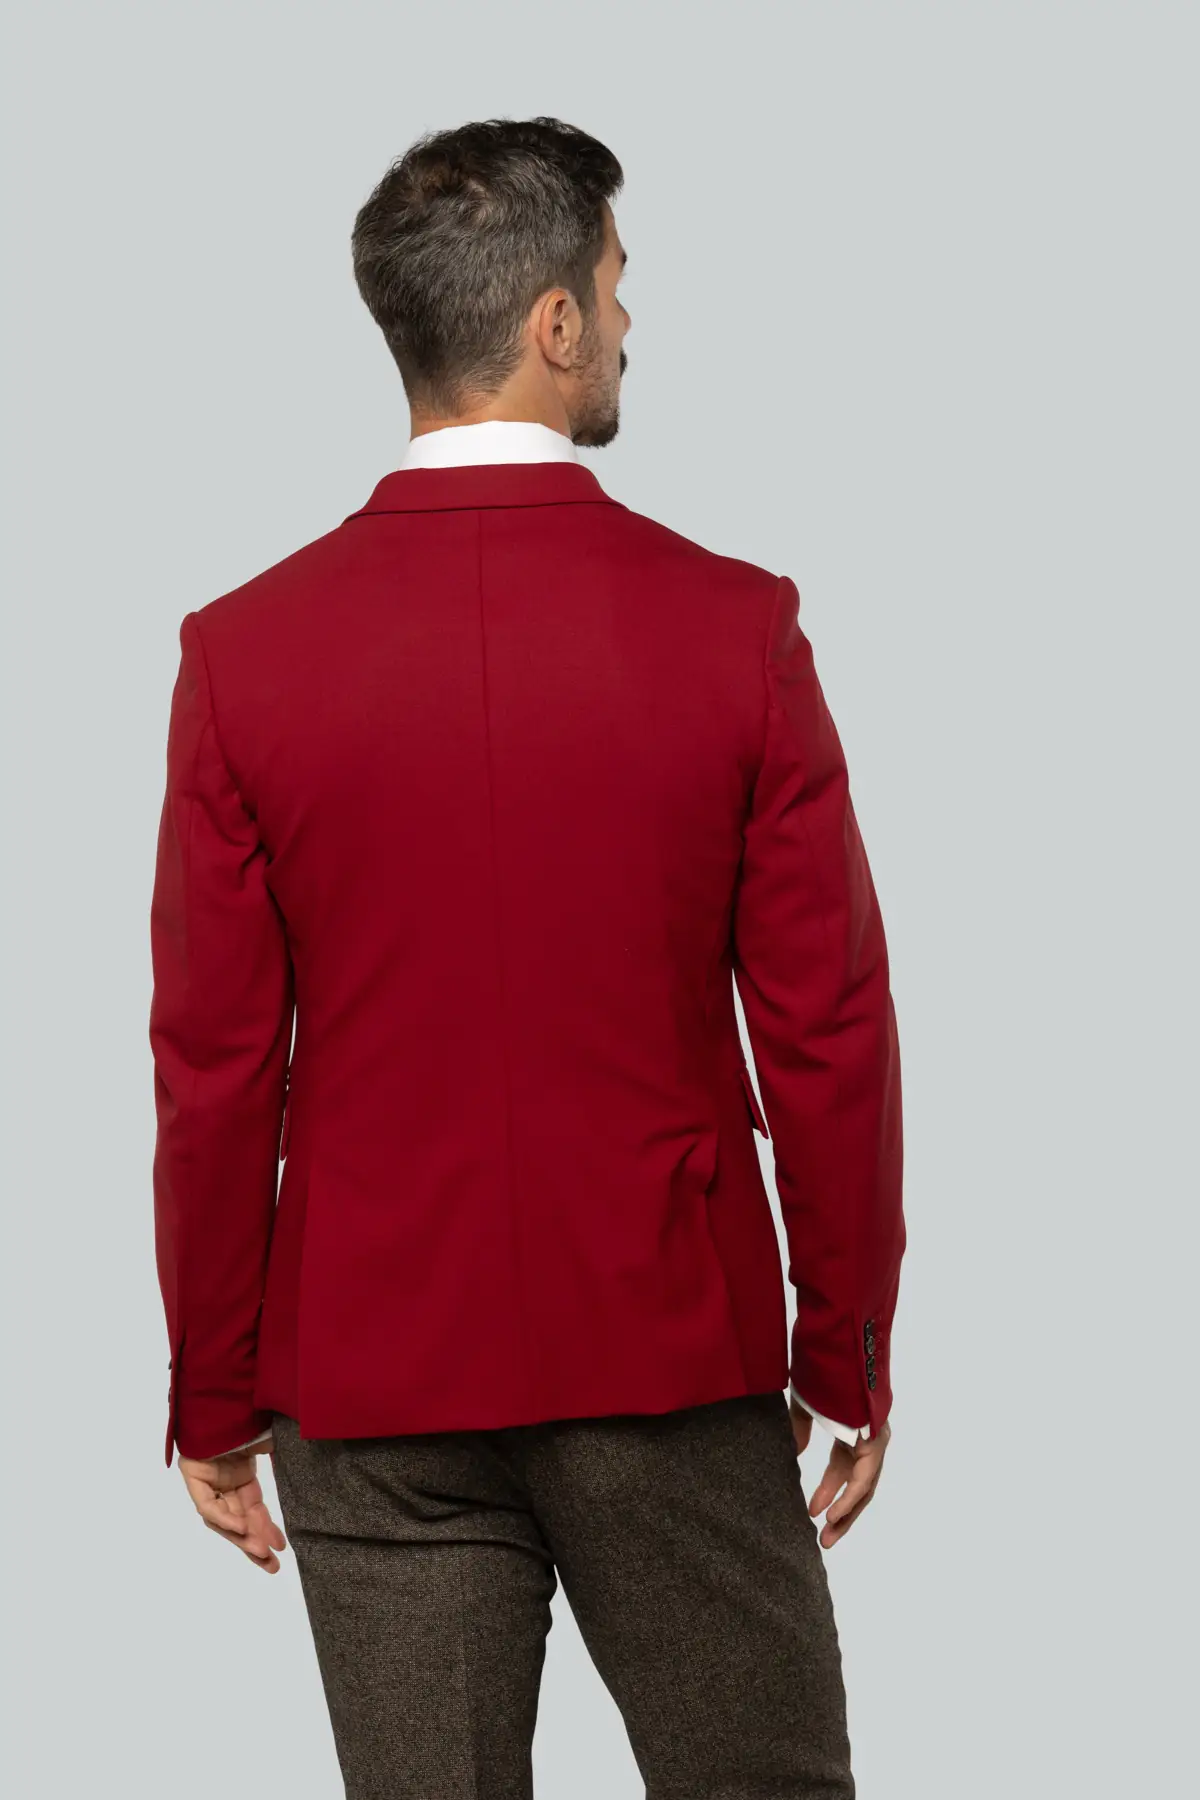
Double-breasted Jacket
Make your first suit jacket in the course: a classic double-breasted design. Learn how the chest piece, shoulder structure, lapels and lining work together to shape the finished jacket.
What you’ll learn
- Double-breasted front
- Lapels & pockets
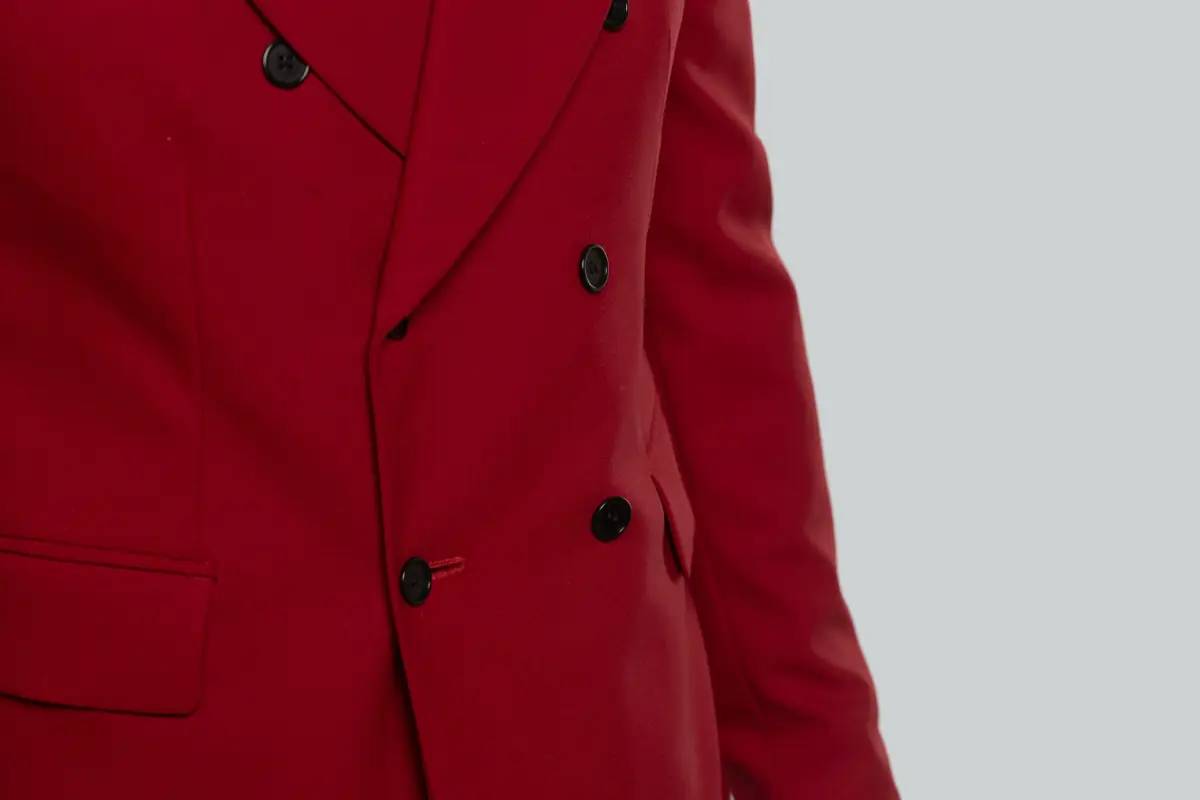
- Jacket structure


05 / OUTERWEAR
Eastbourne
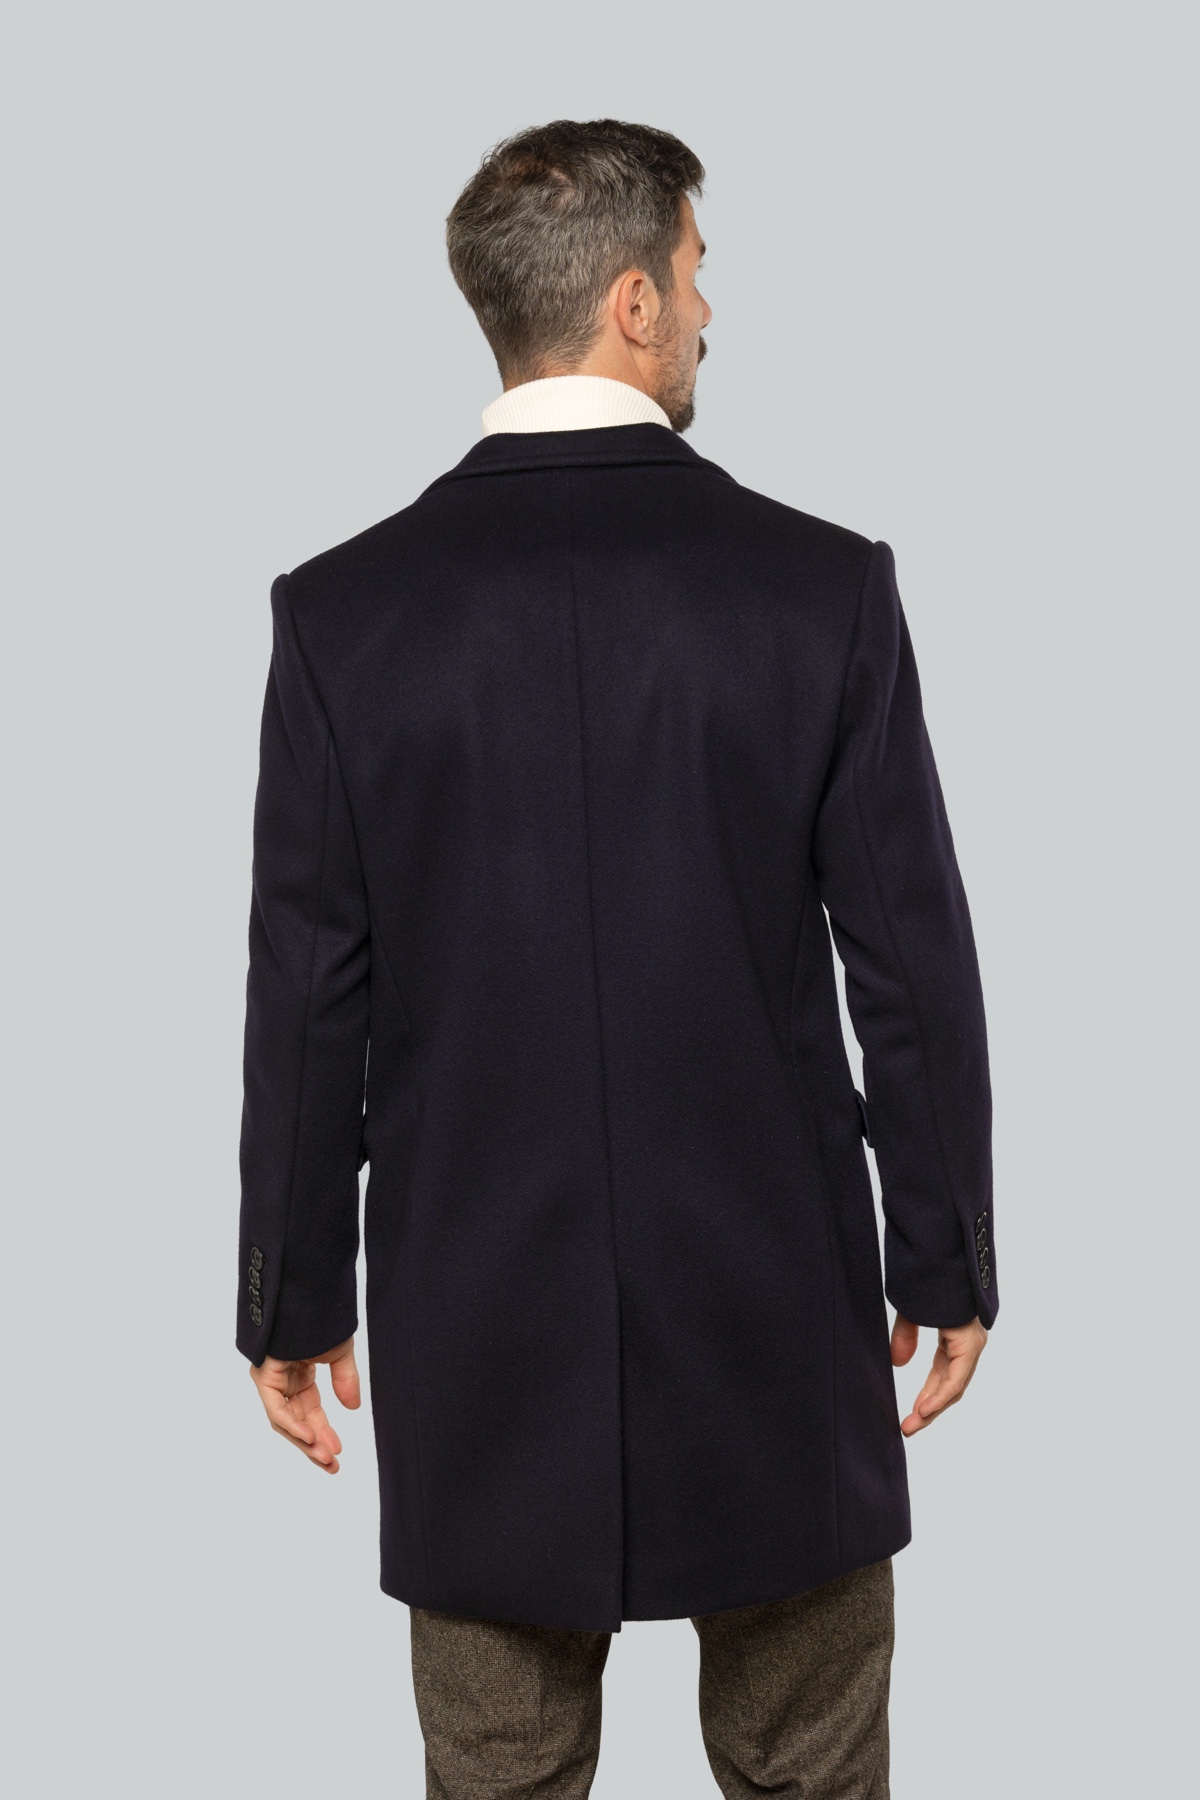
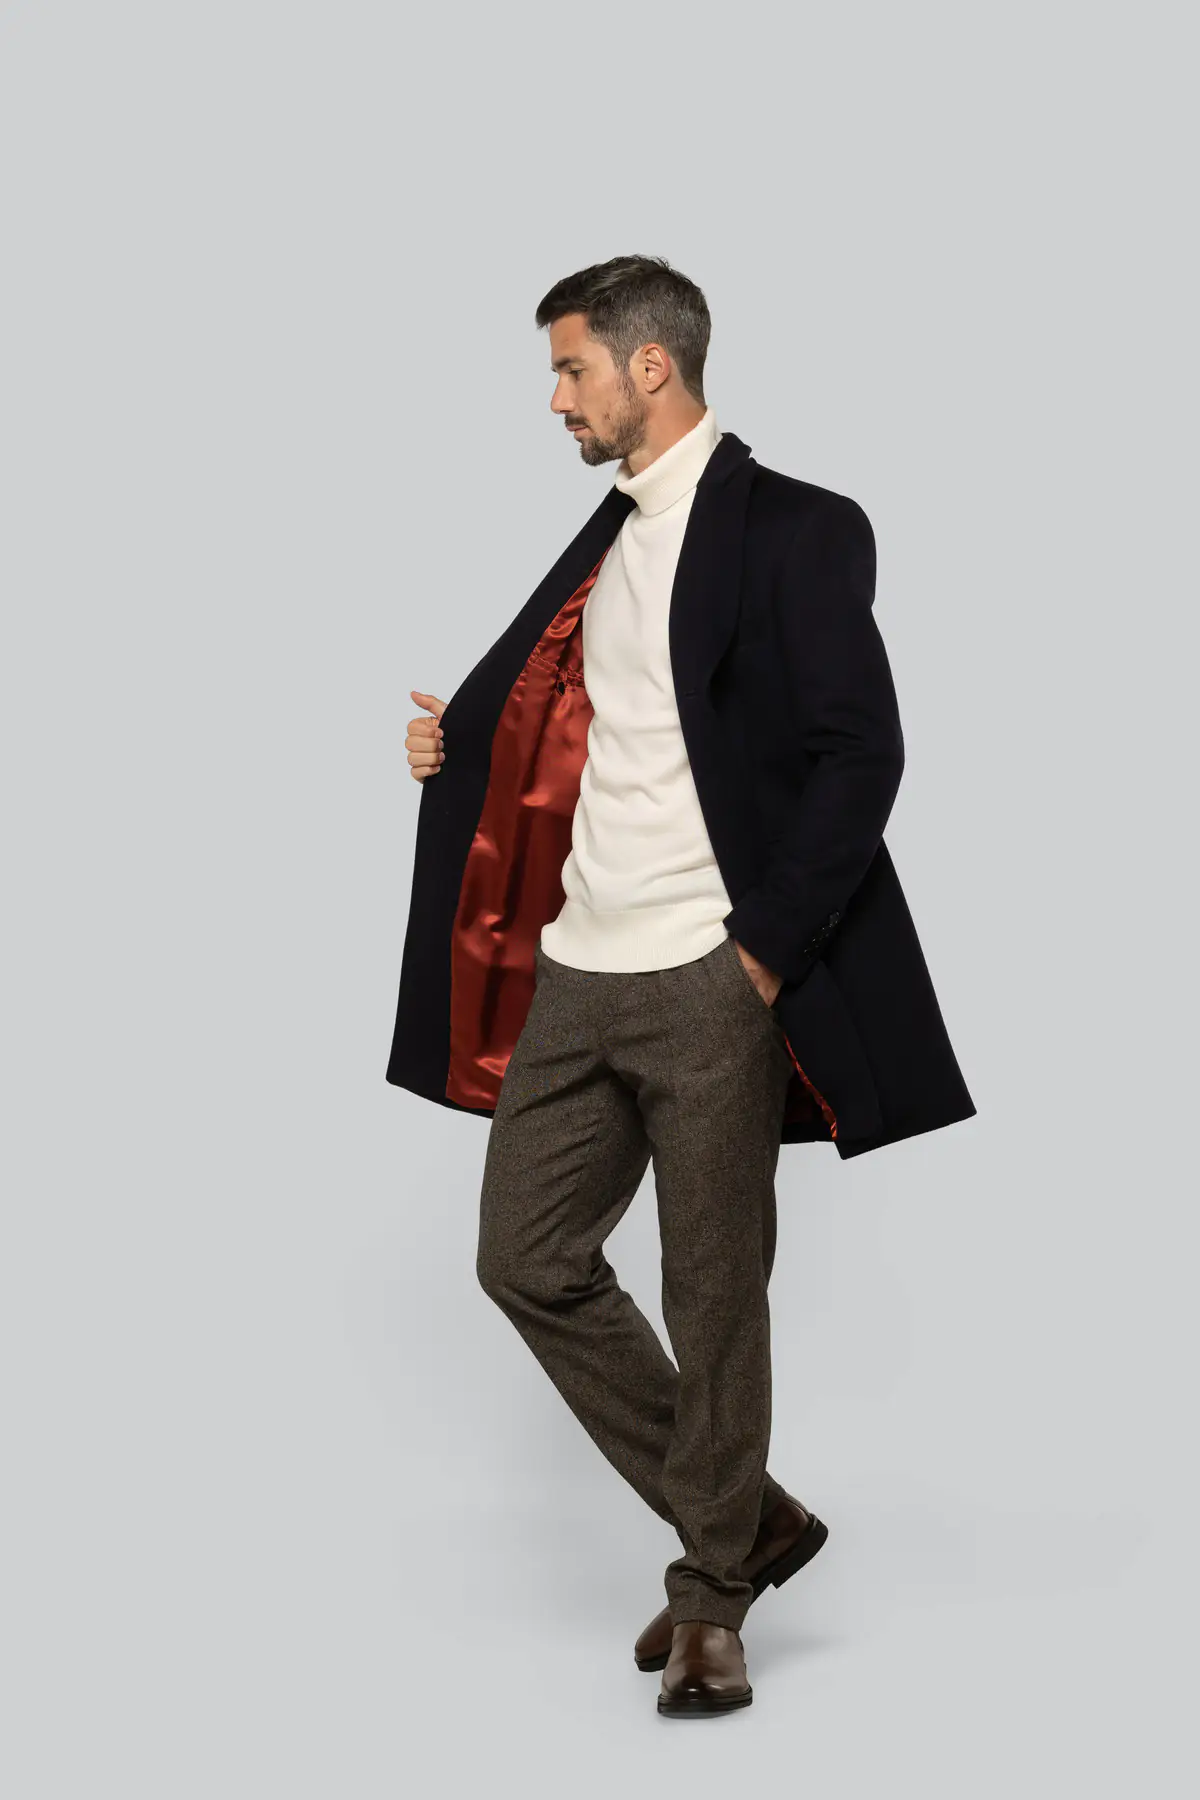
Overcoat
Build on your jacket-making skills to create a tailored overcoat. Plan for the layers worn underneath, work with the fabric nap, and construct the lapels, pockets and lining.
What you’ll learn
- Coat proportions
- Collar & pockets
- Lining & finishing


06 / EVENINGWEAR
Folkestone
Tuxedo Trousers
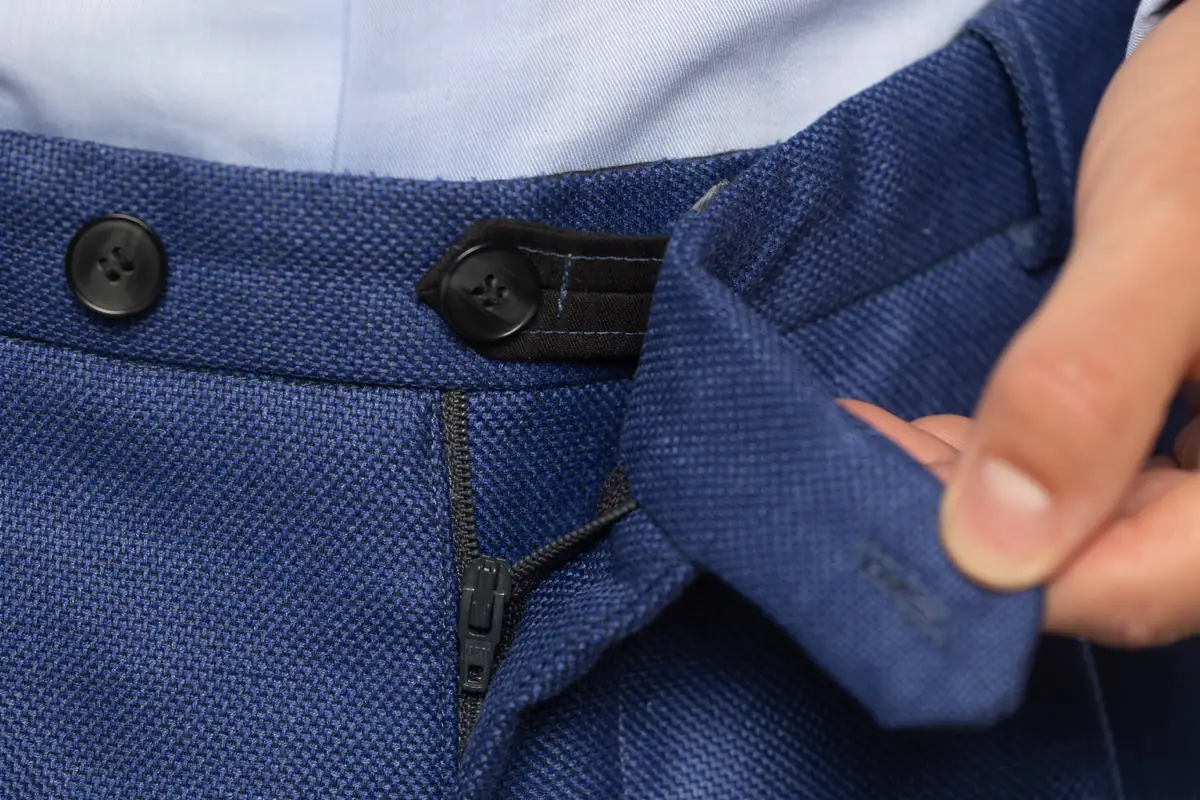
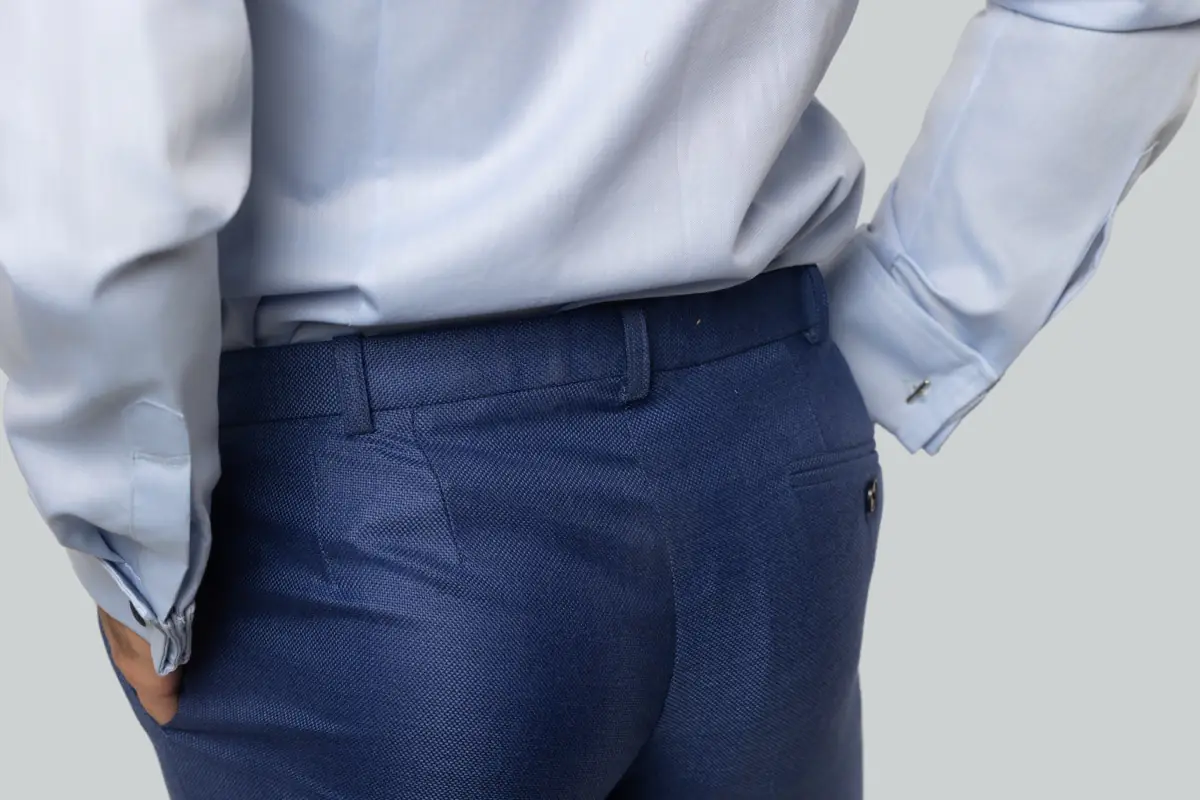
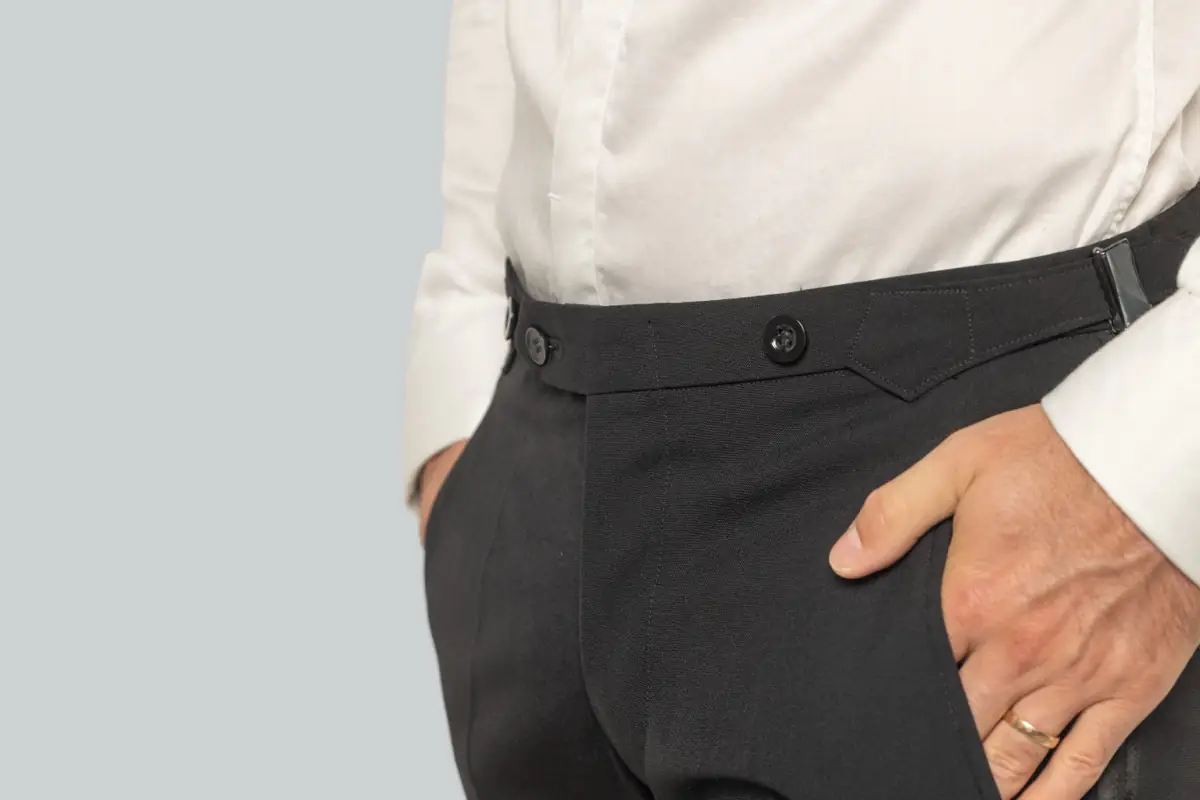
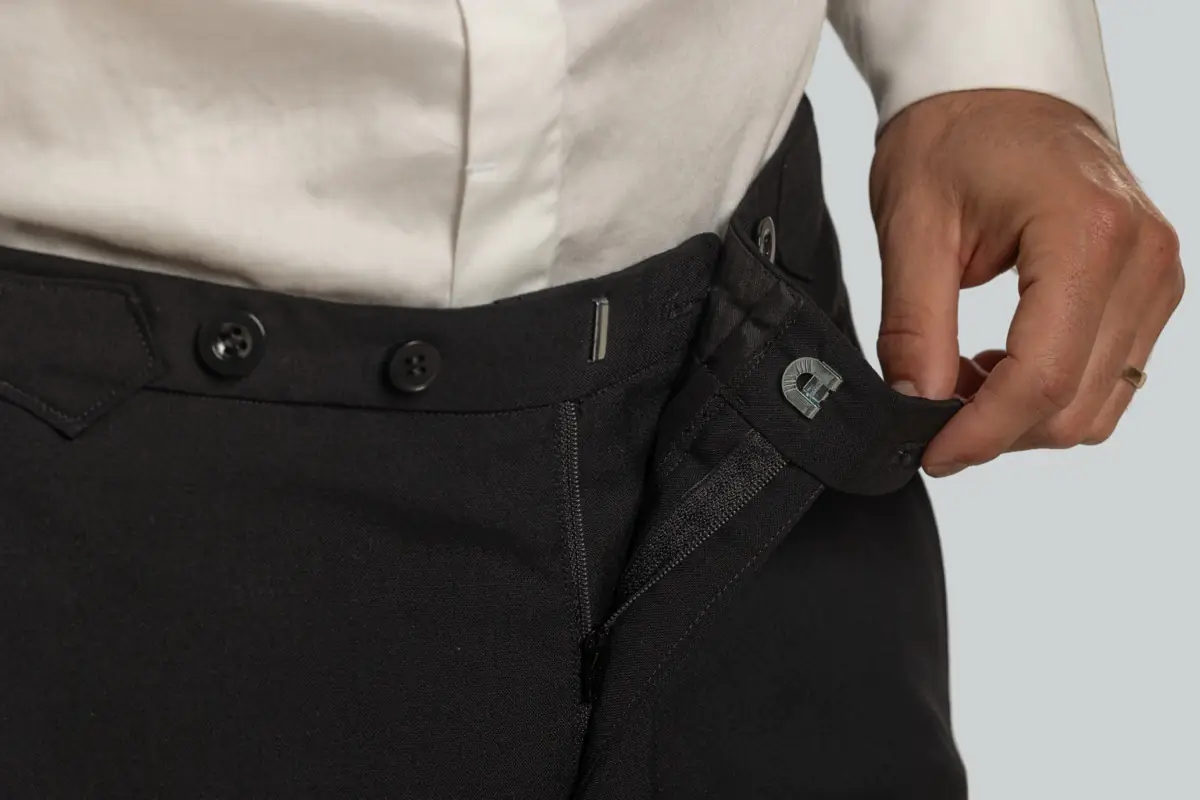
Make tuxedo trousers with side braid and a raised waistband for suspenders (braces). Explore different waistband constructions, side adjusters and formal trouser finishes.
What you’ll learn
- Waist construction
- Side adjusters
- Formal finishing


07 / EVENINGWEAR
Guildford
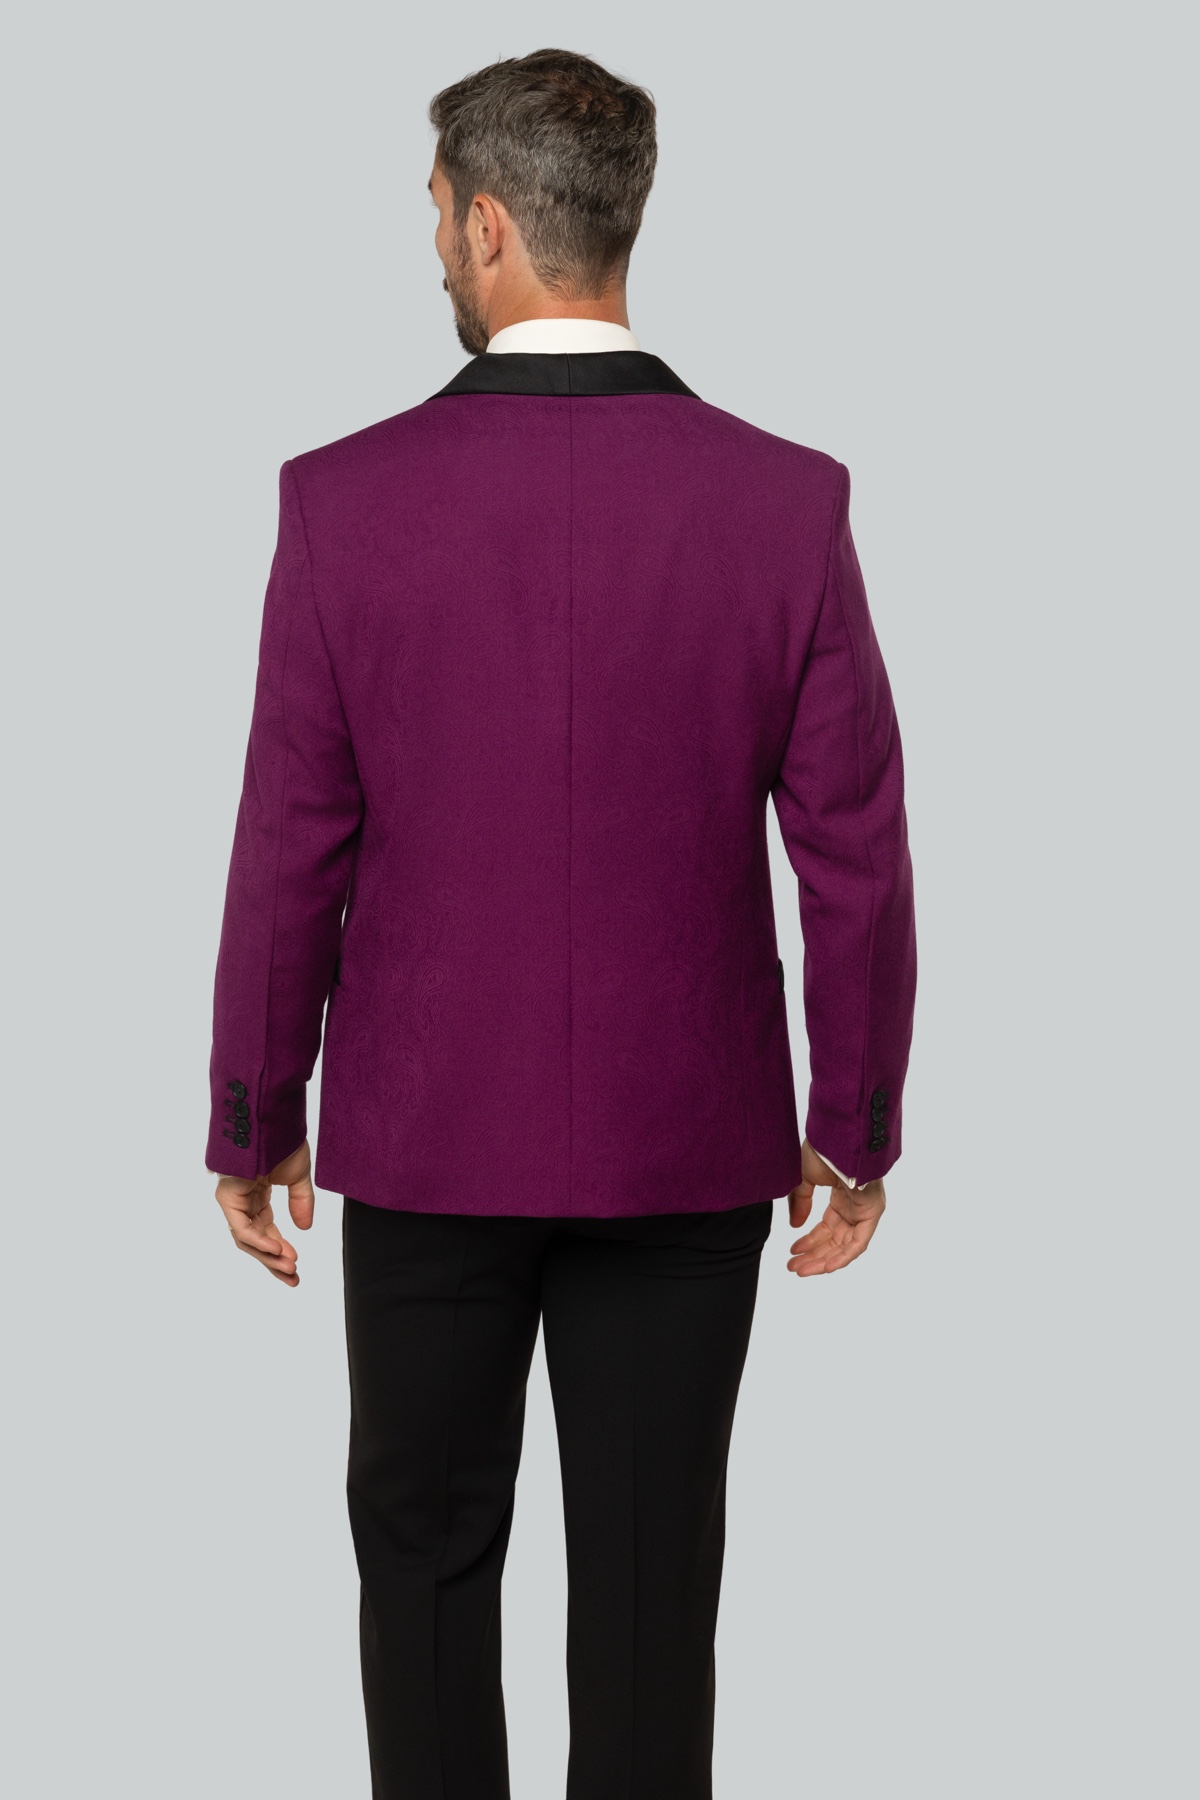
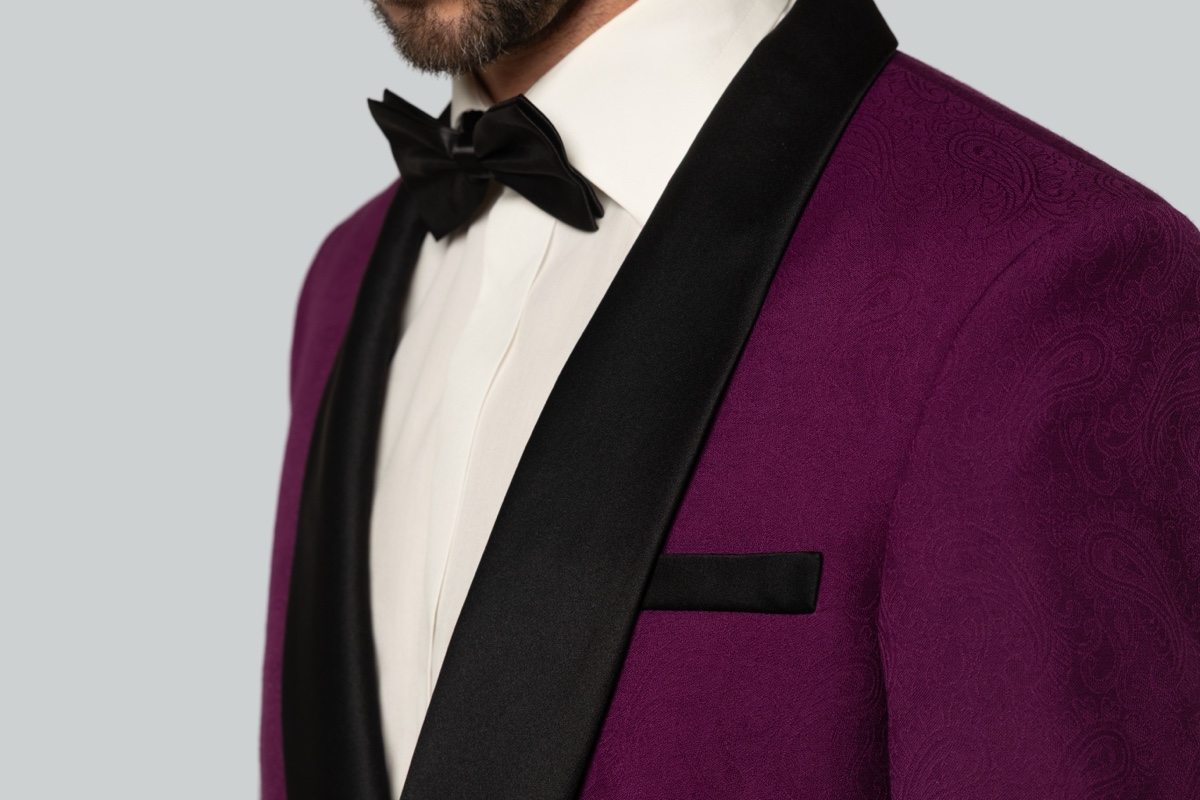
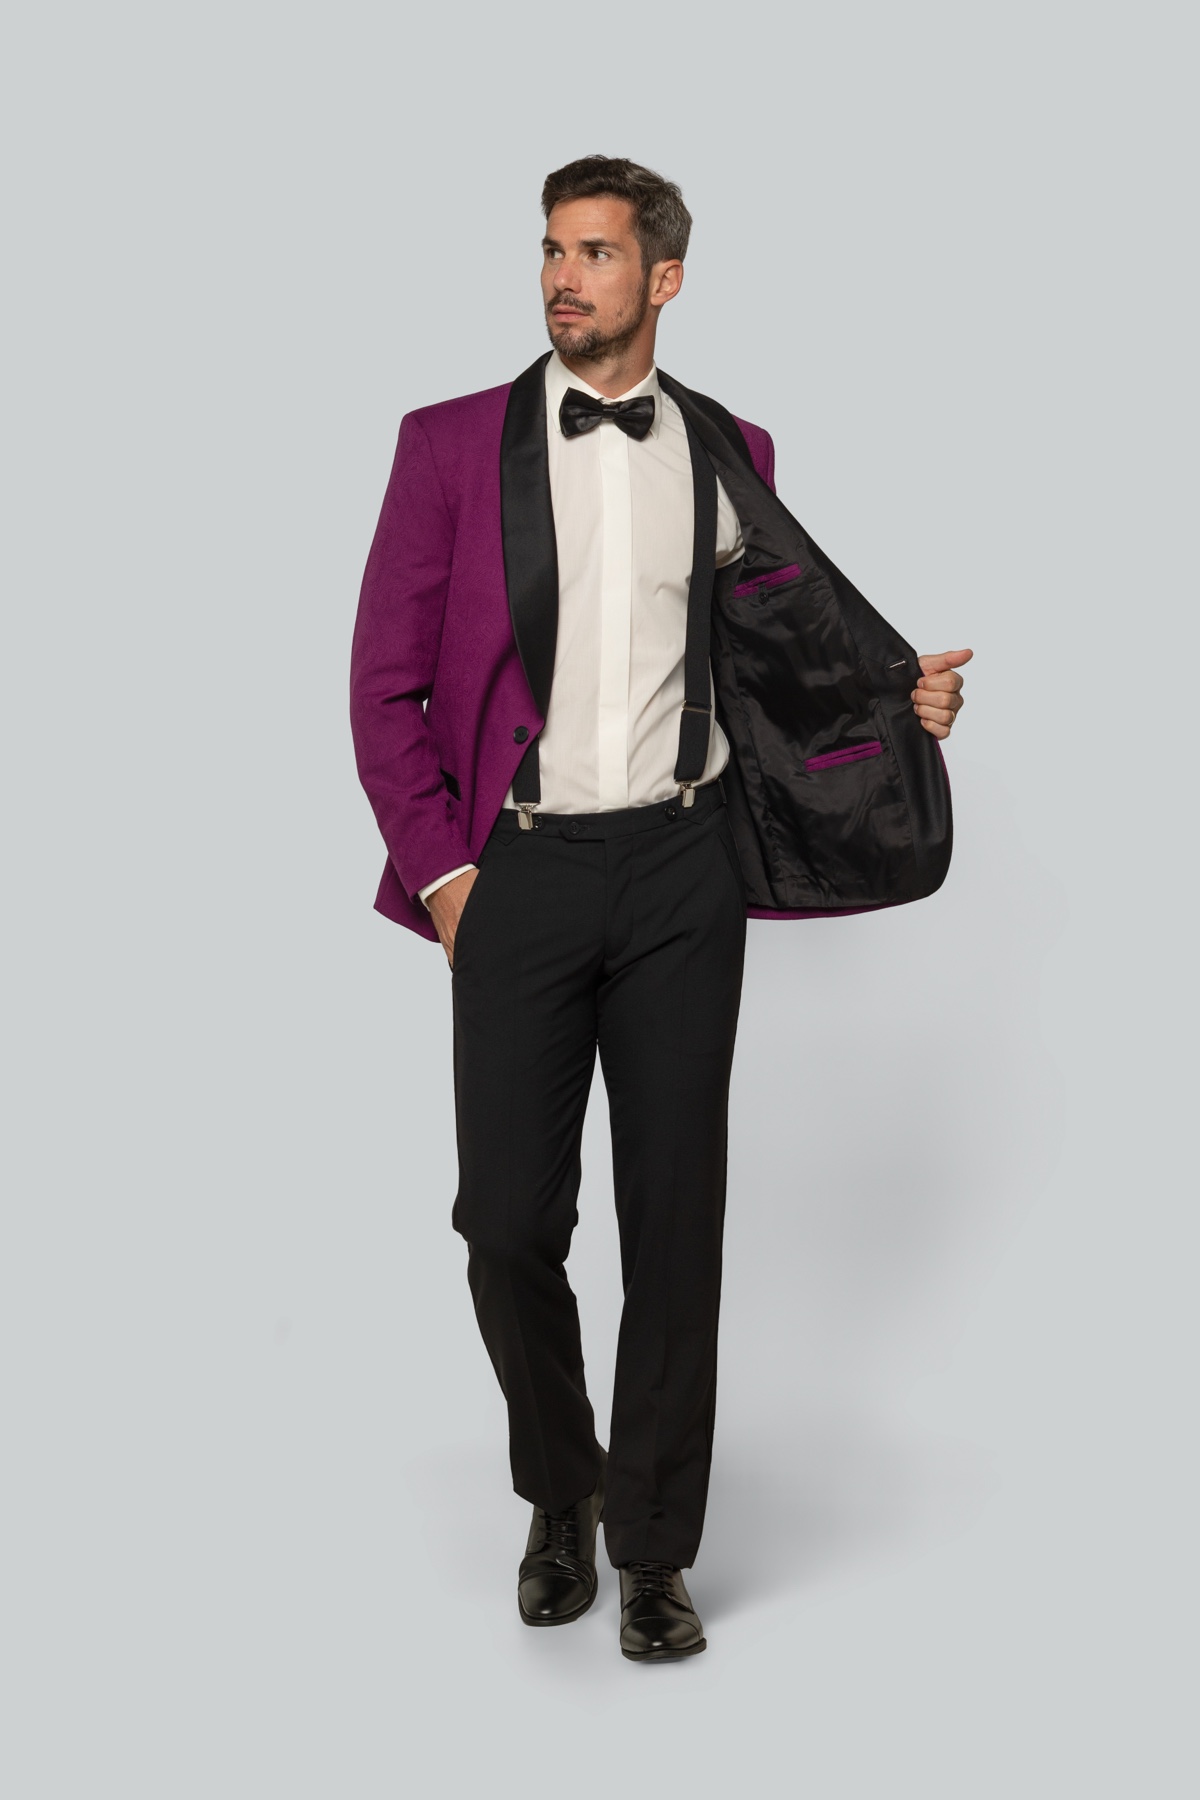
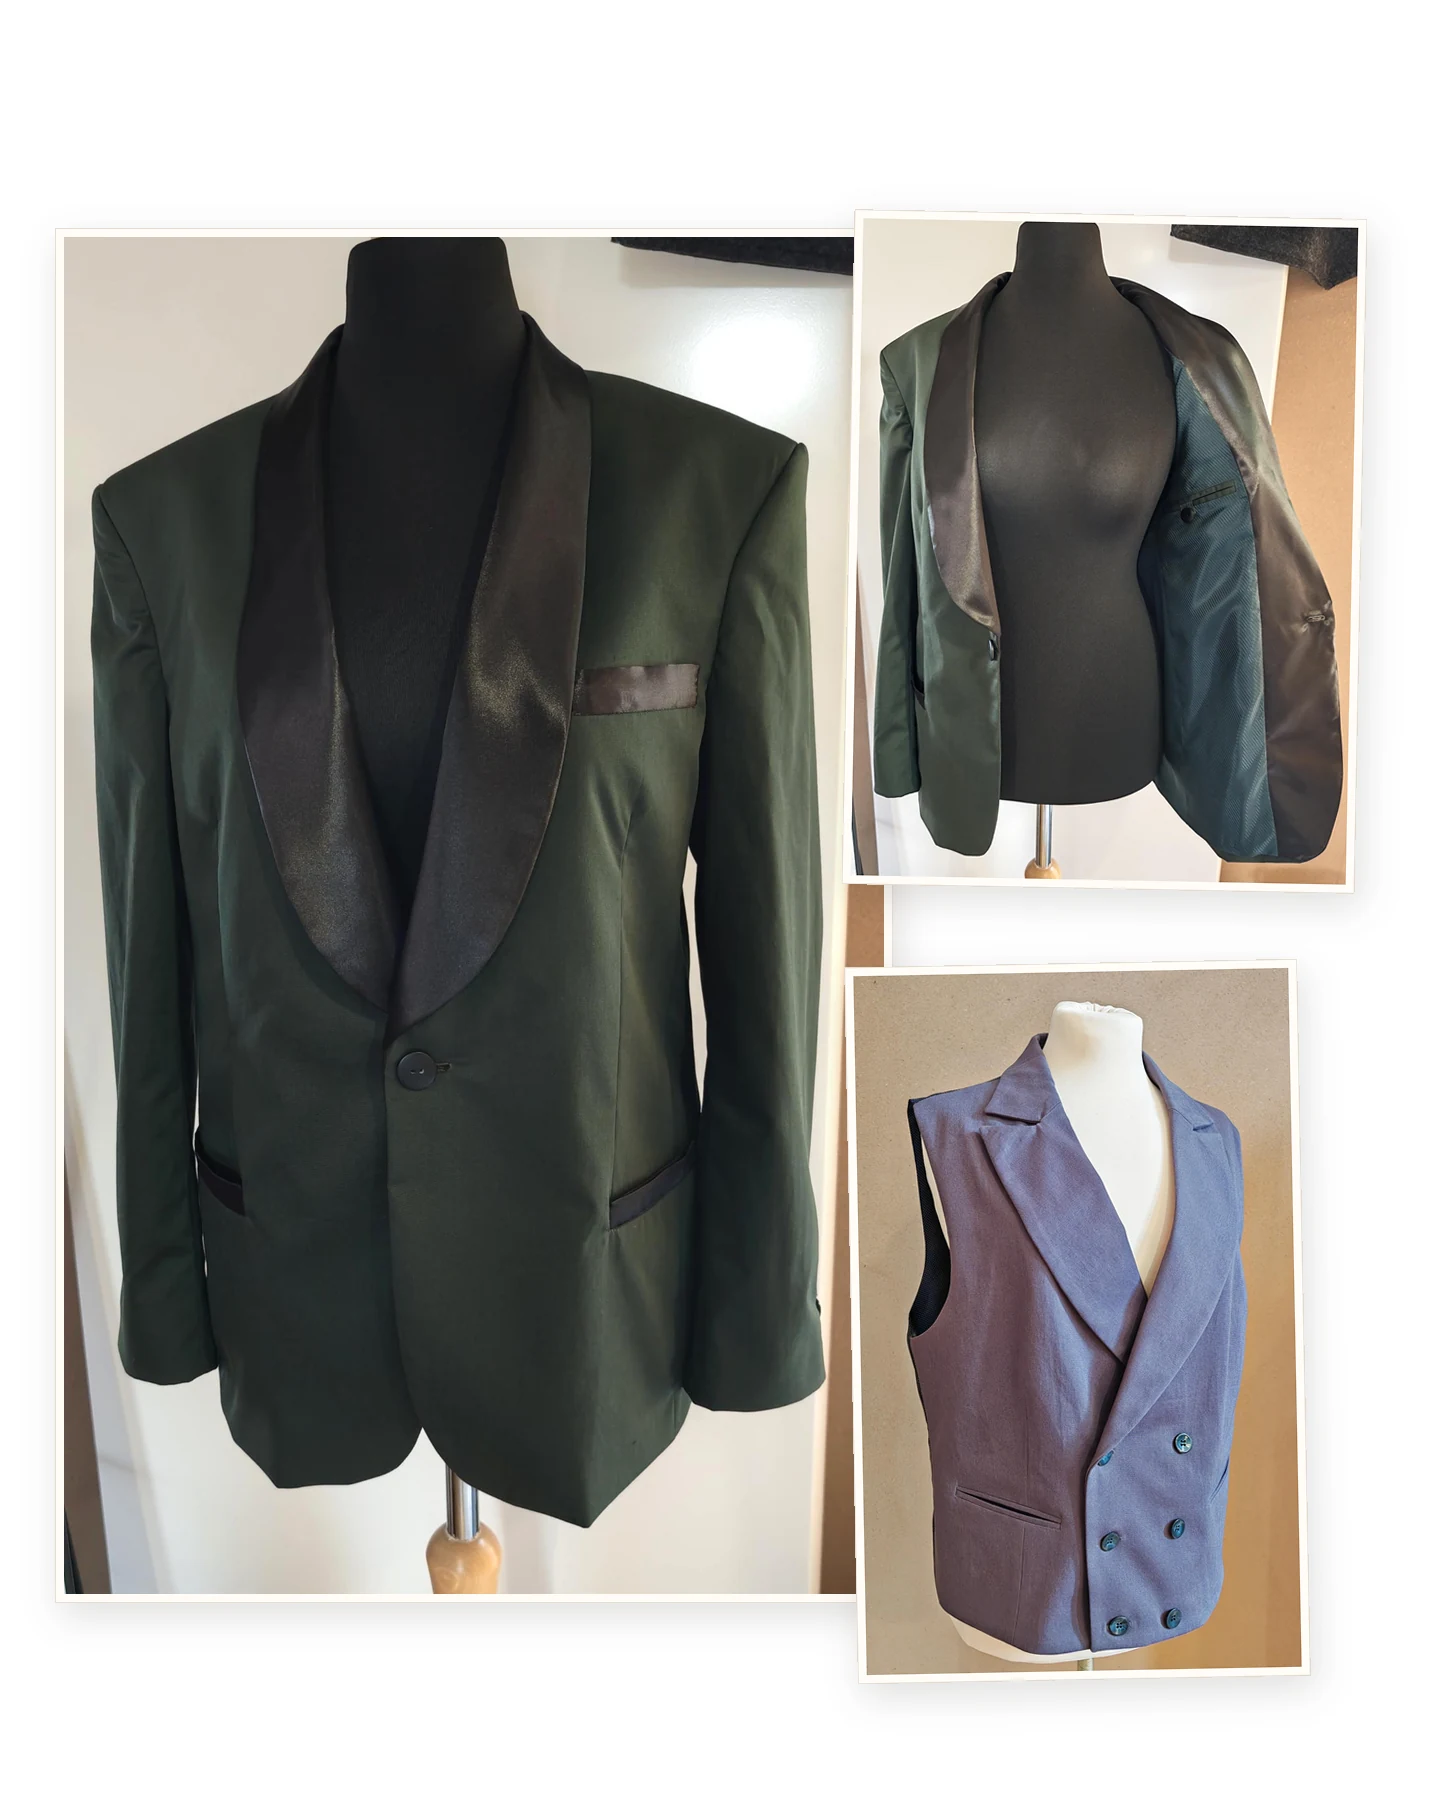
Shawl-Collar Tuxedo Jacket
Make a tuxedo jacket, also known as a dinner jacket, with a softly rolling shawl collar. Learn to cut the collar and facings on the bias and finish the contrasting details with care.
What you’ll learn
- Shawl collar
- Contrast facings
- Pocket finishing


08 / OUTERWEAR
Haverhill
Trenchcoat
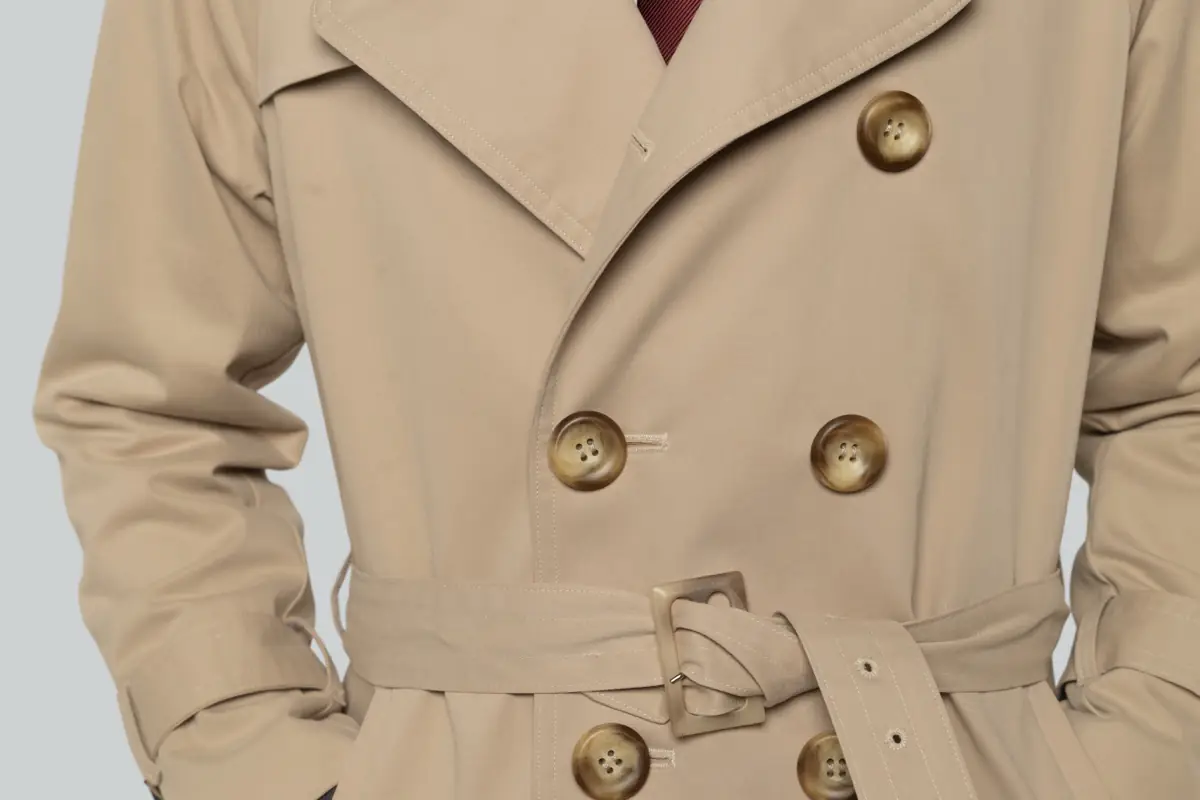
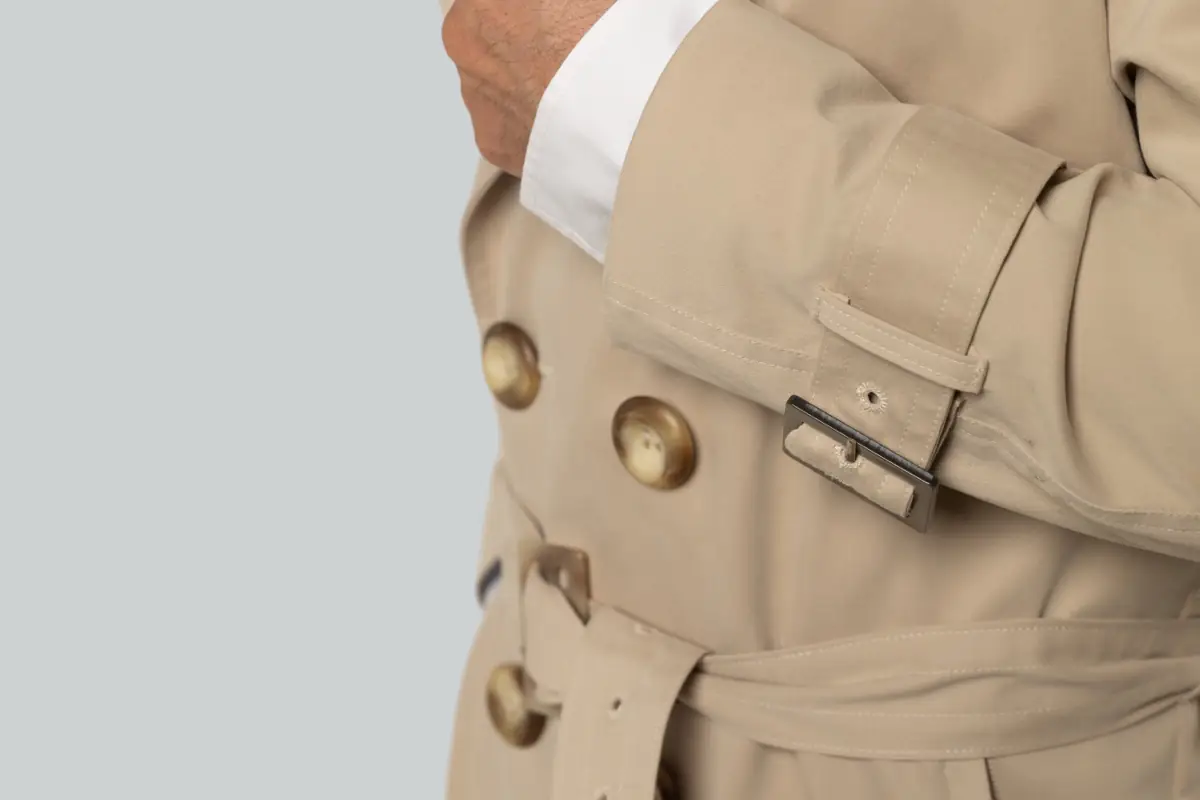
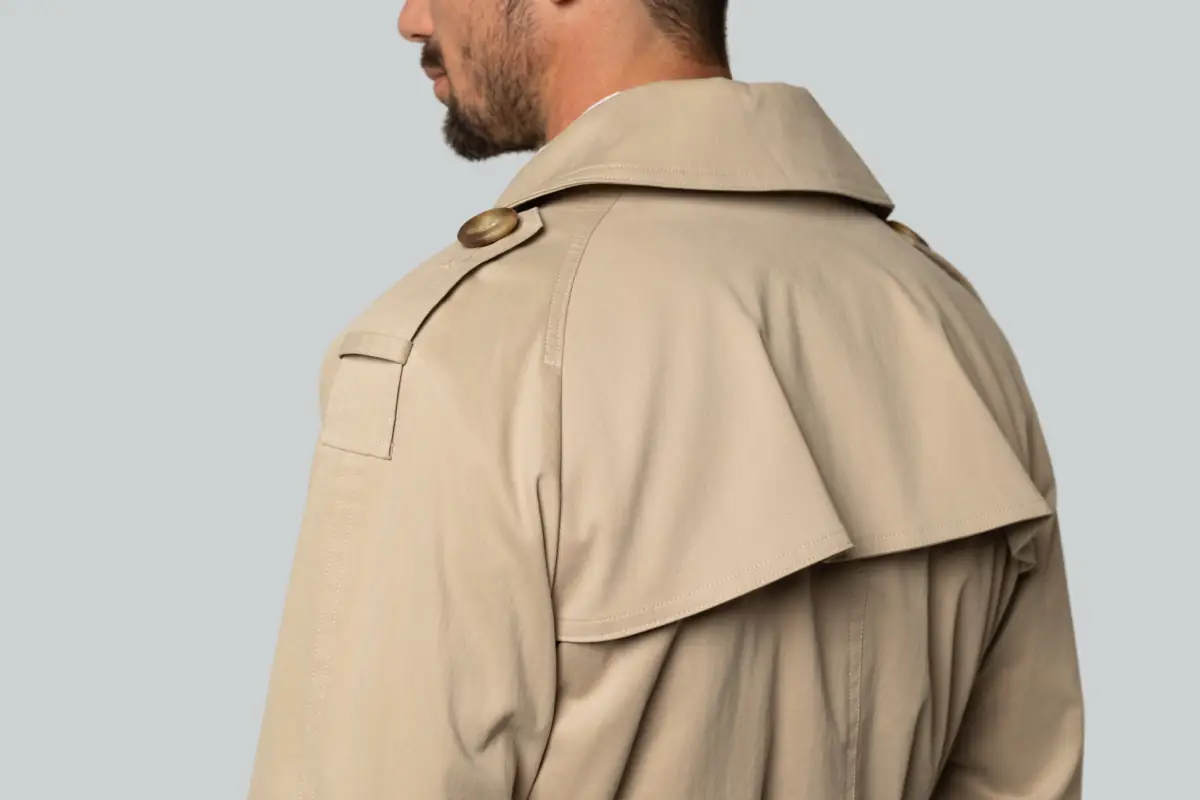
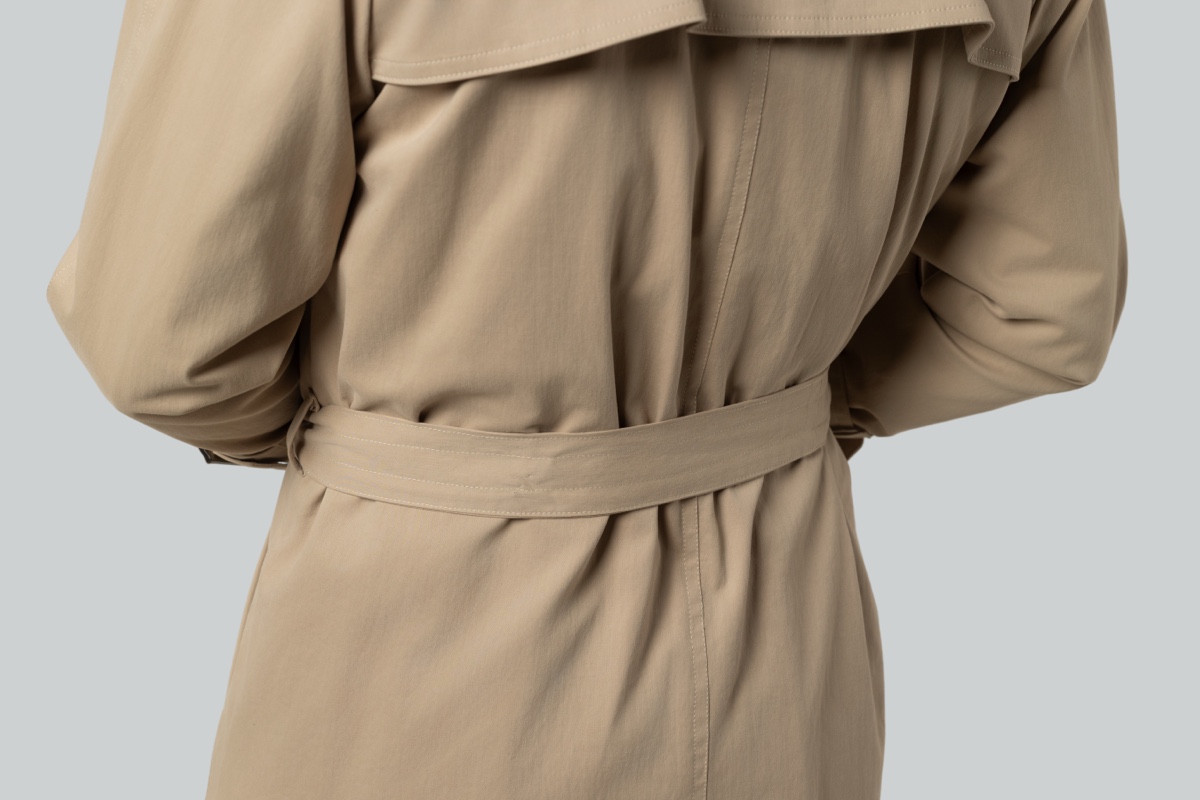
Sew a classic trench coat with raglan sleeves, storm flaps, a belt and adjustable straps. Bring these individual construction techniques together in one complete coat.
What you’ll learn
- Collar & storm flap
- Belt & sleeve straps
- Pockets & epaulettes


09 / FORMAL TAILORING
Ipswich
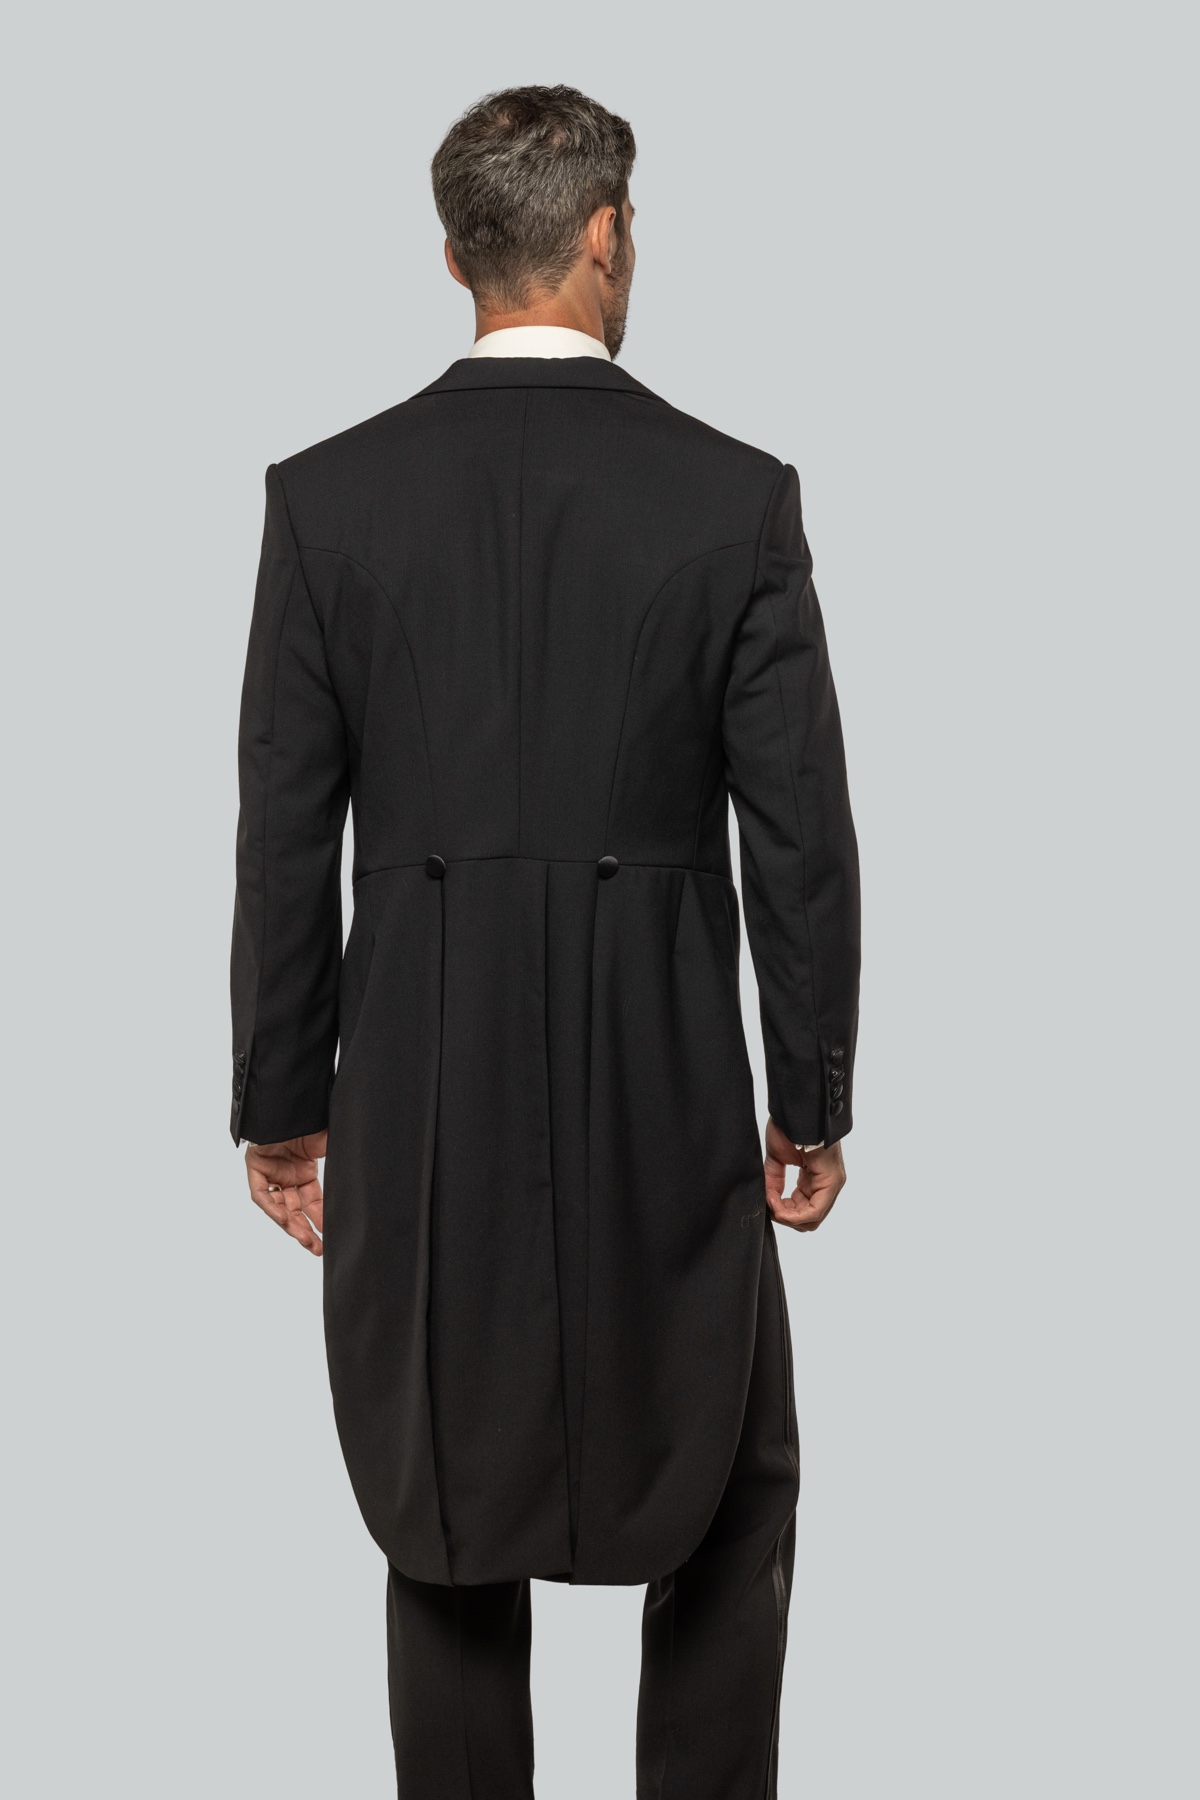
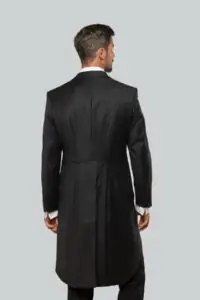
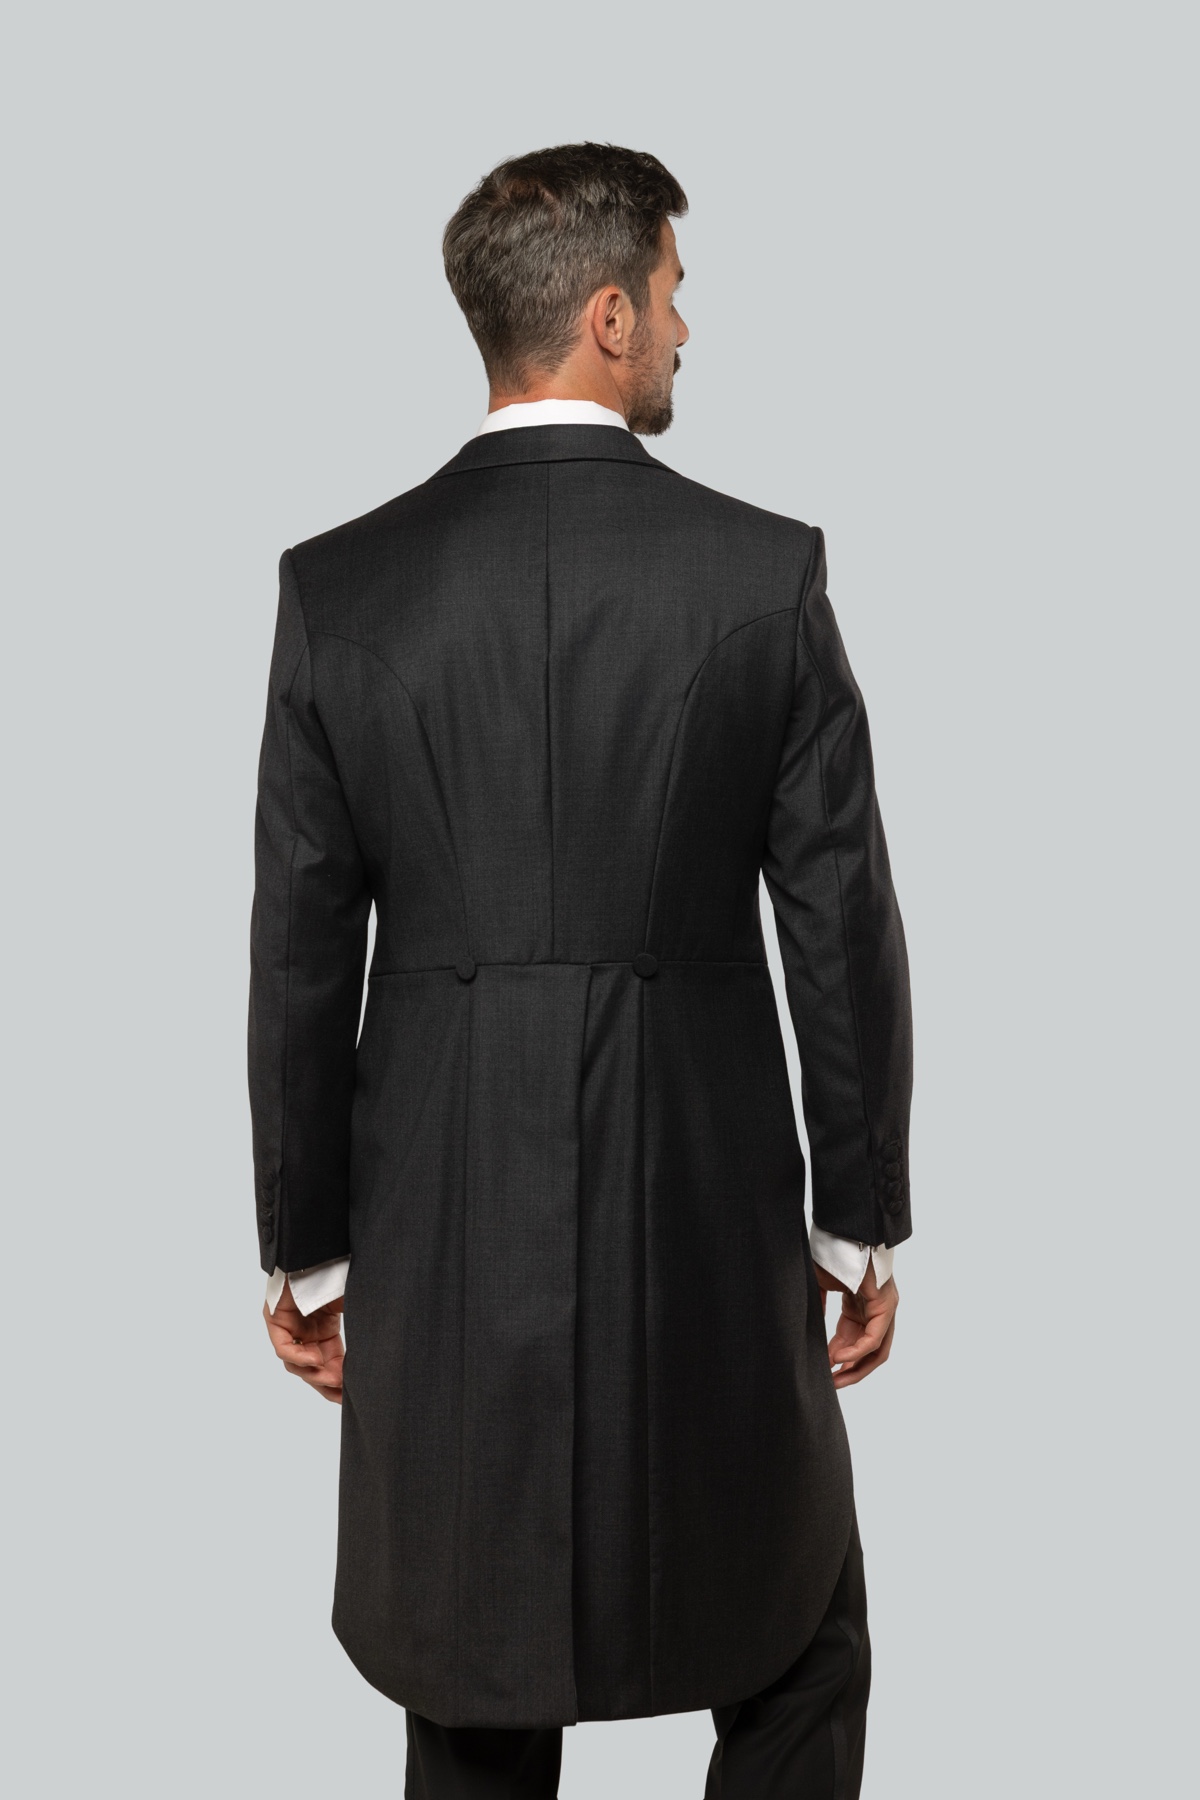
Evening Tailcoat
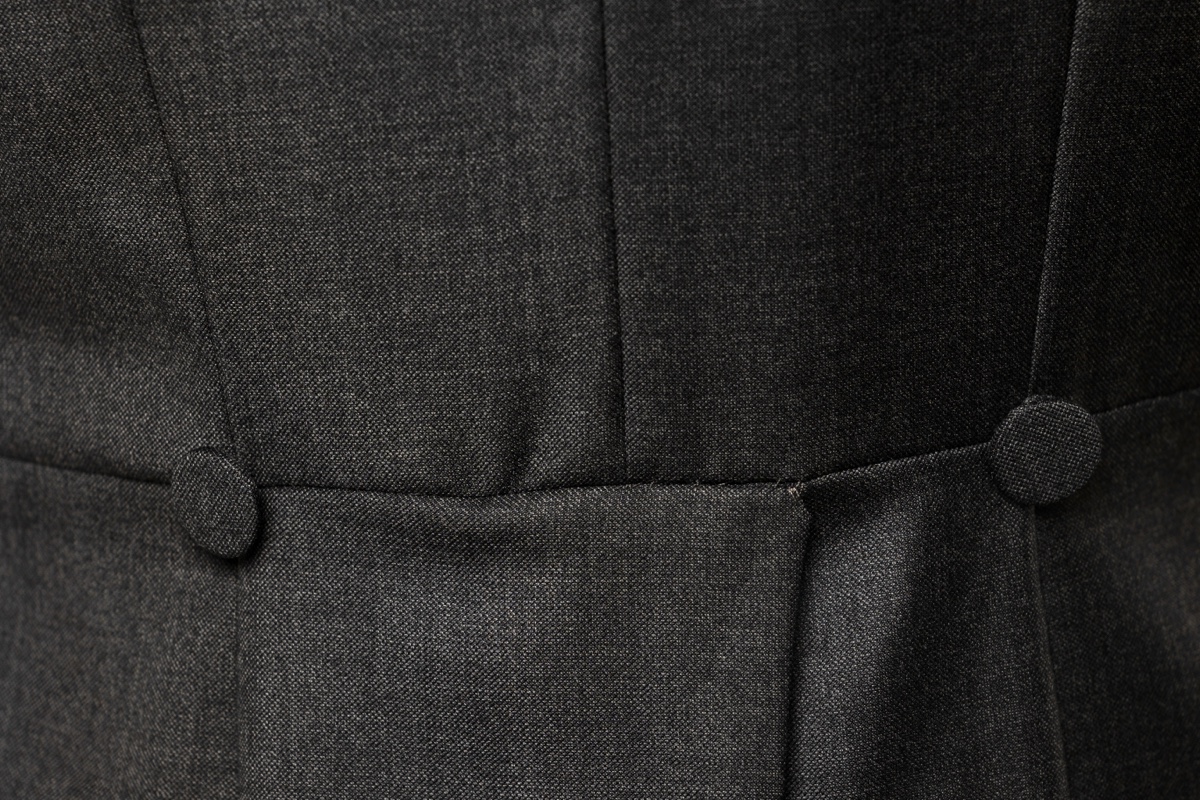
Build on your suit-jacket projects to make an evening tailcoat. Construct the waist seam, shape the tails and back pleats, and adapt the lining to this distinctive form.
What you’ll learn
- Front & tails
- Lapels & facings
- Waist balance


10 / FORMAL TAILORING
Jarrow
Morning Coat (Cutaway)
Make a morning coat with a sweeping cutaway front. Adapt the techniques from the tailcoat to a new silhouette and explore different back constructions and fastening options.
What you’ll learn
- Curved front
- Waist seam
- Collar & lapels


11 / OUTERWEAR
Kent
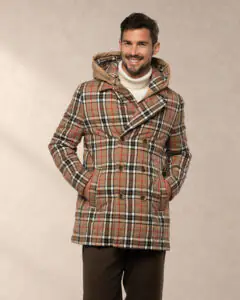
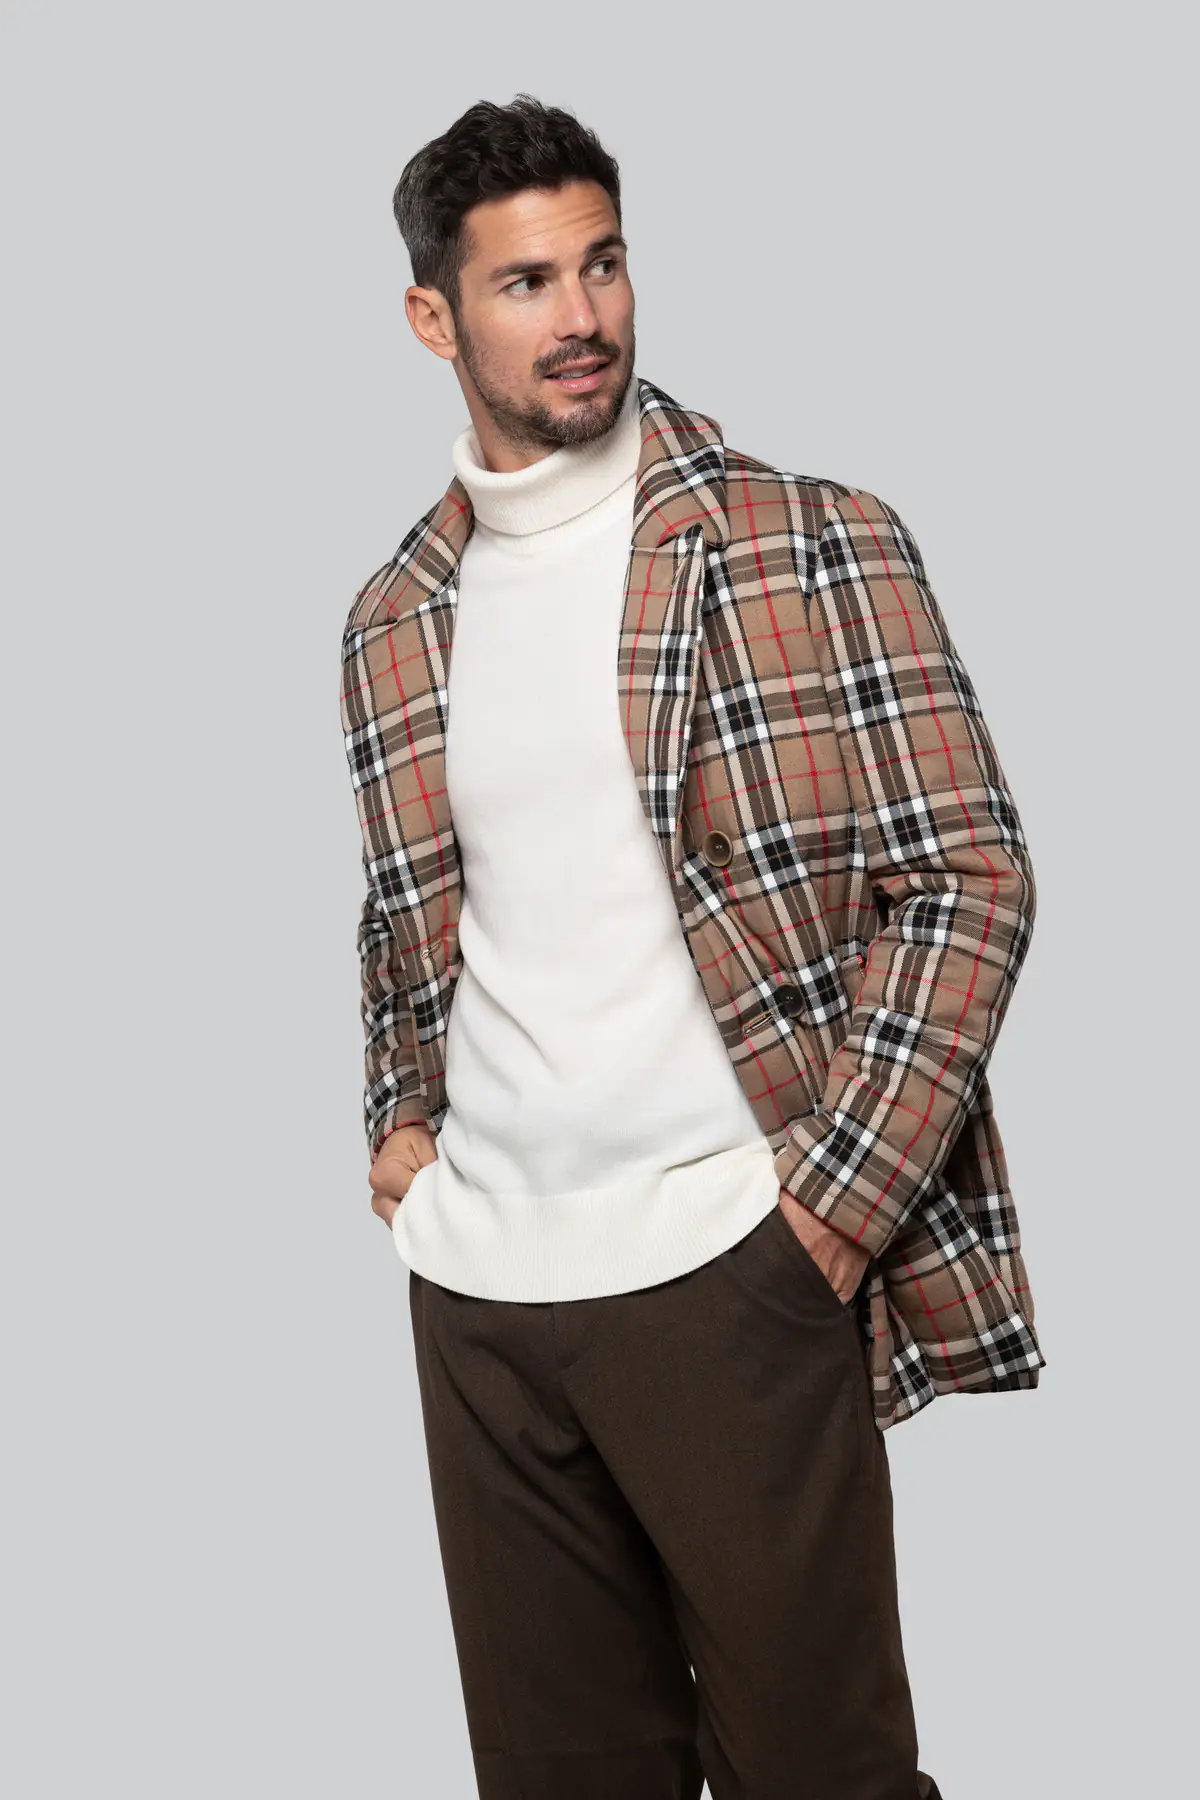
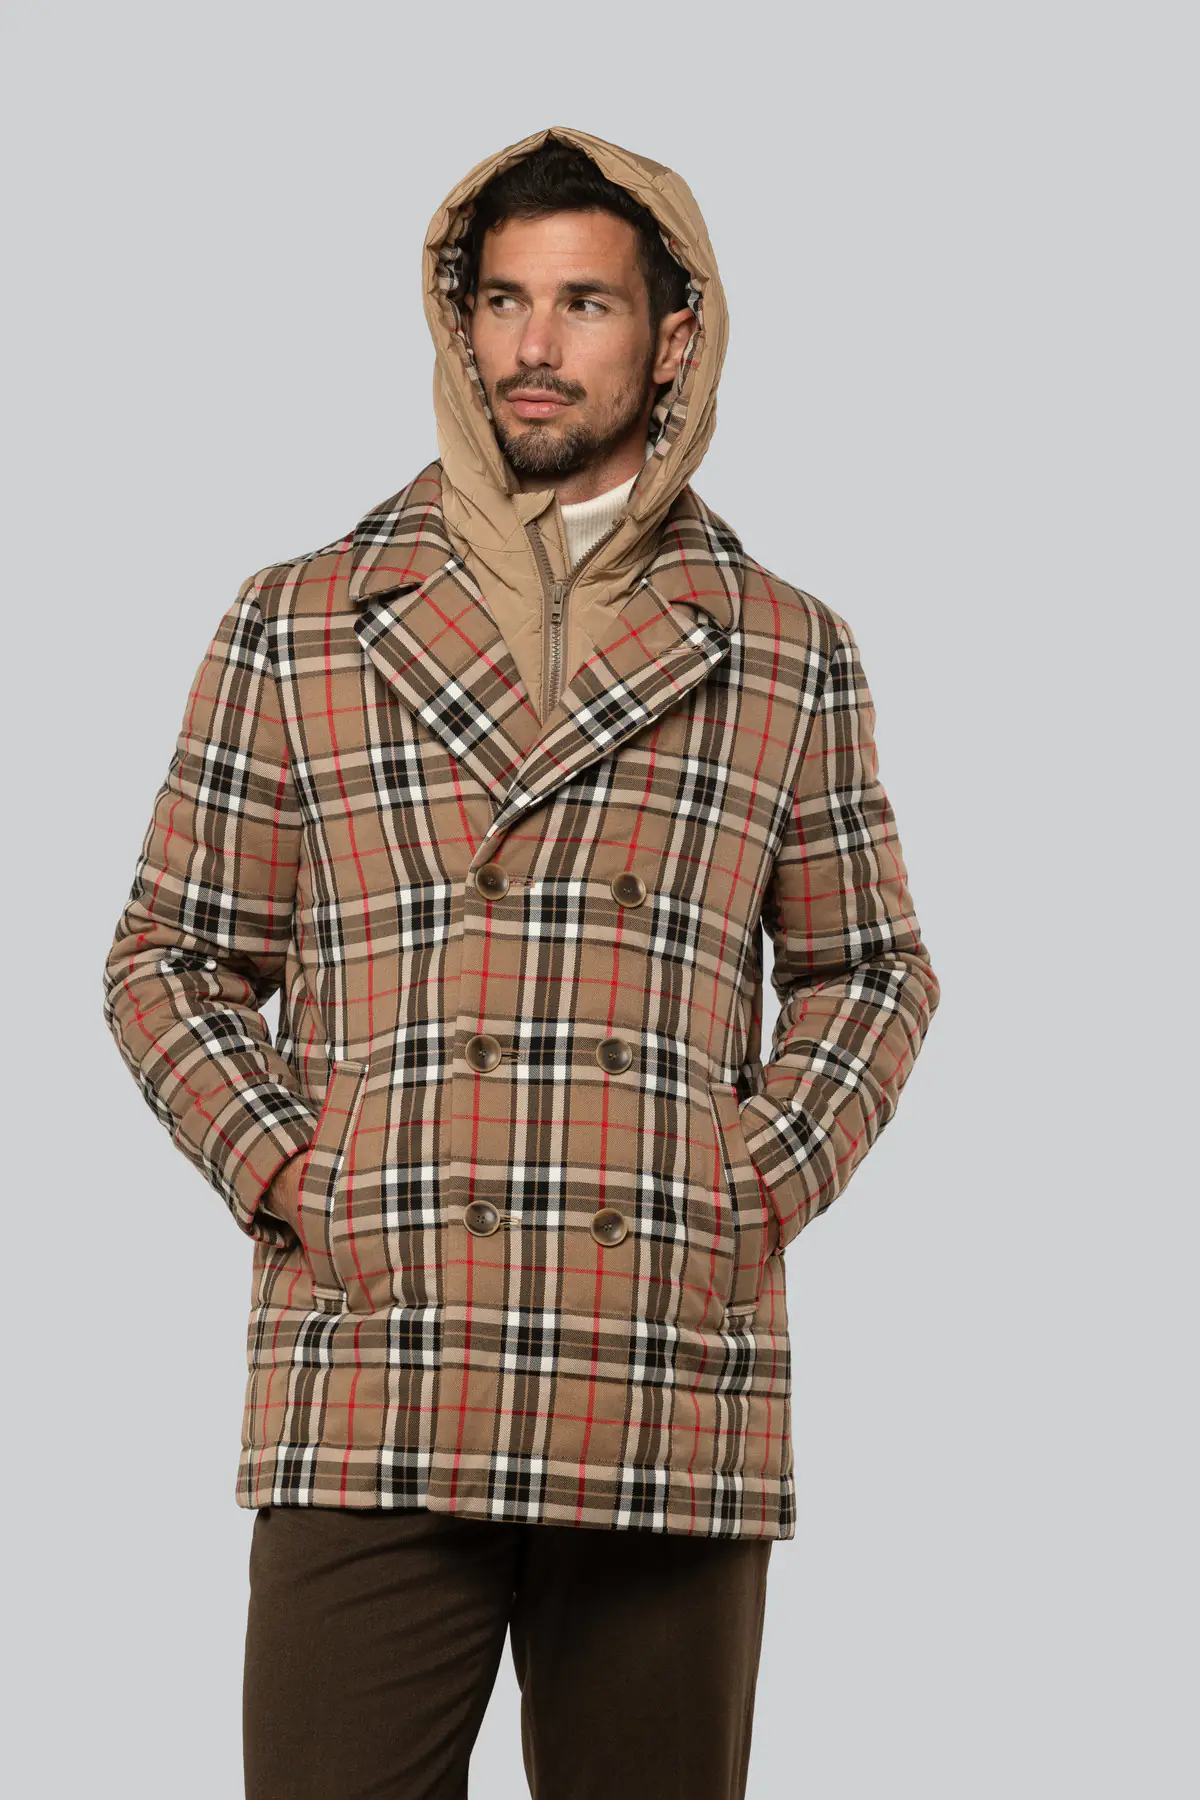
Hooded Jacket
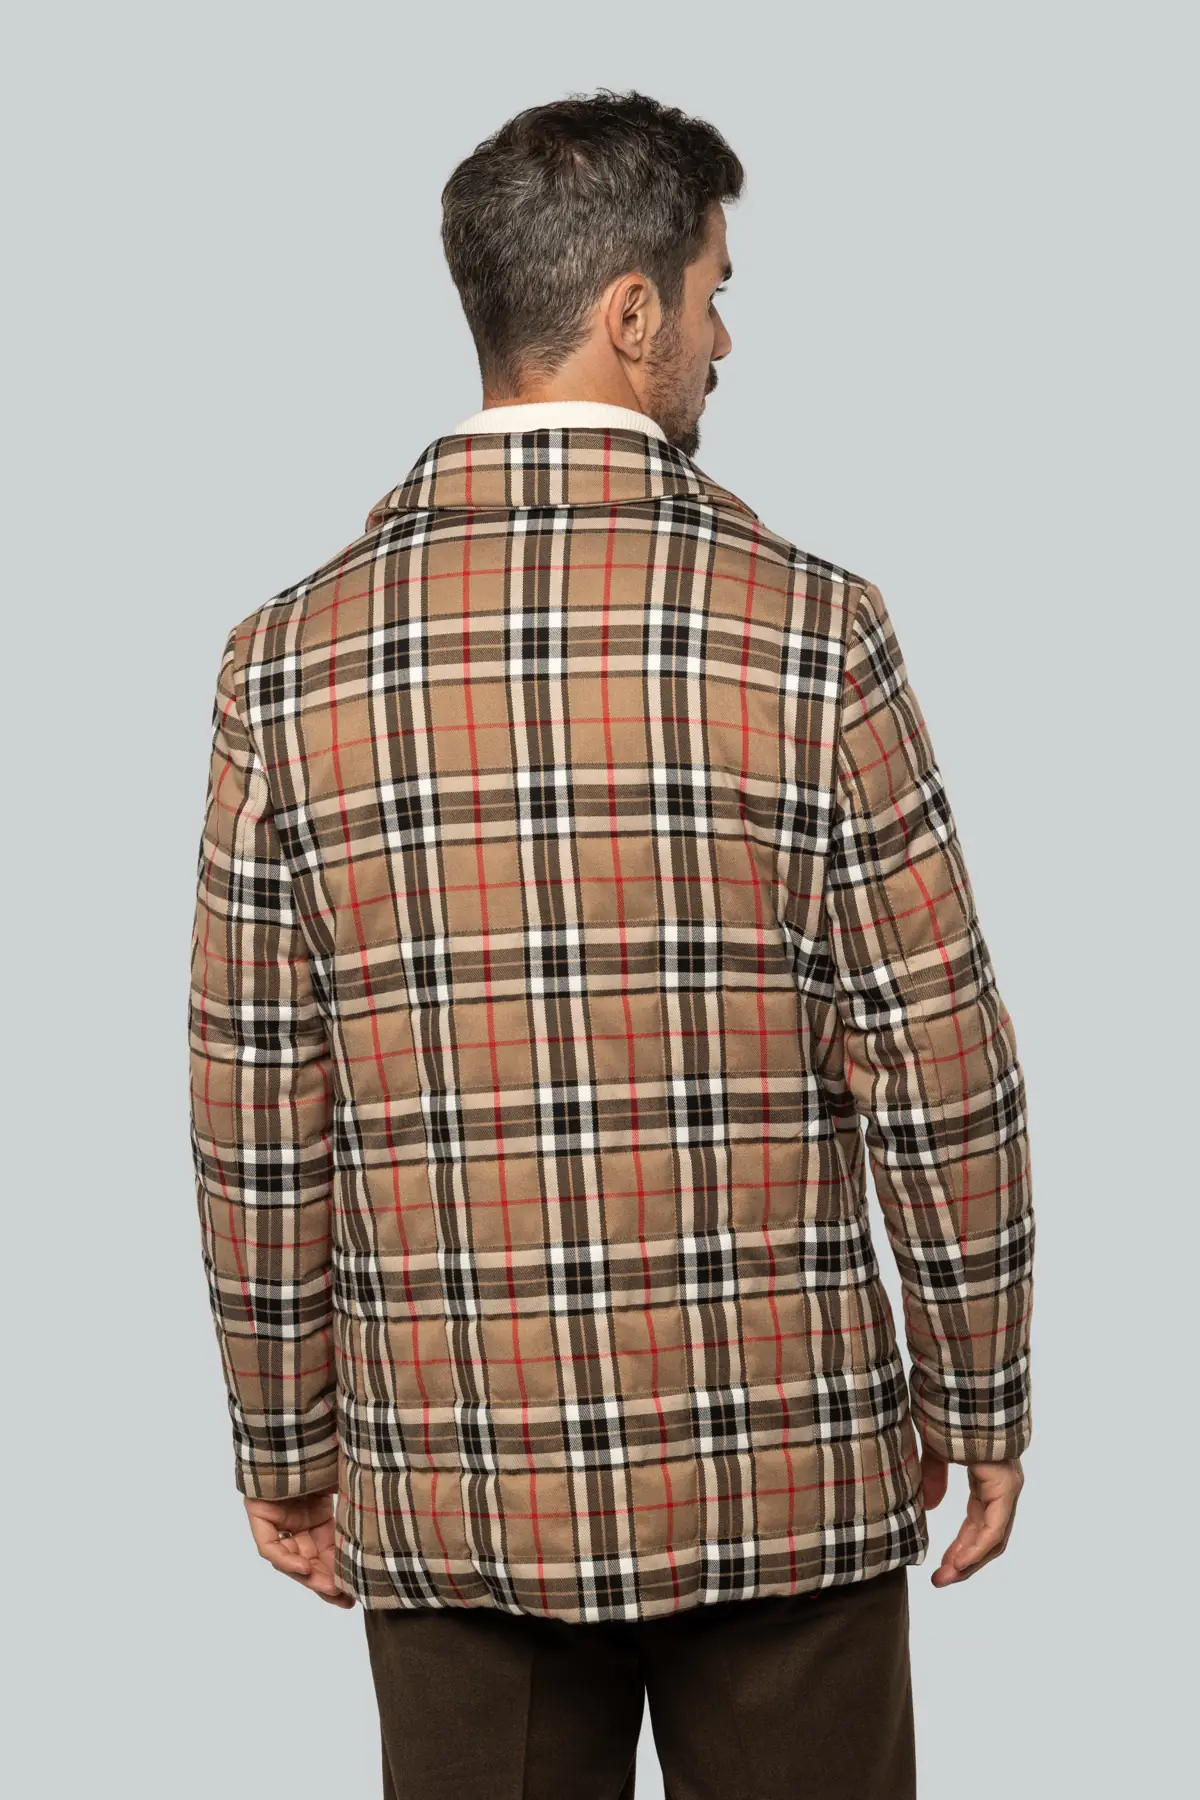
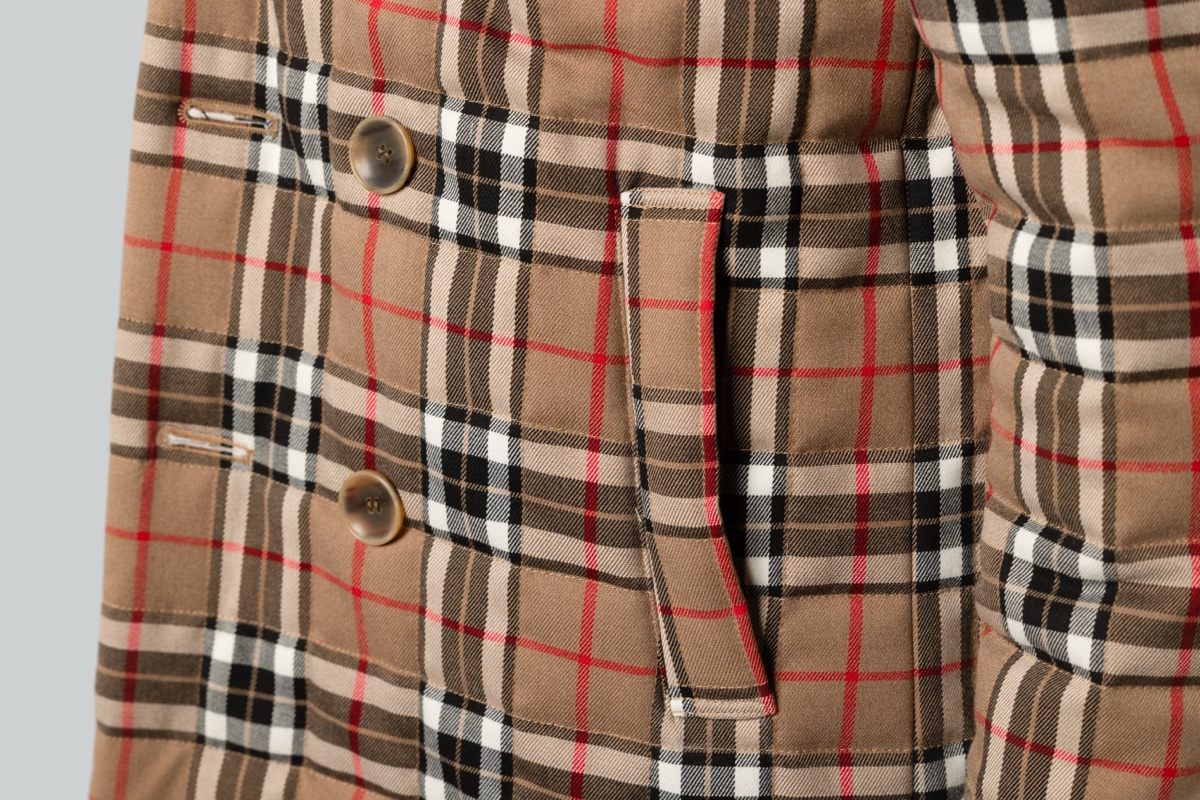
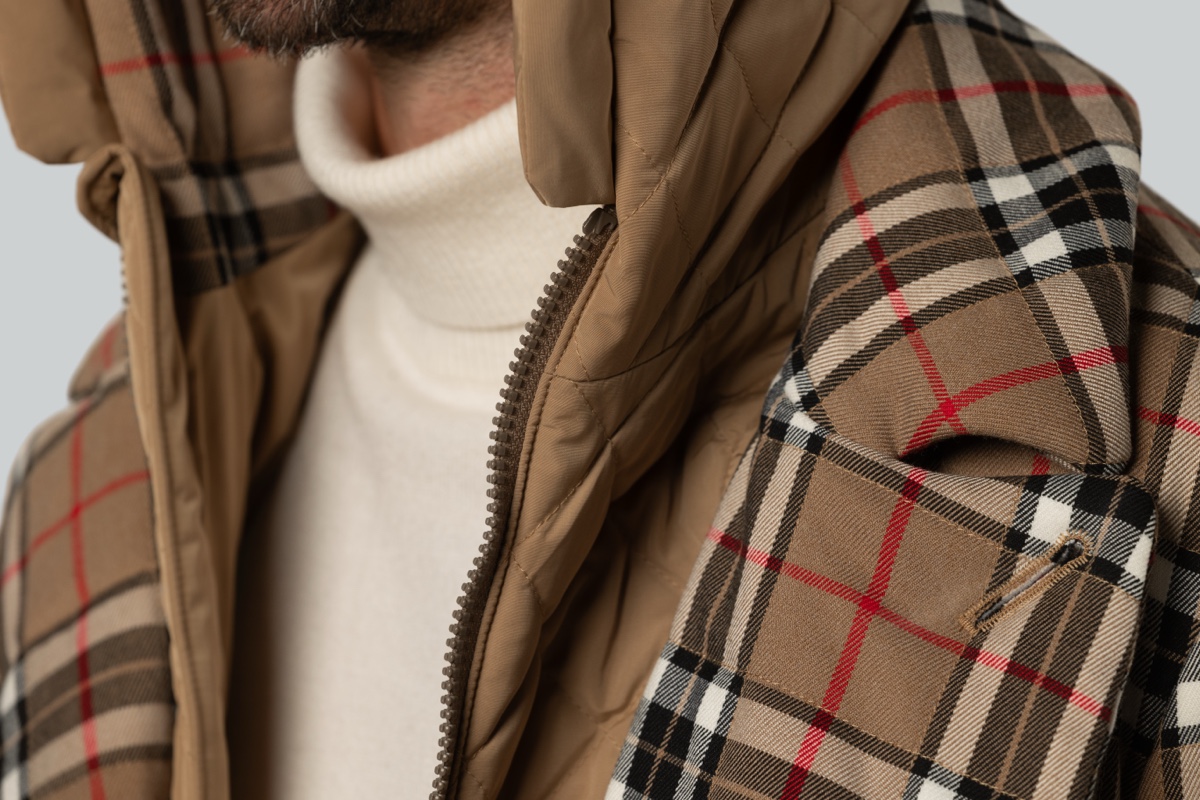
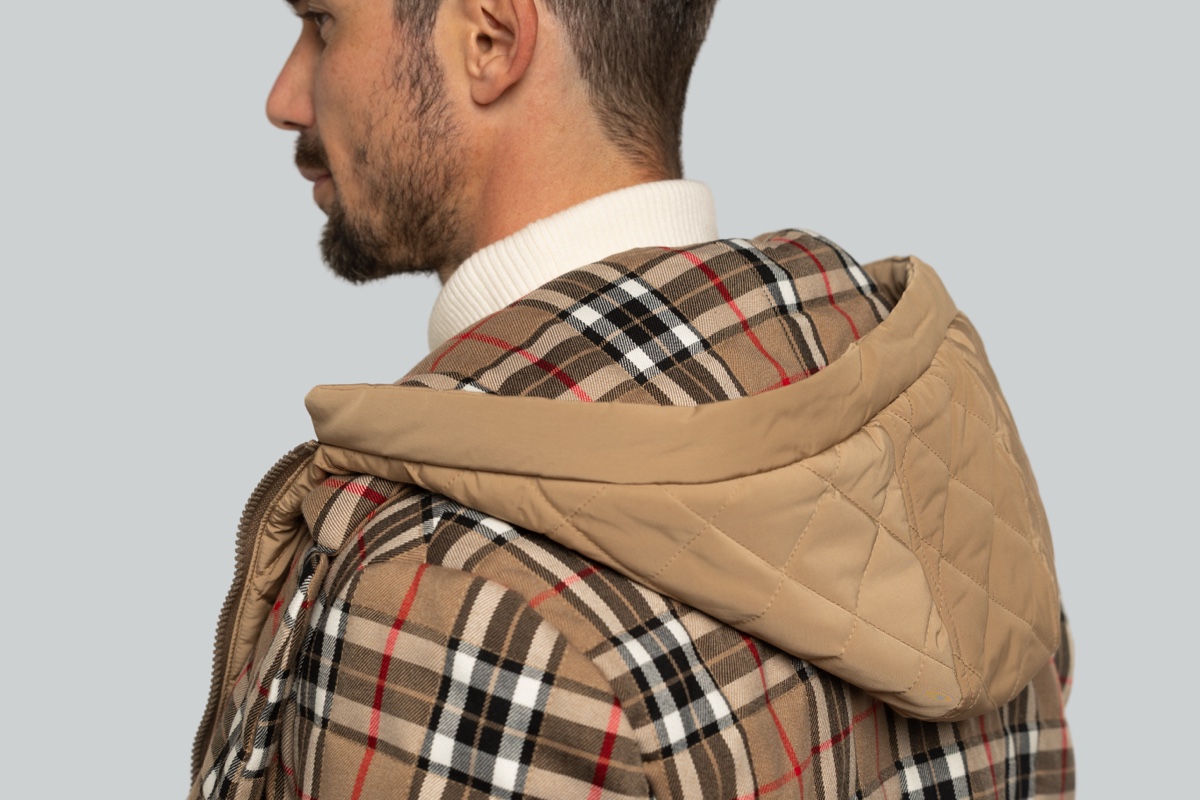
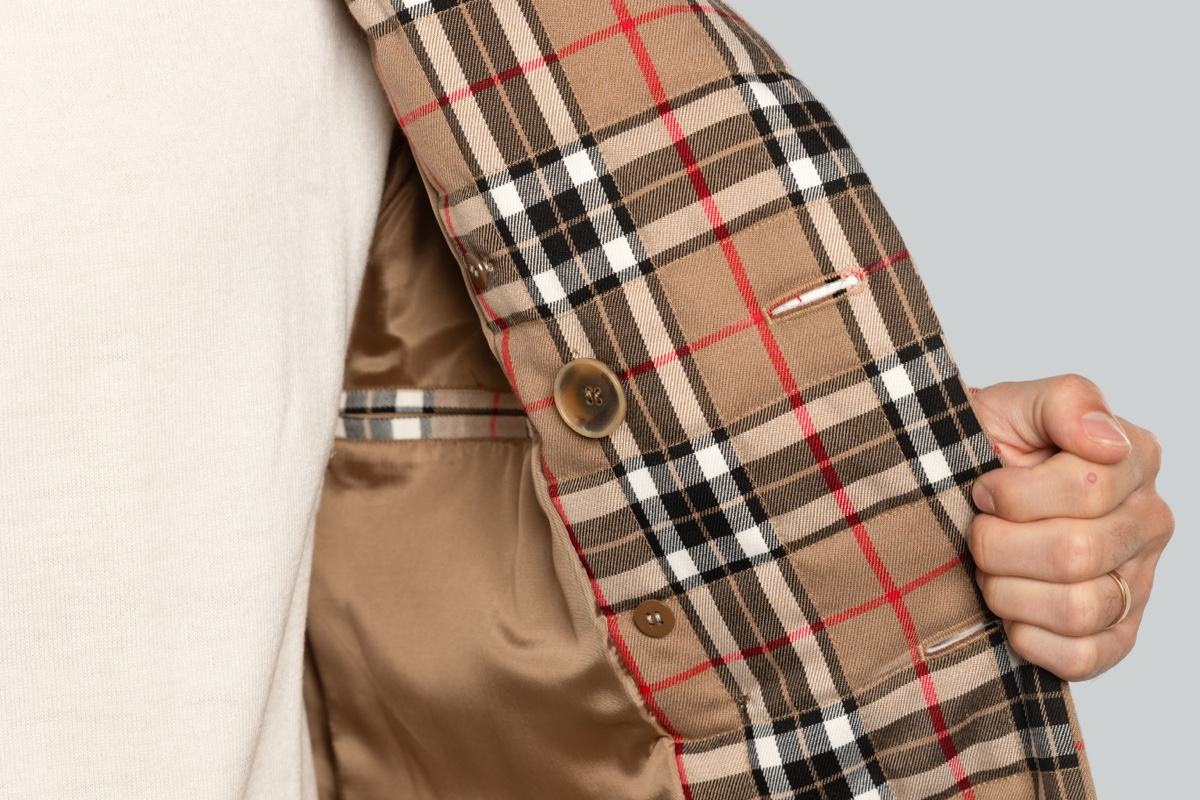
Match checks, add quilting and construct a removable hooded insert. Make a versatile jacket that can be worn with or without the insert.
What you’ll learn
- Check alignment
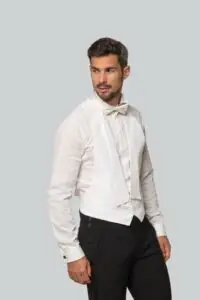
- Double-breasted front
- Detachable hooded insert


12 / FORMAL TAILORING
London
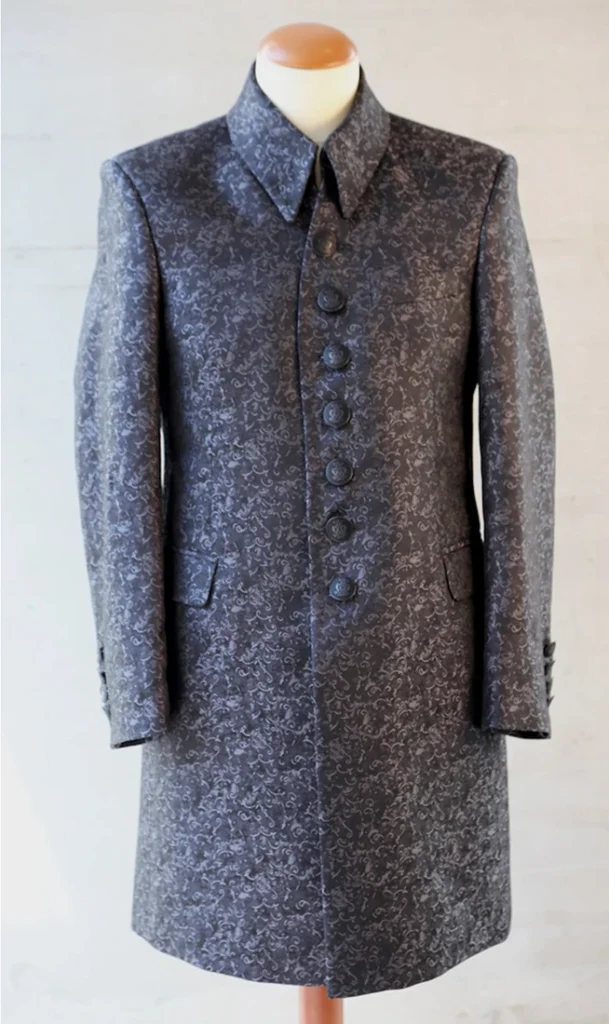
Frock Coat
Make a fitted frock coat with an elongated silhouette. Shape the body with carefully constructed seams, explore collar variations, and finish pockets, lining and working sleeve vents.
What you’ll learn
- Collar variations
- Button front
- Long lines & pockets


13 / BESPOKE TAILORING
Manchester
Bespoke Jacket
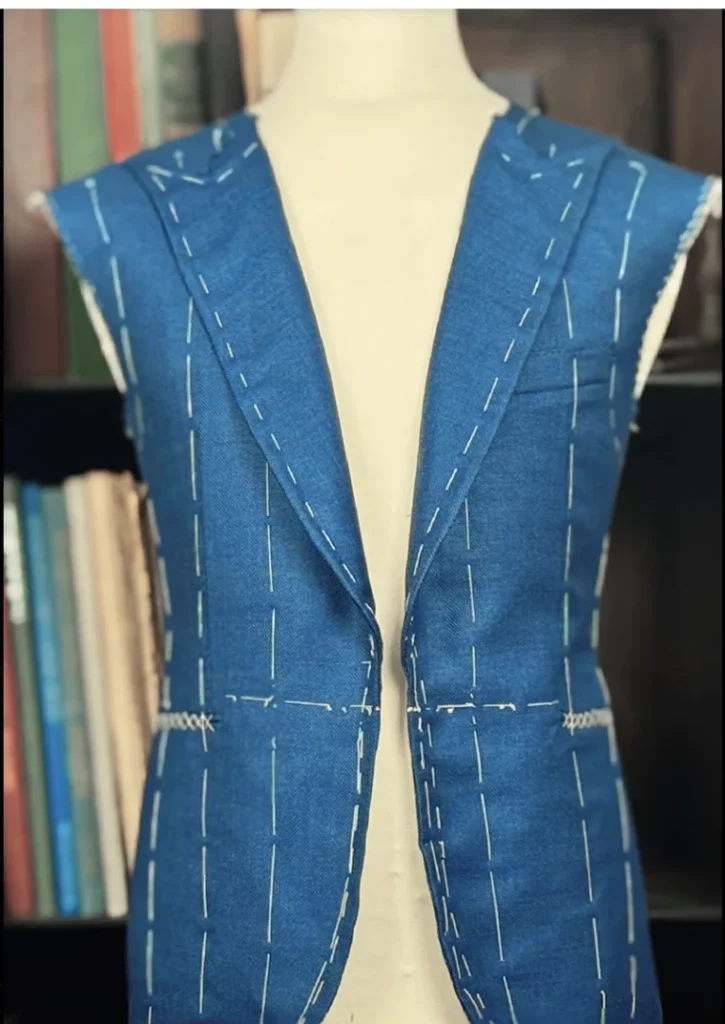
Make a full-canvas suit jacket with a floating canvas structure. Shape the lapels and collar with hand pad stitching, work hand-sewn buttonholes, and finish the lining with traditional hand stitches.
What you’ll learn
- Canvas & shaping
- Fitting preparation
- Hand finishing
EXPLORE THE 13 GARMENTS
×
Complete trousers

Waistband & fly

Side pocket

Inside waistband

02 / FOUNDATIONS
Bradford
Tailored Trousers
Sew pleated trousers with turn-ups (cuffs). Learn to construct the waistband, fly and pockets, and press a sharp, accurate crease.
What you’ll learn
- Waistband & fly
- Pockets & pleats
- Leg line & cuffs
EXPLORE THE 13 GARMENTS
×
Complete shirt

Button front

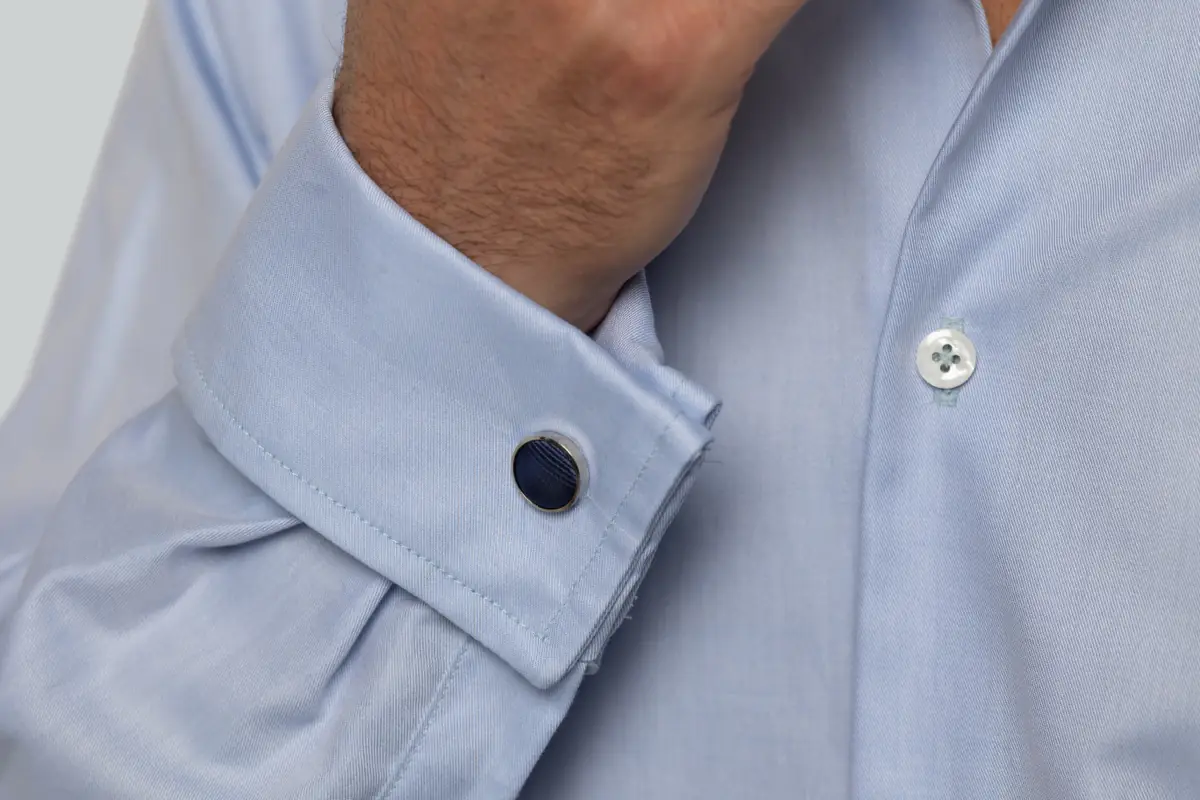
Cuff & cufflink

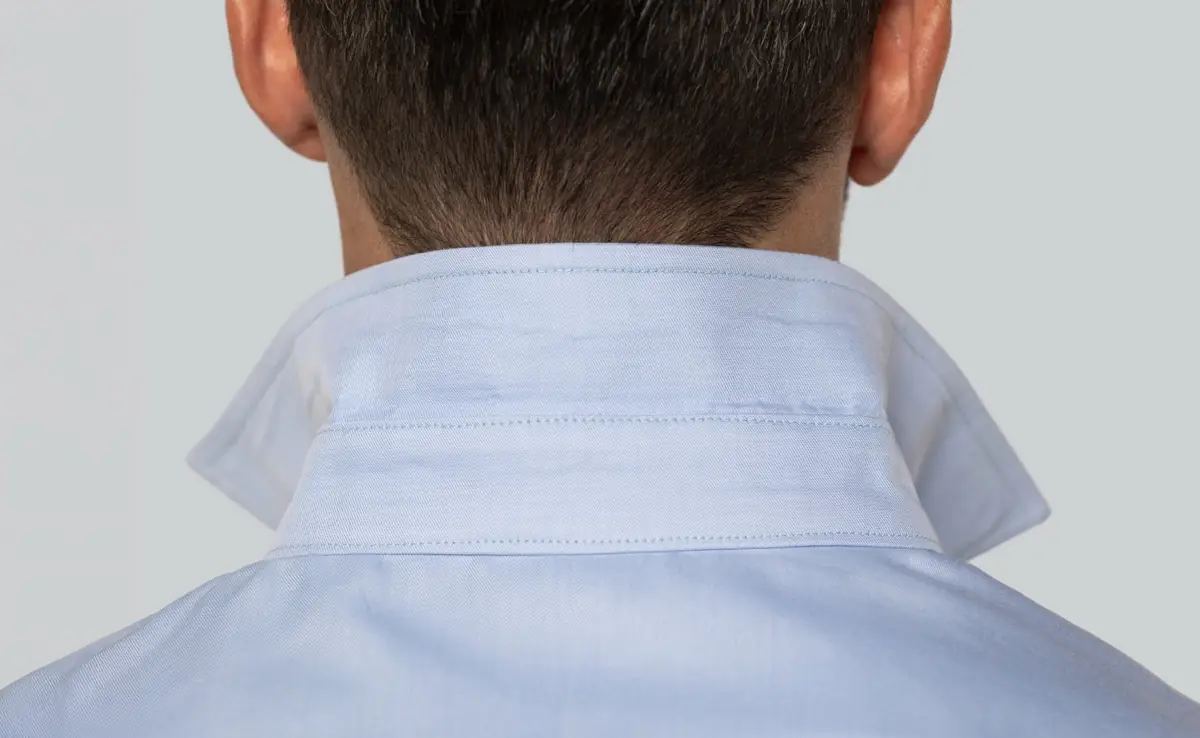
Collar construction

03 / FOUNDATIONS
Cambridge
Cufflink Shirt
Make a shirt with French cuffs (double cuffs). Work through the collar, sleeves and back yoke, then explore different collar shapes and front fastenings.
What you’ll learn
- Collar construction
- Sleeves & cuffs
- Precise edges
EXPLORE THE 13 GARMENTS
×
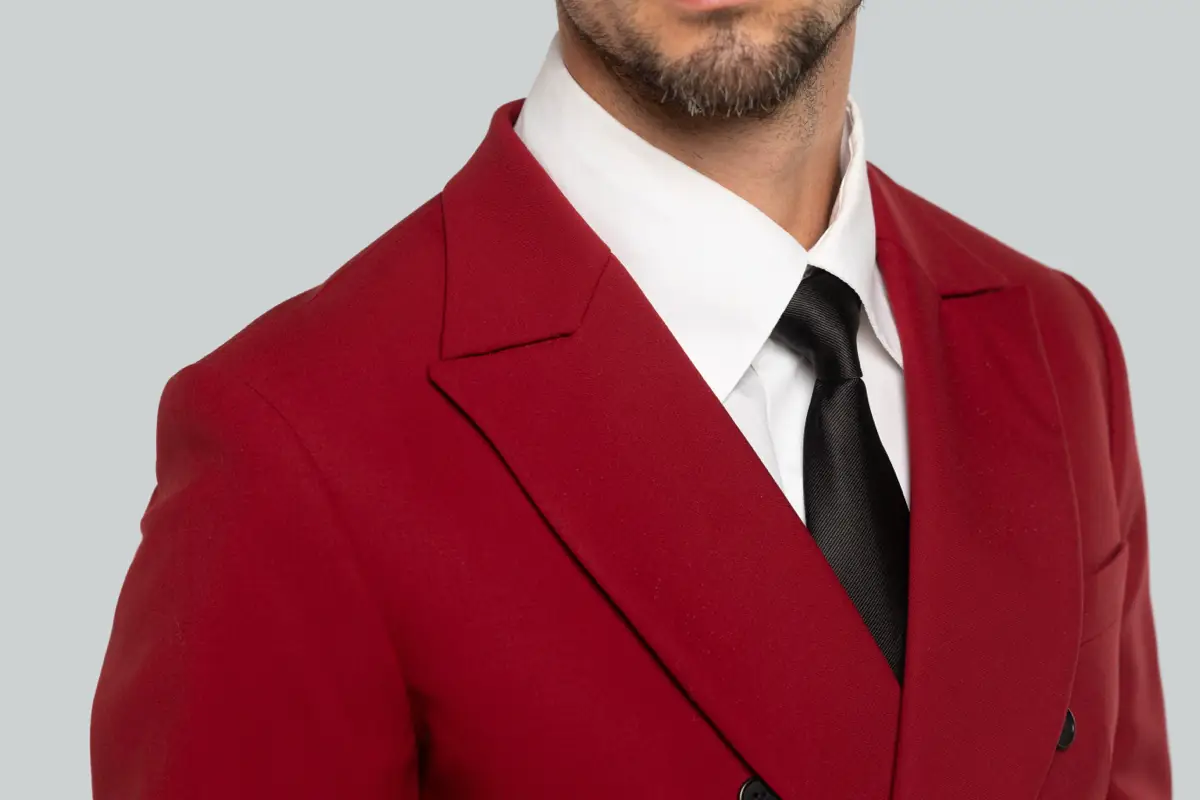
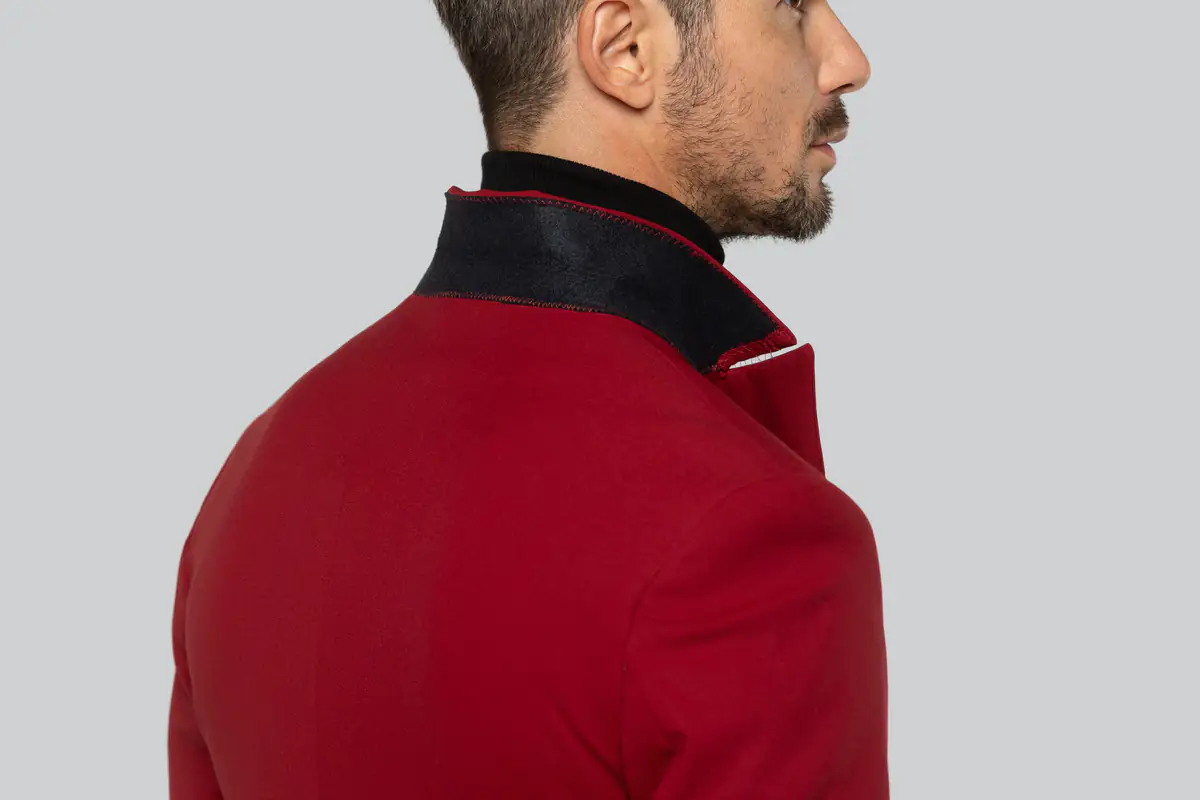
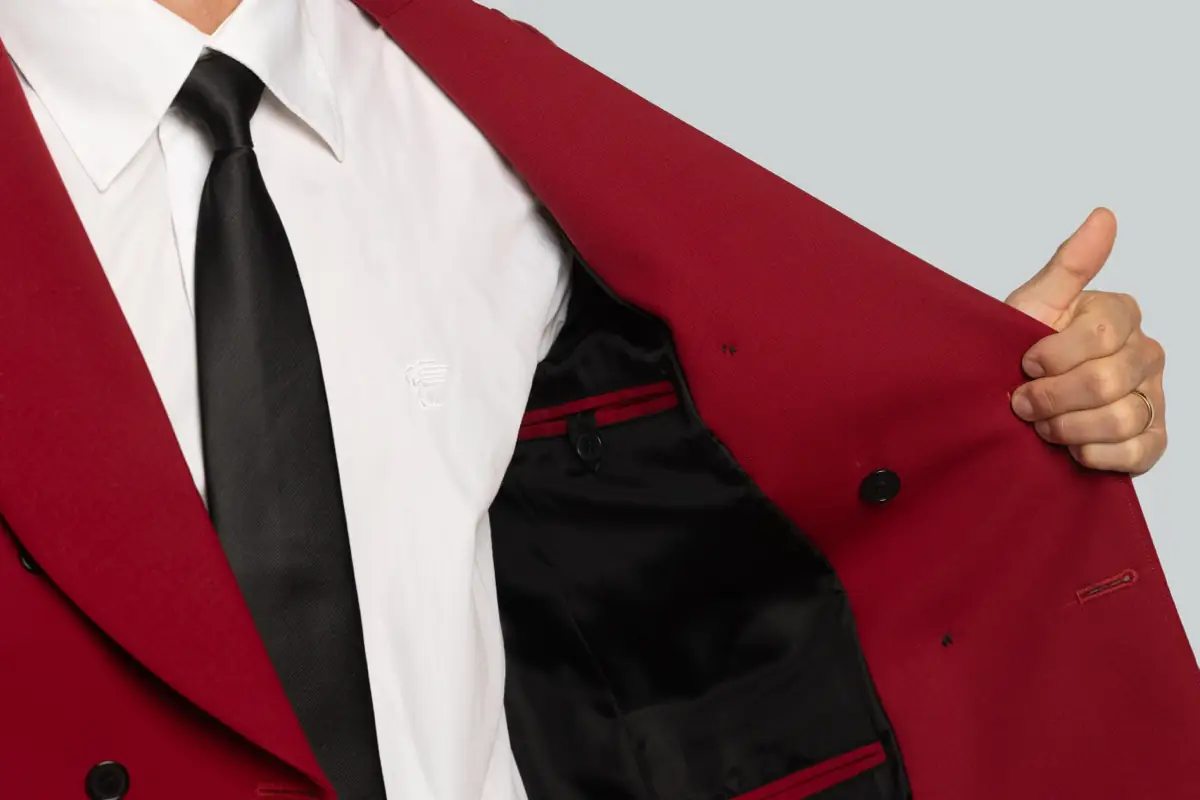
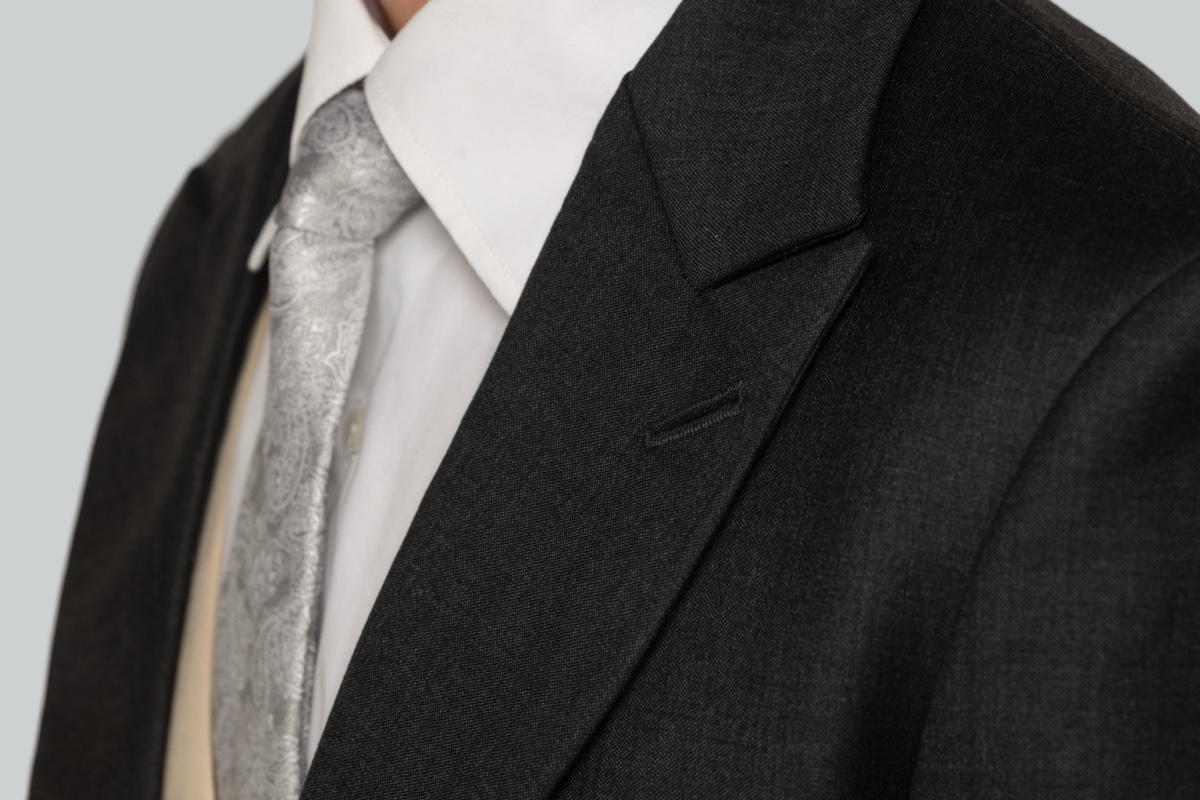
Complete jacket

Undercollar

Peak lapel

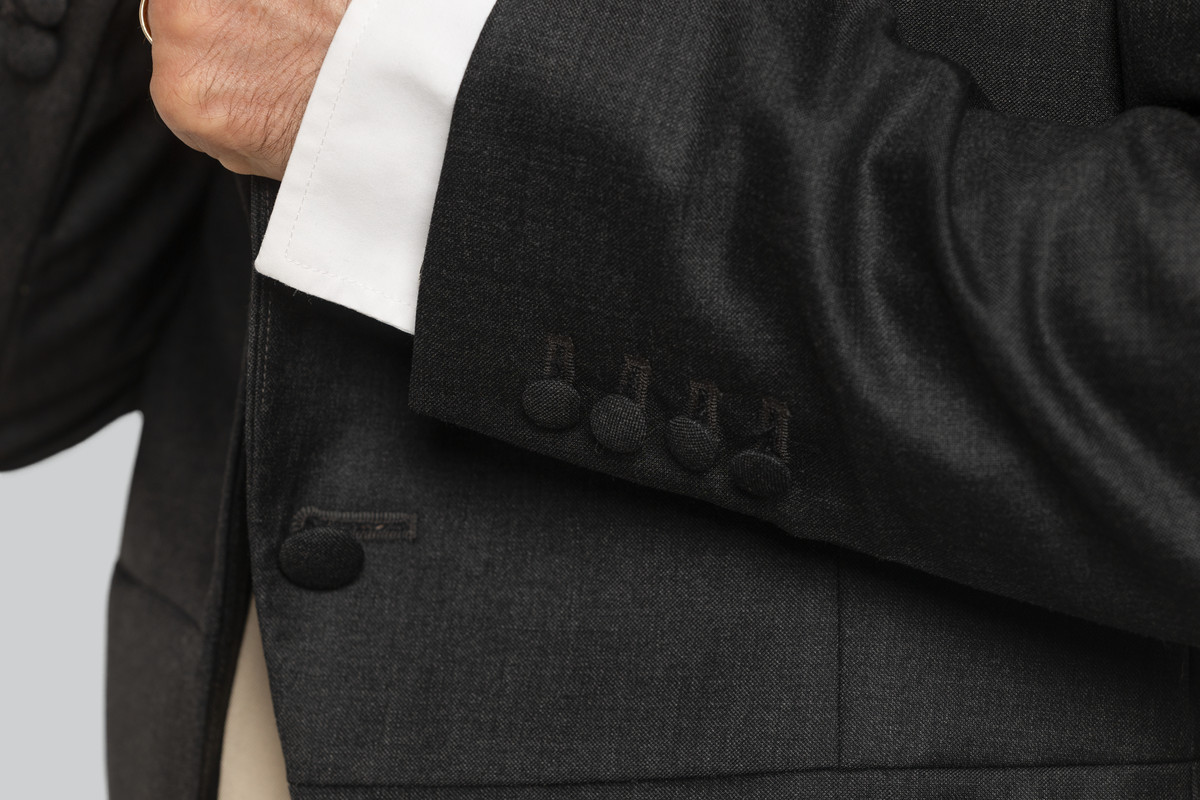
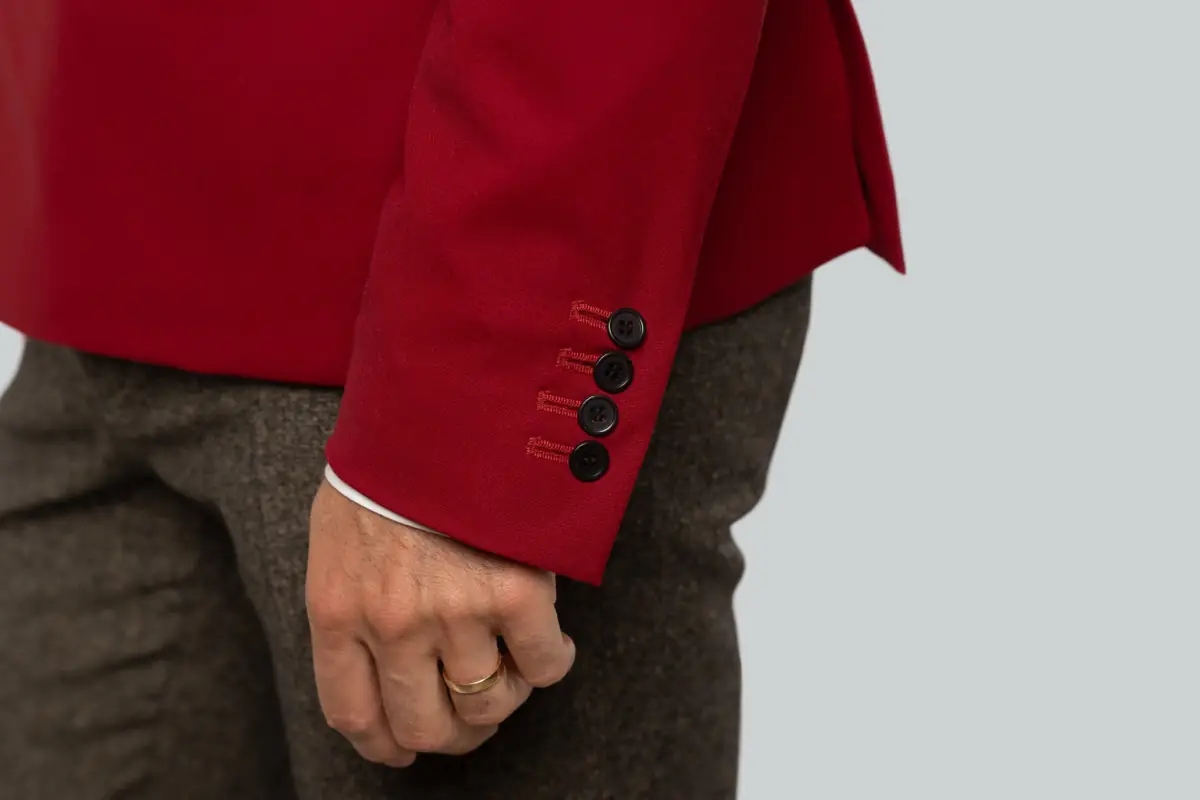
Sleeve buttons

04 / TAILORED JACKETS
Dover
Double-breasted Jacket
Make your first suit jacket in the course: a classic double-breasted design. Learn how the chest piece, shoulder structure, lapels and lining work together to shape the finished jacket.
What you’ll learn
- Double-breasted front
- Lapels & pockets
- Jacket structure
EXPLORE THE 13 GARMENTS
×
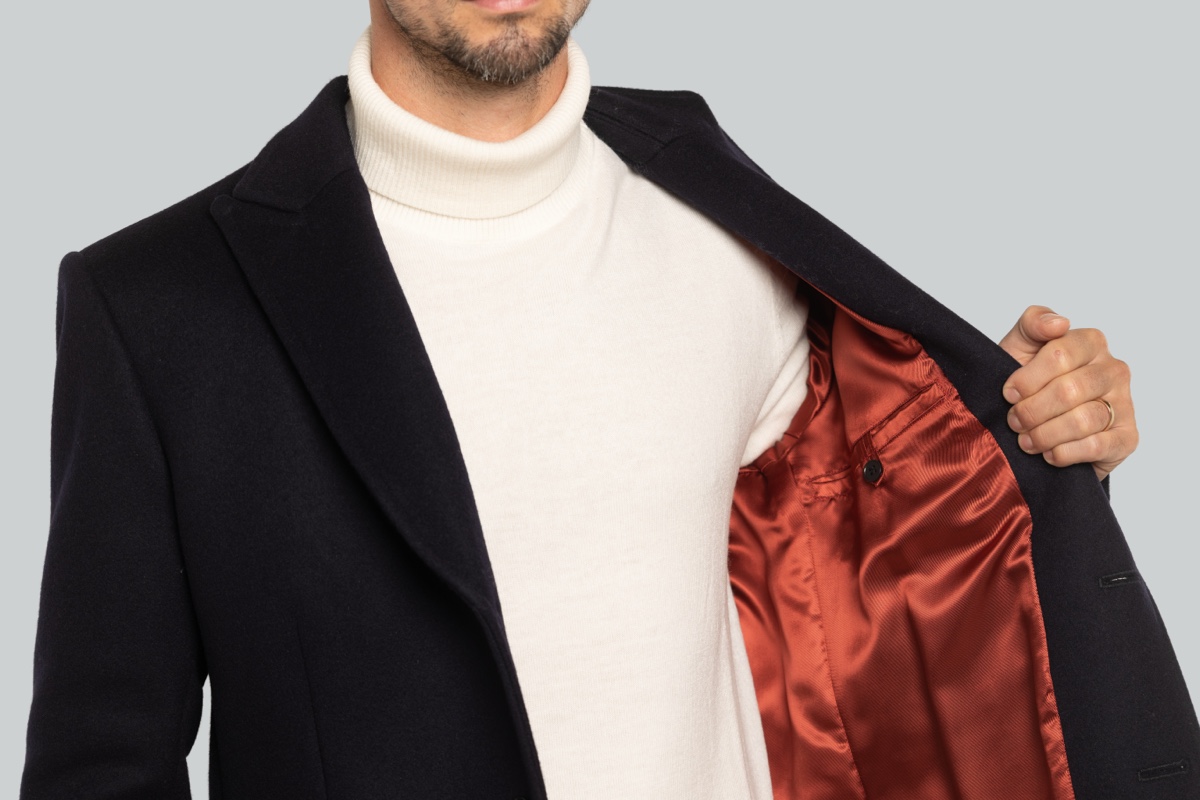
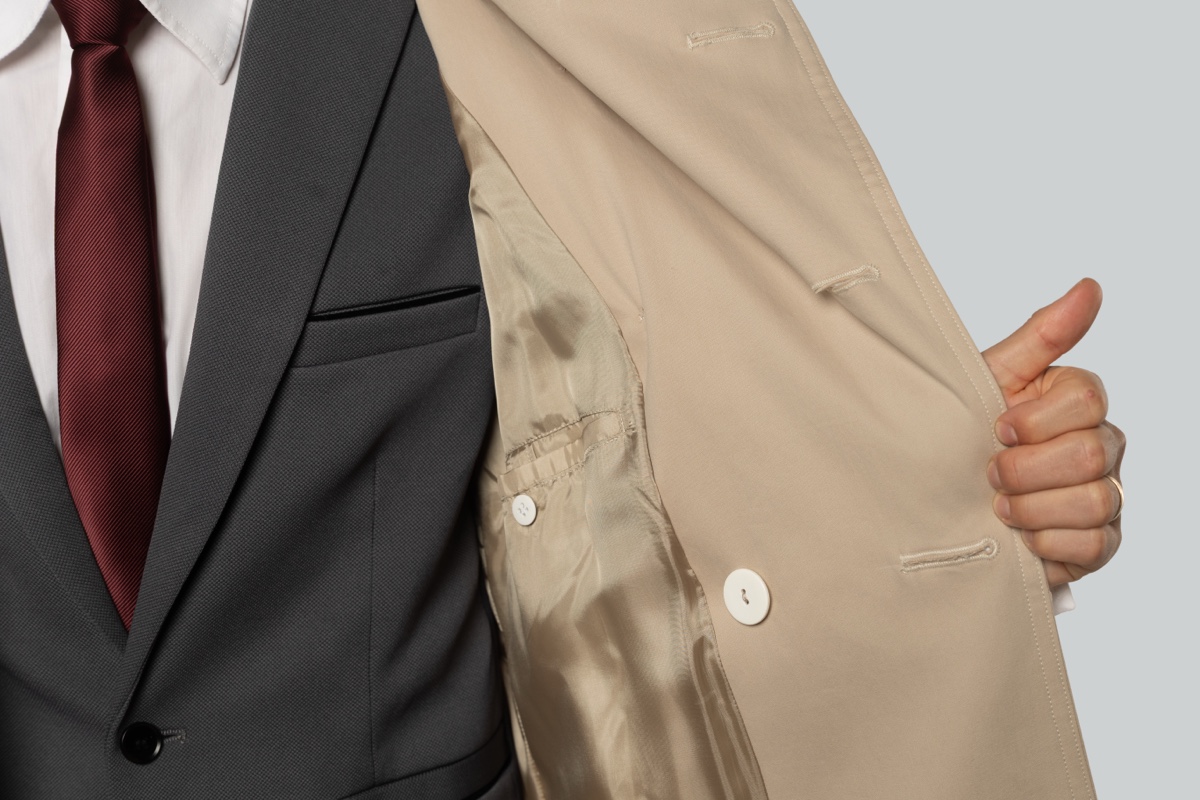
Complete coat

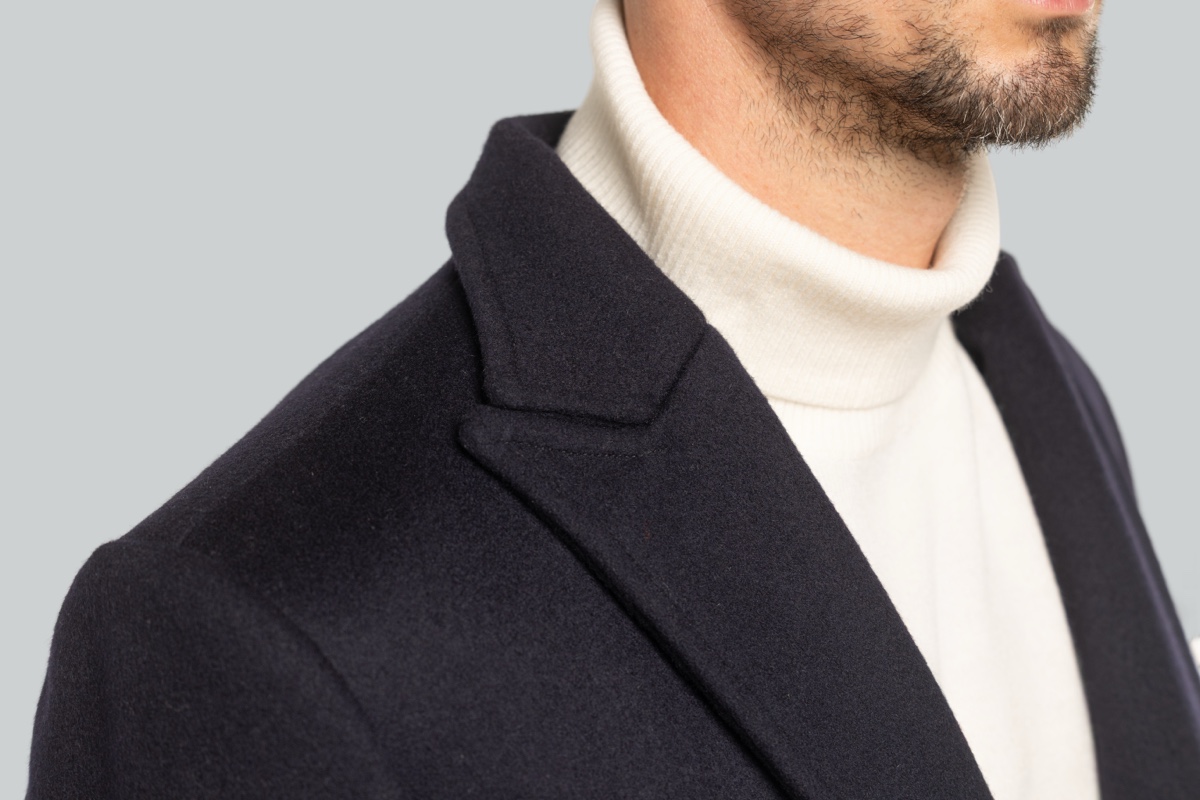
Notched lapel

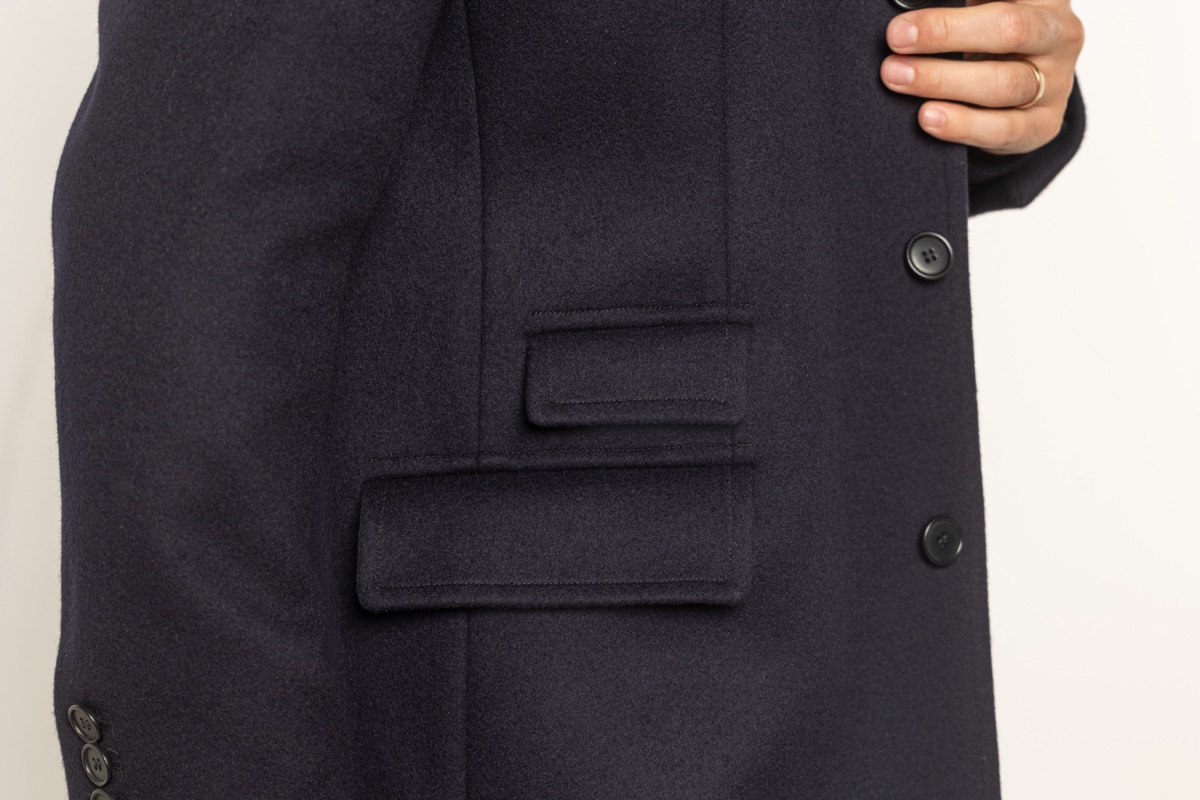
Flap & ticket pockets

Vent & lining

05 / OUTERWEAR
Eastbourne
Overcoat
Build on your jacket-making skills to create a tailored overcoat. Plan for the layers worn underneath, work with the fabric nap, and construct the lapels, pockets and lining.
What you’ll learn
- Coat proportions
- Collar & pockets
- Lining & finishing
EXPLORE THE 13 GARMENTS
×
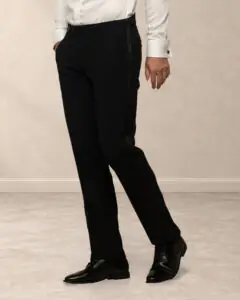
Complete trousers

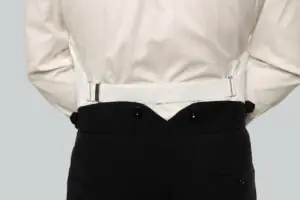
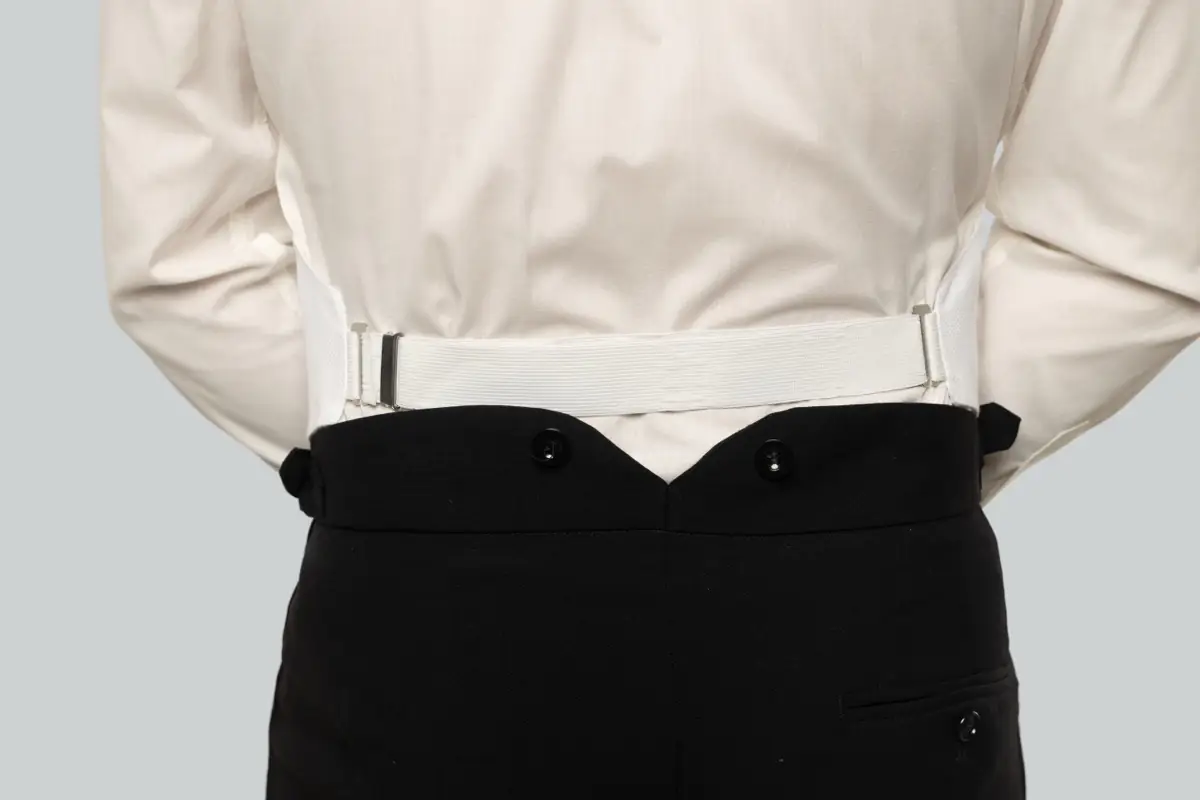
Back waistband

Inside waistband

Waistband fastening

06 / EVENINGWEAR
Folkestone
Tuxedo Trousers
Make tuxedo trousers with side braid and a raised waistband for suspenders (braces). Explore different waistband constructions, side adjusters and formal trouser finishes.
What you’ll learn
- Waist construction
- Side adjusters
- Formal finishing
EXPLORE THE 13 GARMENTS
×
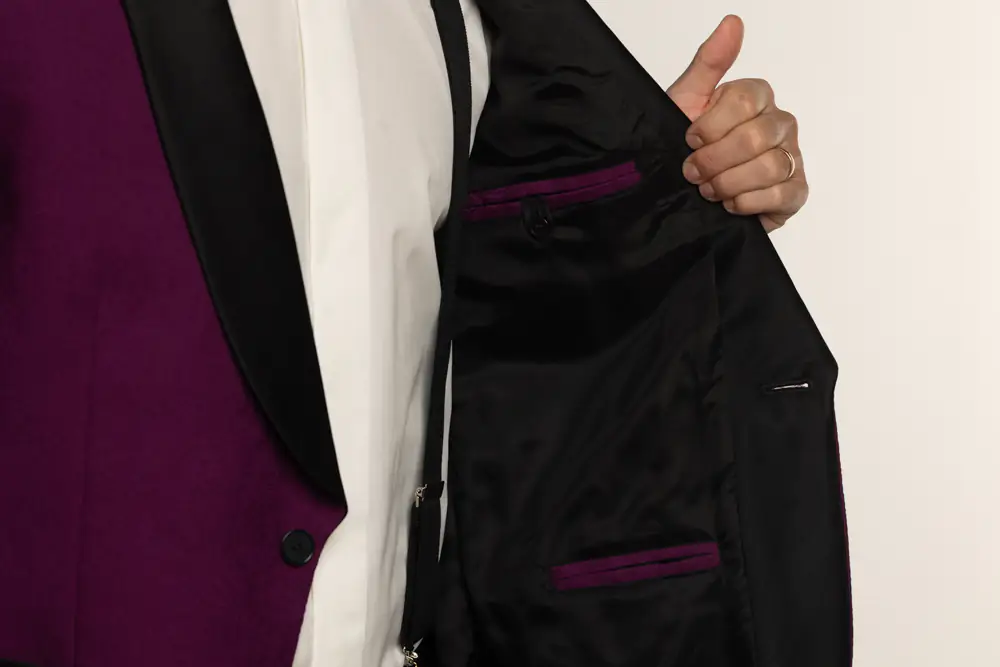
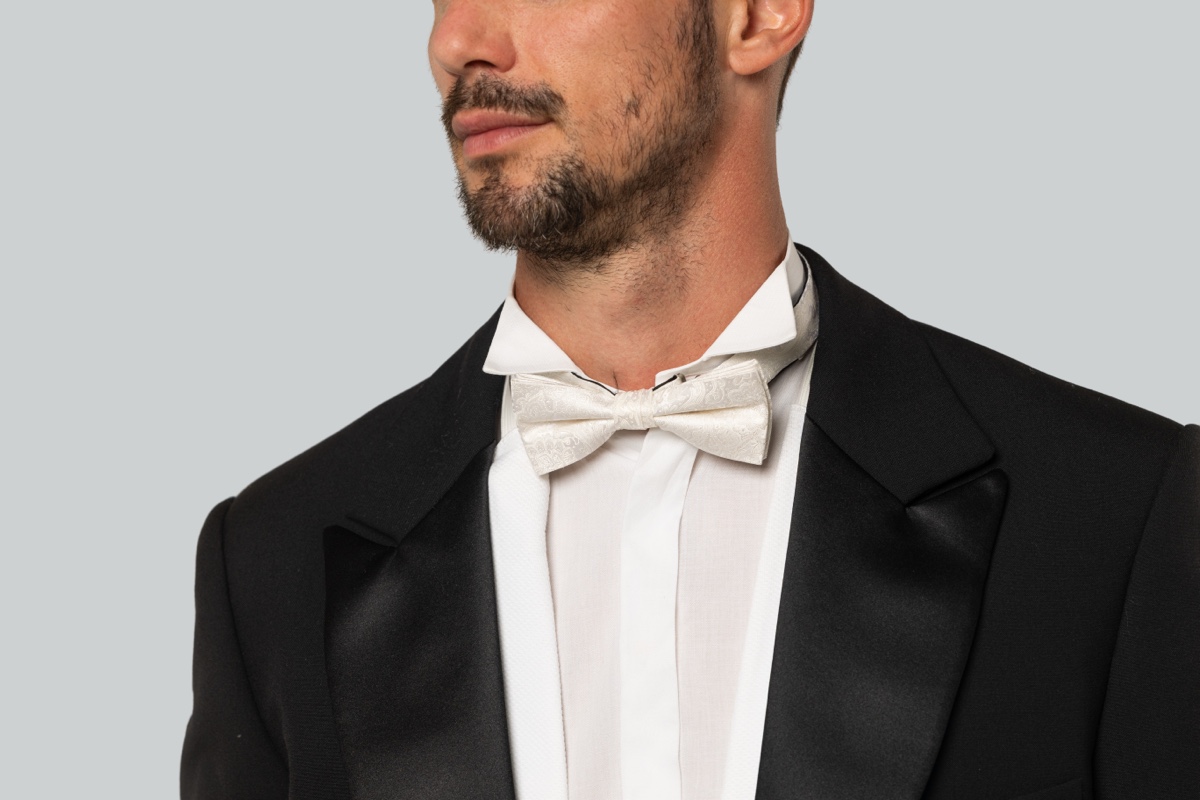
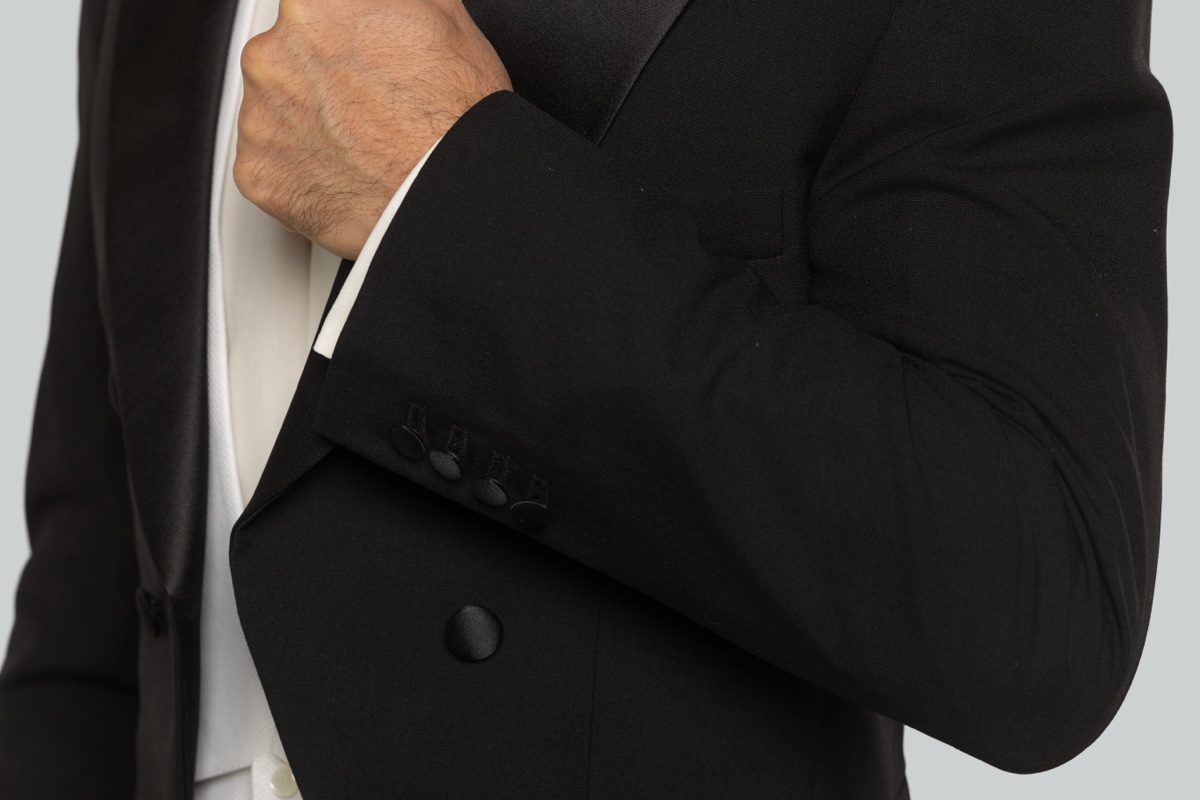
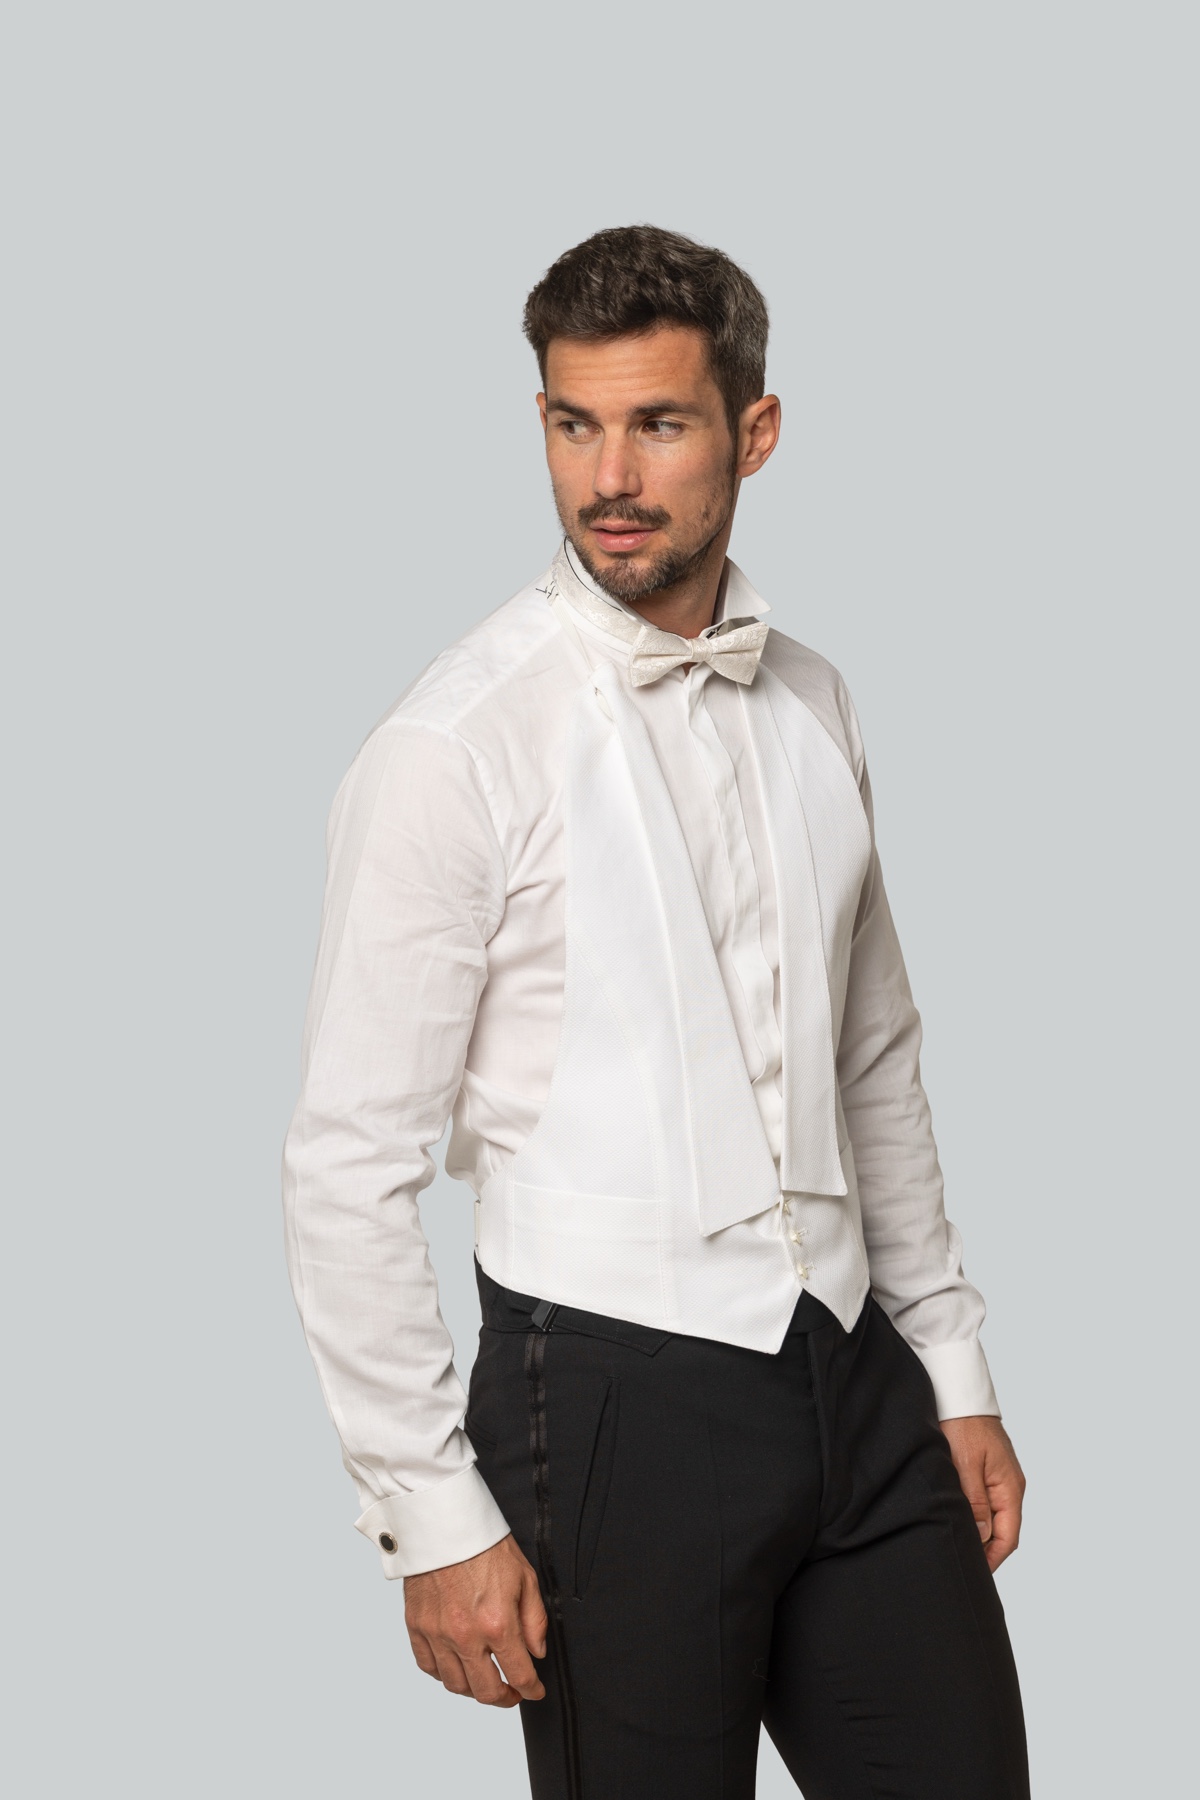
Complete dinner jacket

Shawl collar & breast pocket

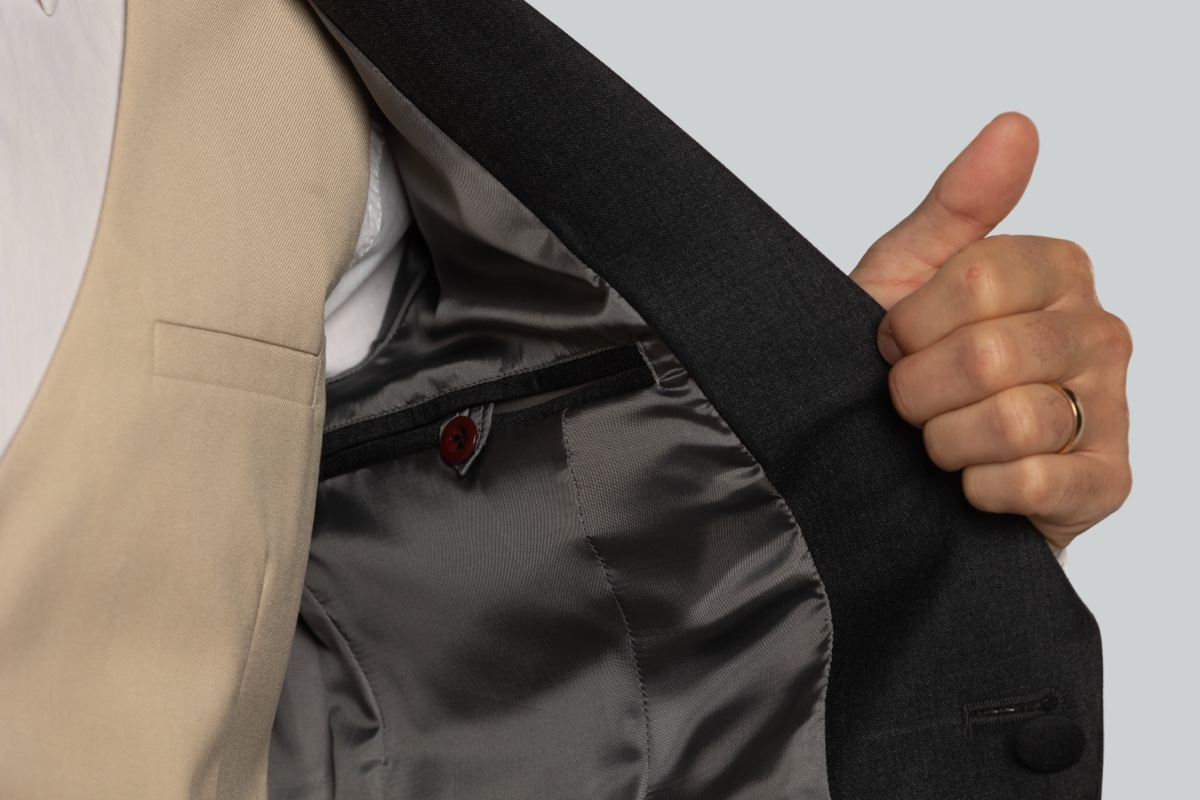
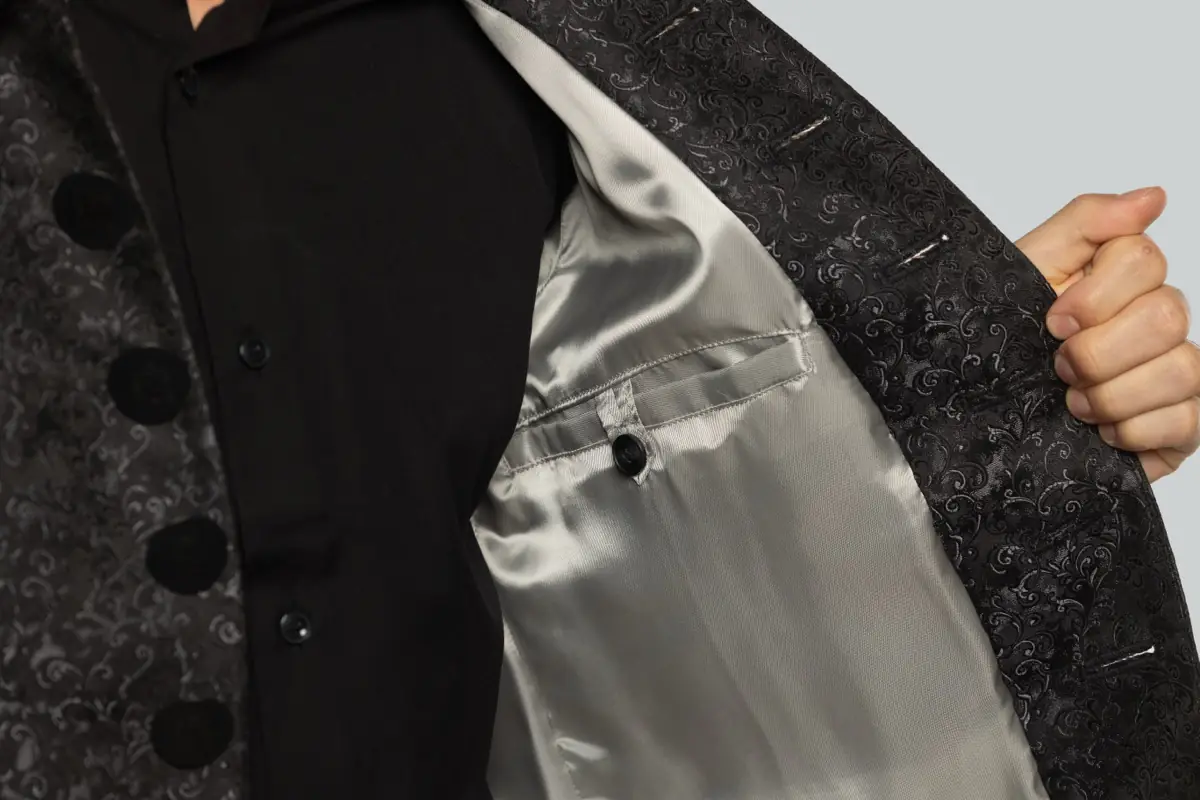
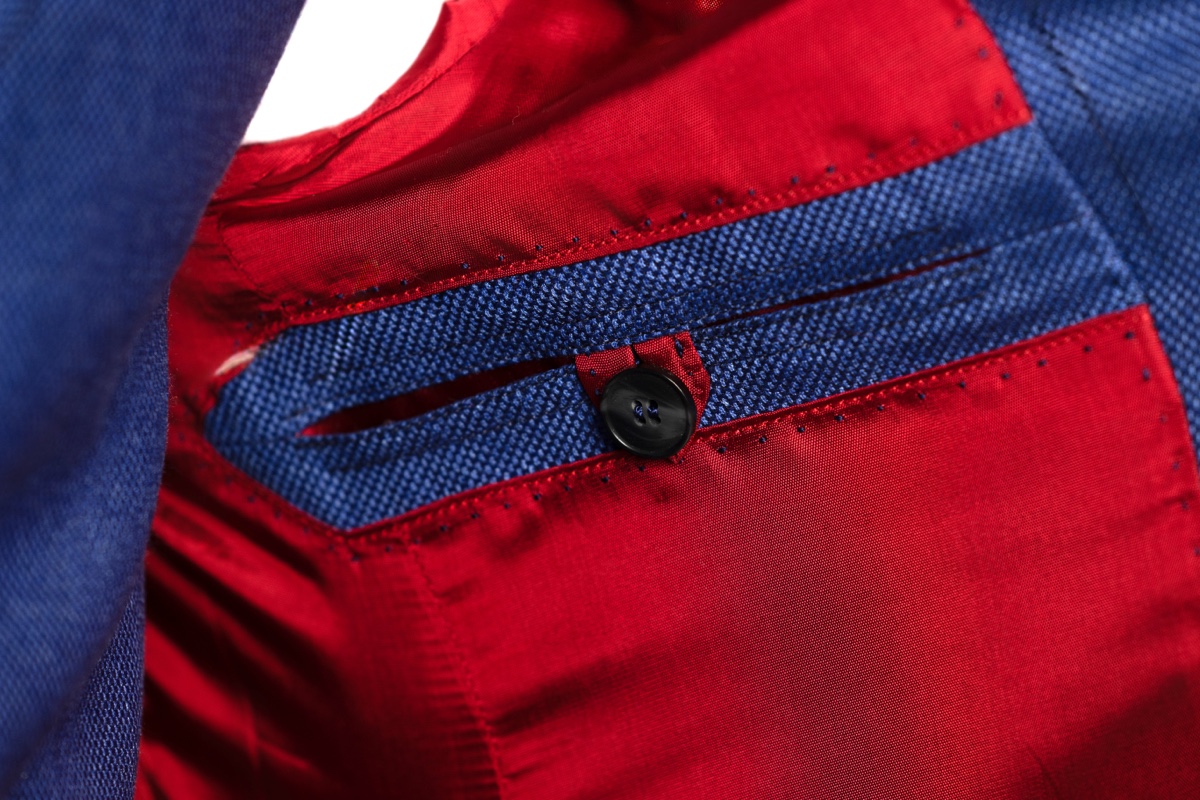
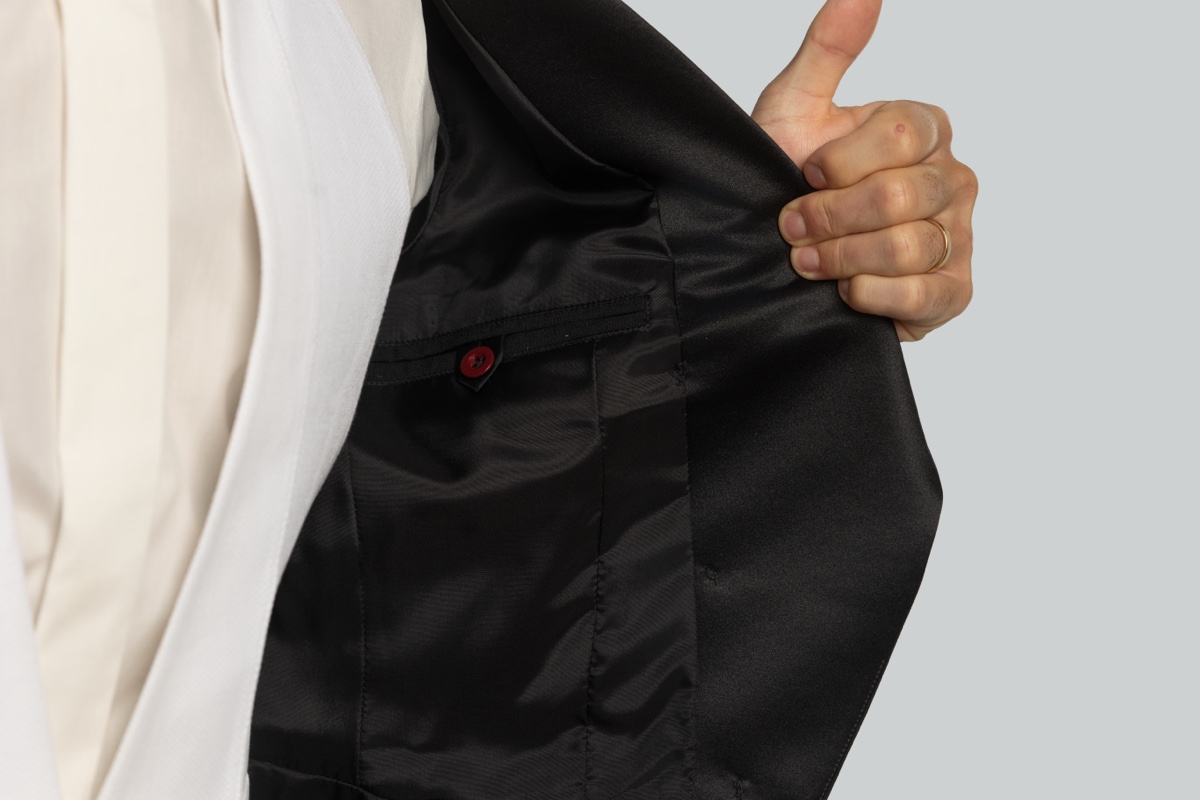
Inside pocket & lining

Sleeve buttons

07 / EVENINGWEAR
Guildford
Shawl-Collar Tuxedo Jacket
Make a tuxedo jacket, also known as a dinner jacket, with a softly rolling shawl collar. Learn to cut the collar and facings on the bias and finish the contrasting details with care.
What you’ll learn
- Shawl collar
- Contrast facings
- Pocket finishing
EXPLORE THE 13 GARMENTS
×
Complete trenchcoat

Collar & storm flap

Pocket fastening

Belt stitching

08 / OUTERWEAR
Haverhill
Trenchcoat
Sew a classic trench coat with raglan sleeves, storm flaps, a belt and adjustable straps. Bring these individual construction techniques together in one complete coat.
What you’ll learn
- Collar & storm flap
- Belt & sleeve straps
- Pockets & epaulettes
EXPLORE THE 13 GARMENTS
×
Complete tailcoat

Sleeve buttons

Peak lapel & breast pocket

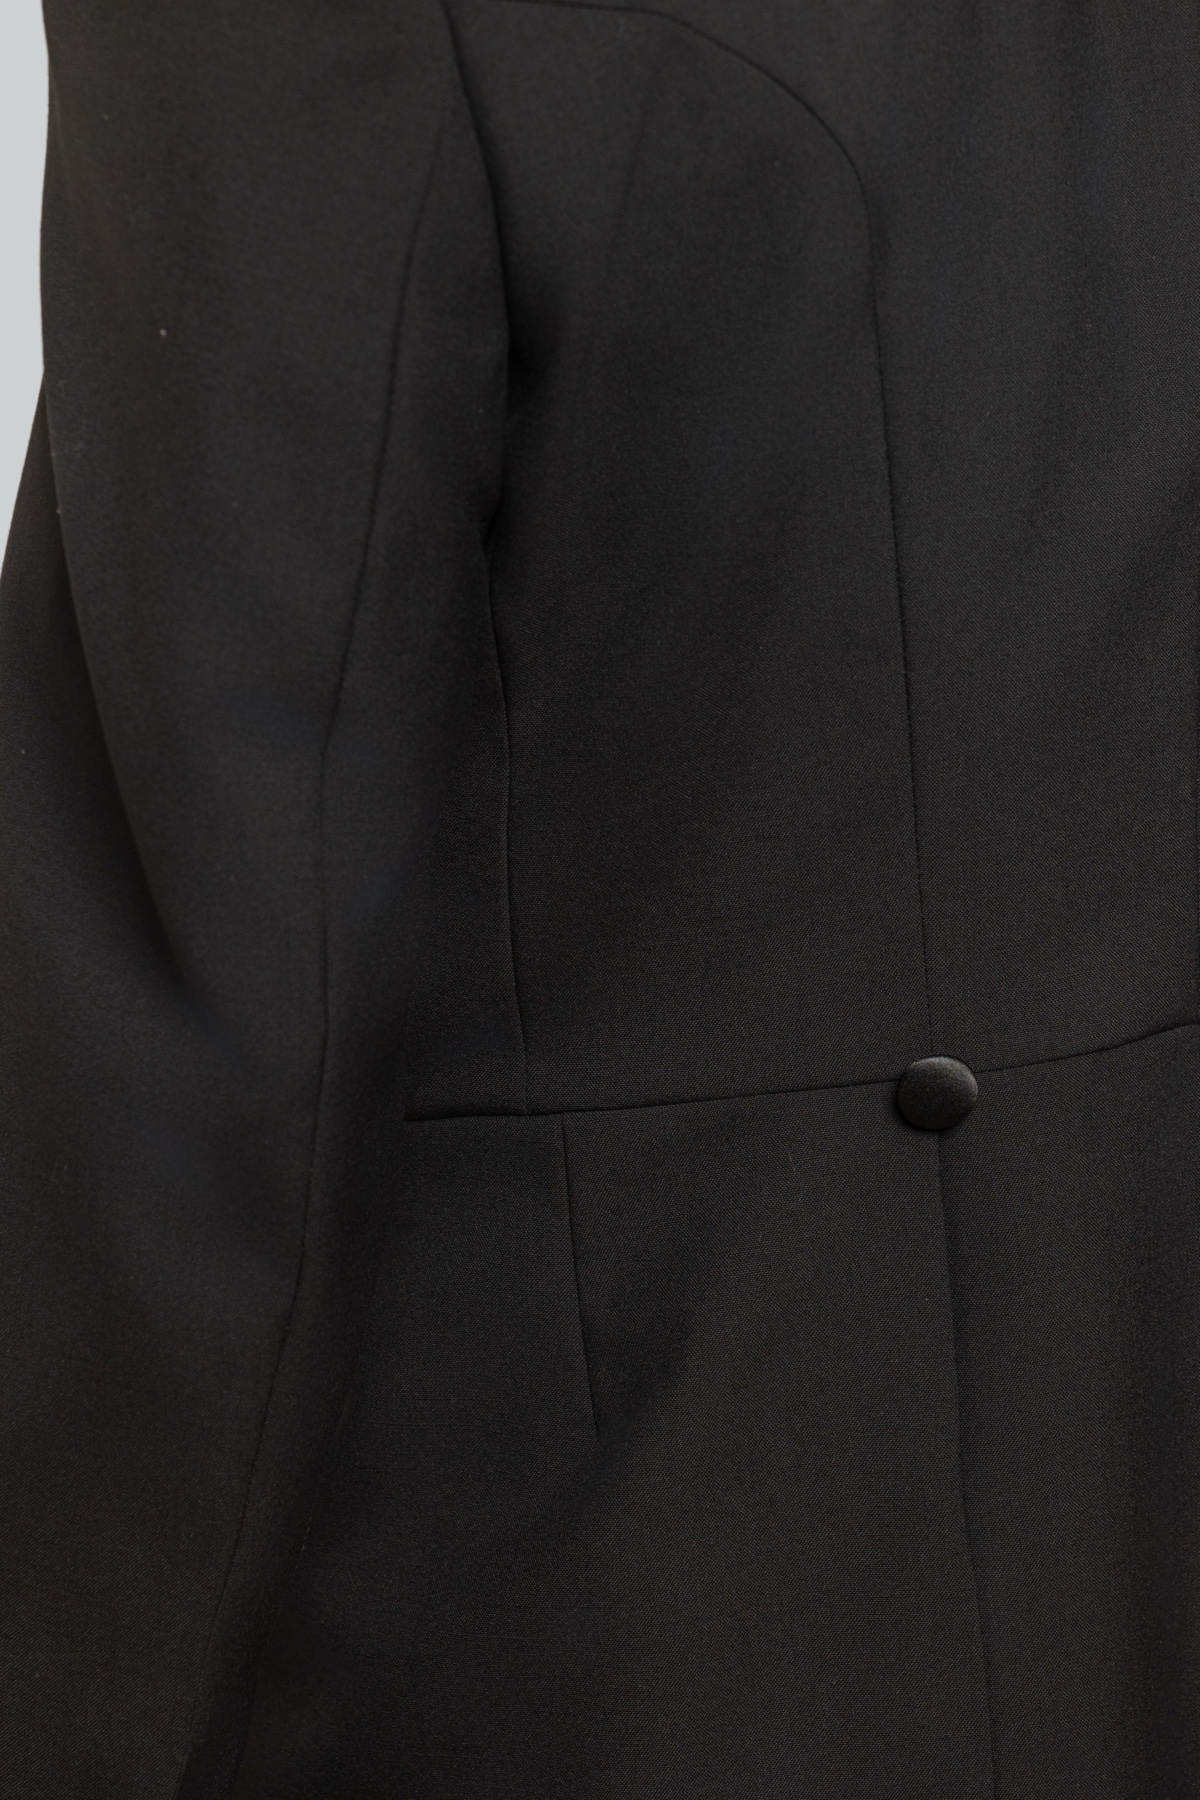
Back waist & pleats

09 / FORMAL TAILORING
Ipswich
Evening Tailcoat
Build on your suit-jacket projects to make an evening tailcoat. Construct the waist seam, shape the tails and back pleats, and adapt the lining to this distinctive form.
What you’ll learn
- Front & tails
- Lapels & facings
- Waist balance
EXPLORE THE 13 GARMENTS
×
Complete morning coat

Lapel & buttonhole

Back waist & seams

Front fastening

10 / FORMAL TAILORING
Jarrow
Morning Coat (Cutaway)
Make a morning coat with a sweeping cutaway front. Adapt the techniques from the tailcoat to a new silhouette and explore different back constructions and fastening options.
What you’ll learn
- Curved front
- Waist seam
- Collar & lapels
EXPLORE THE 13 GARMENTS
×
Complete jacket

Hood insert & collar

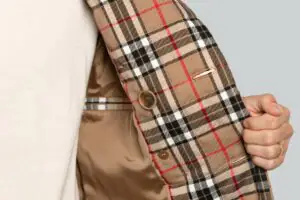
Inside pocket

Check pattern & button

11 / OUTERWEAR
Kent
Hooded Jacket
Match checks, add quilting and construct a removable hooded insert. Make a versatile jacket that can be worn with or without the insert.
What you’ll learn
- Check alignment
- Double-breasted front
- Hood & inner layer
EXPLORE THE 13 GARMENTS
×
Complete frock coat

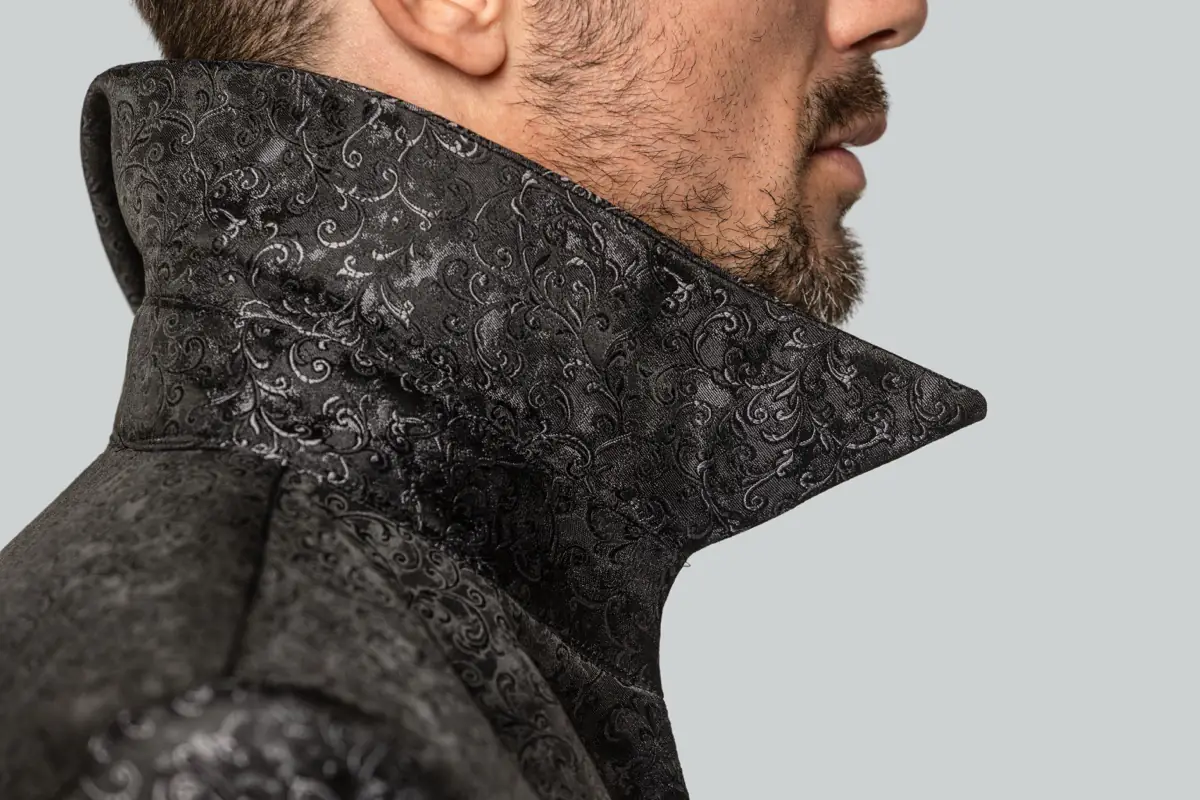
Collar construction

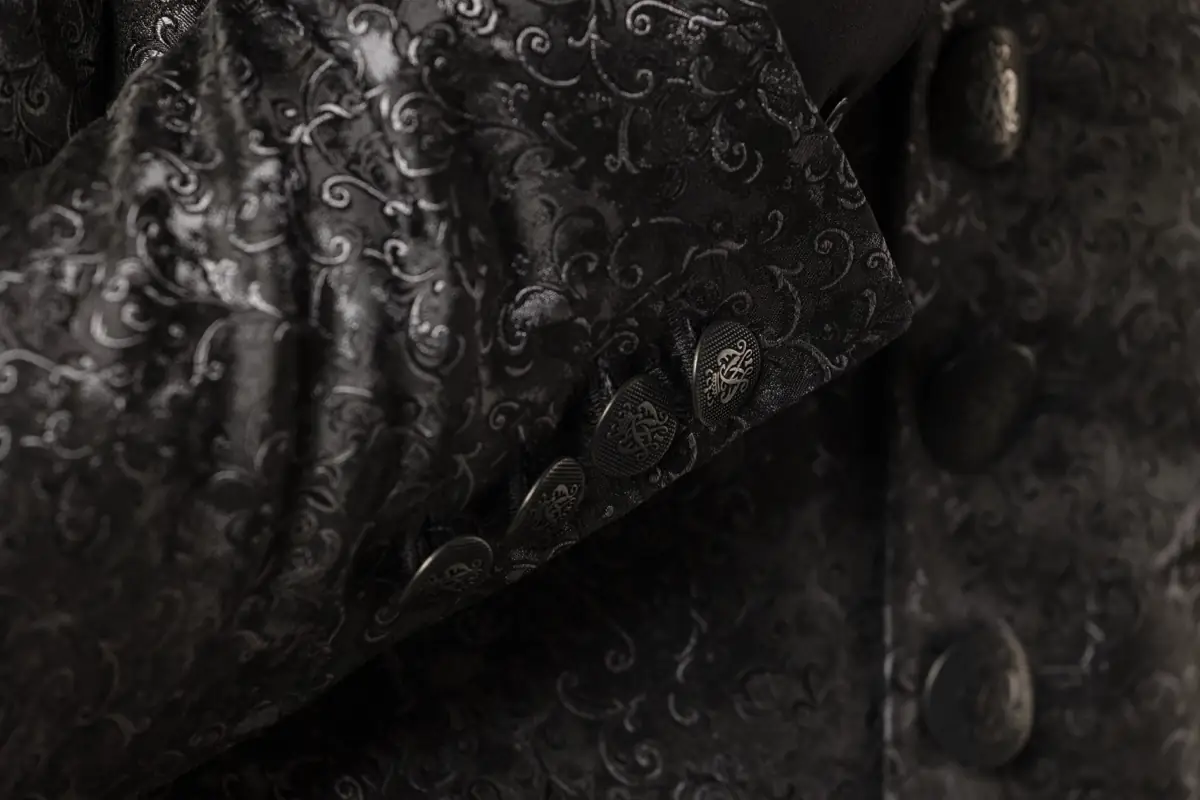
Decorative sleeve buttons

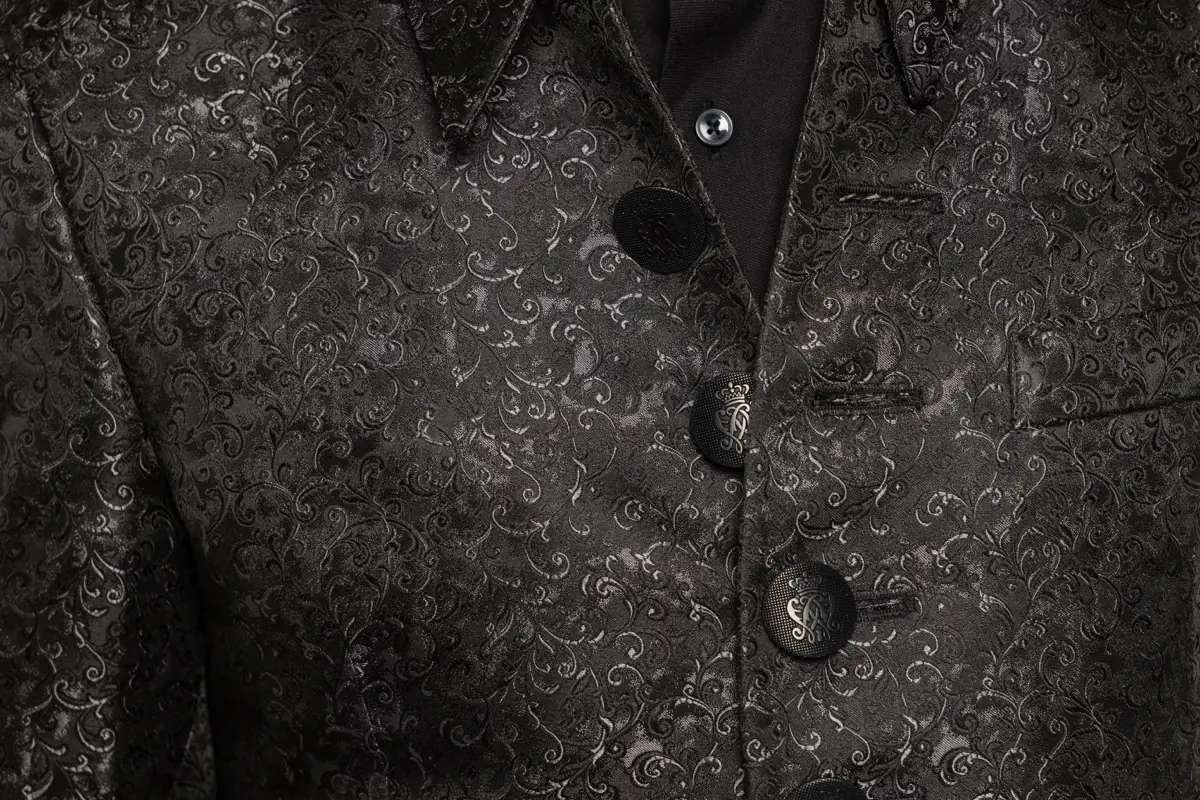
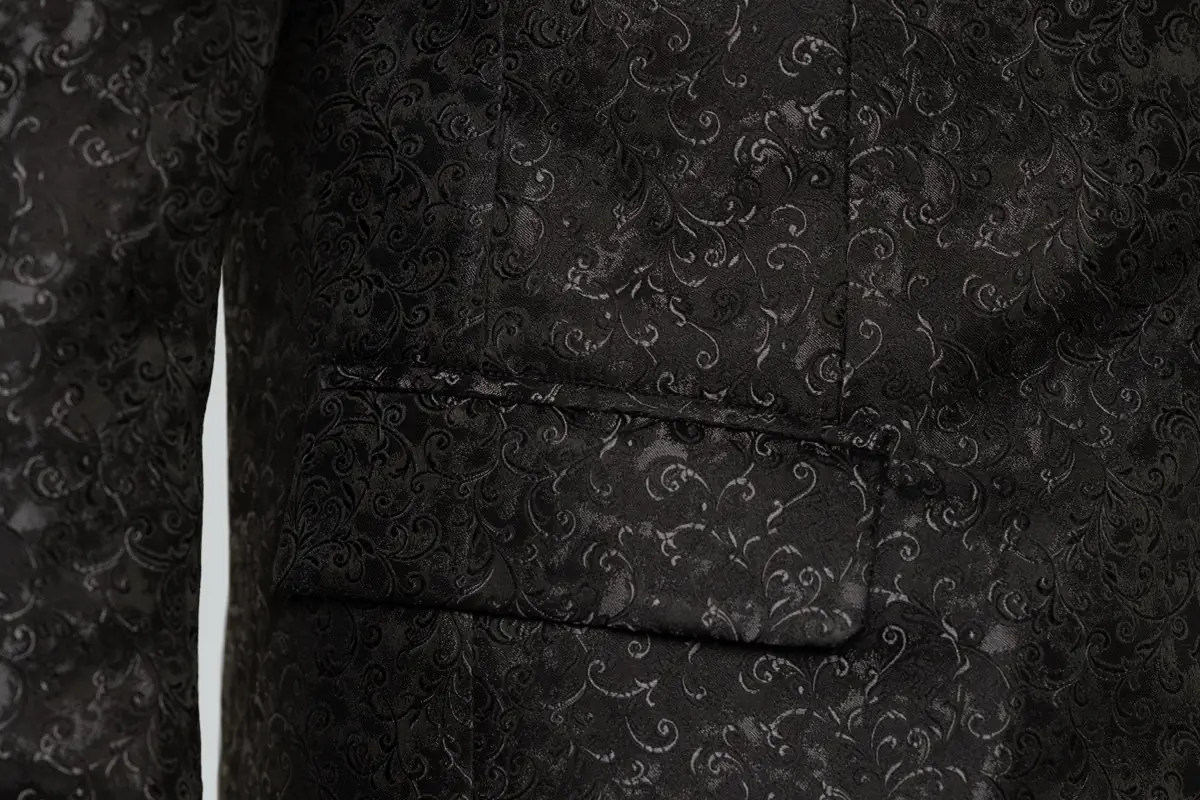
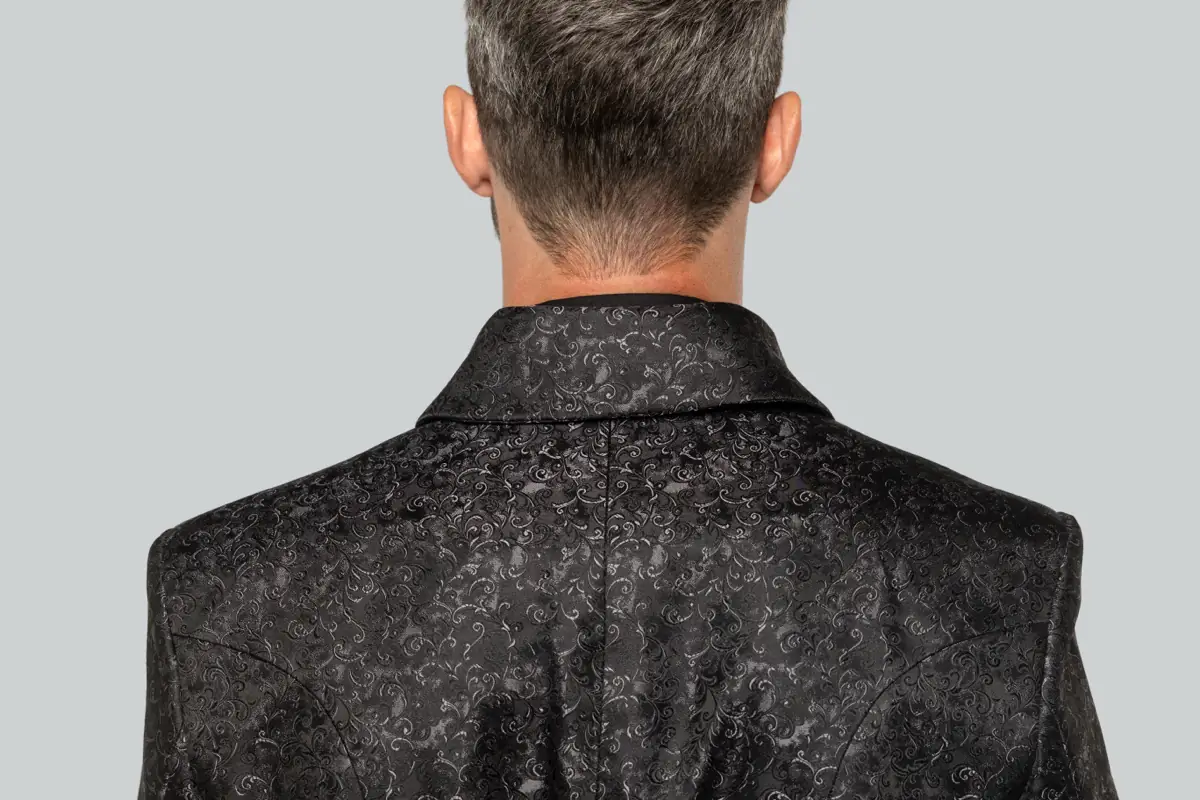
Shoulder & patterned fabric

12 / FORMAL TAILORING
London
Frock Coat
Make a fitted frock coat with an elongated silhouette. Shape the body with carefully constructed seams, explore collar variations, and finish pockets, lining and working sleeve vents.
What you’ll learn
- Collar variations
- Button front
- Long lines & pockets
EXPLORE THE 13 GARMENTS
×
Basted jacket in progress

Inside pocket & lining

Basted lapel & pocket

Canvas & pad stitching

13 / BESPOKE TAILORING
Manchester
Bespoke Jacket
Make a full-canvas suit jacket with a floating canvas structure. Shape the lapels and collar with hand pad stitching, work hand-sewn buttonholes, and finish the lining with traditional hand stitches.
What you’ll learn
- Canvas & shaping
- Fitting preparation
- Hand finishing
Made by Our Students
Menswear made by our students — and the experiences behind it.
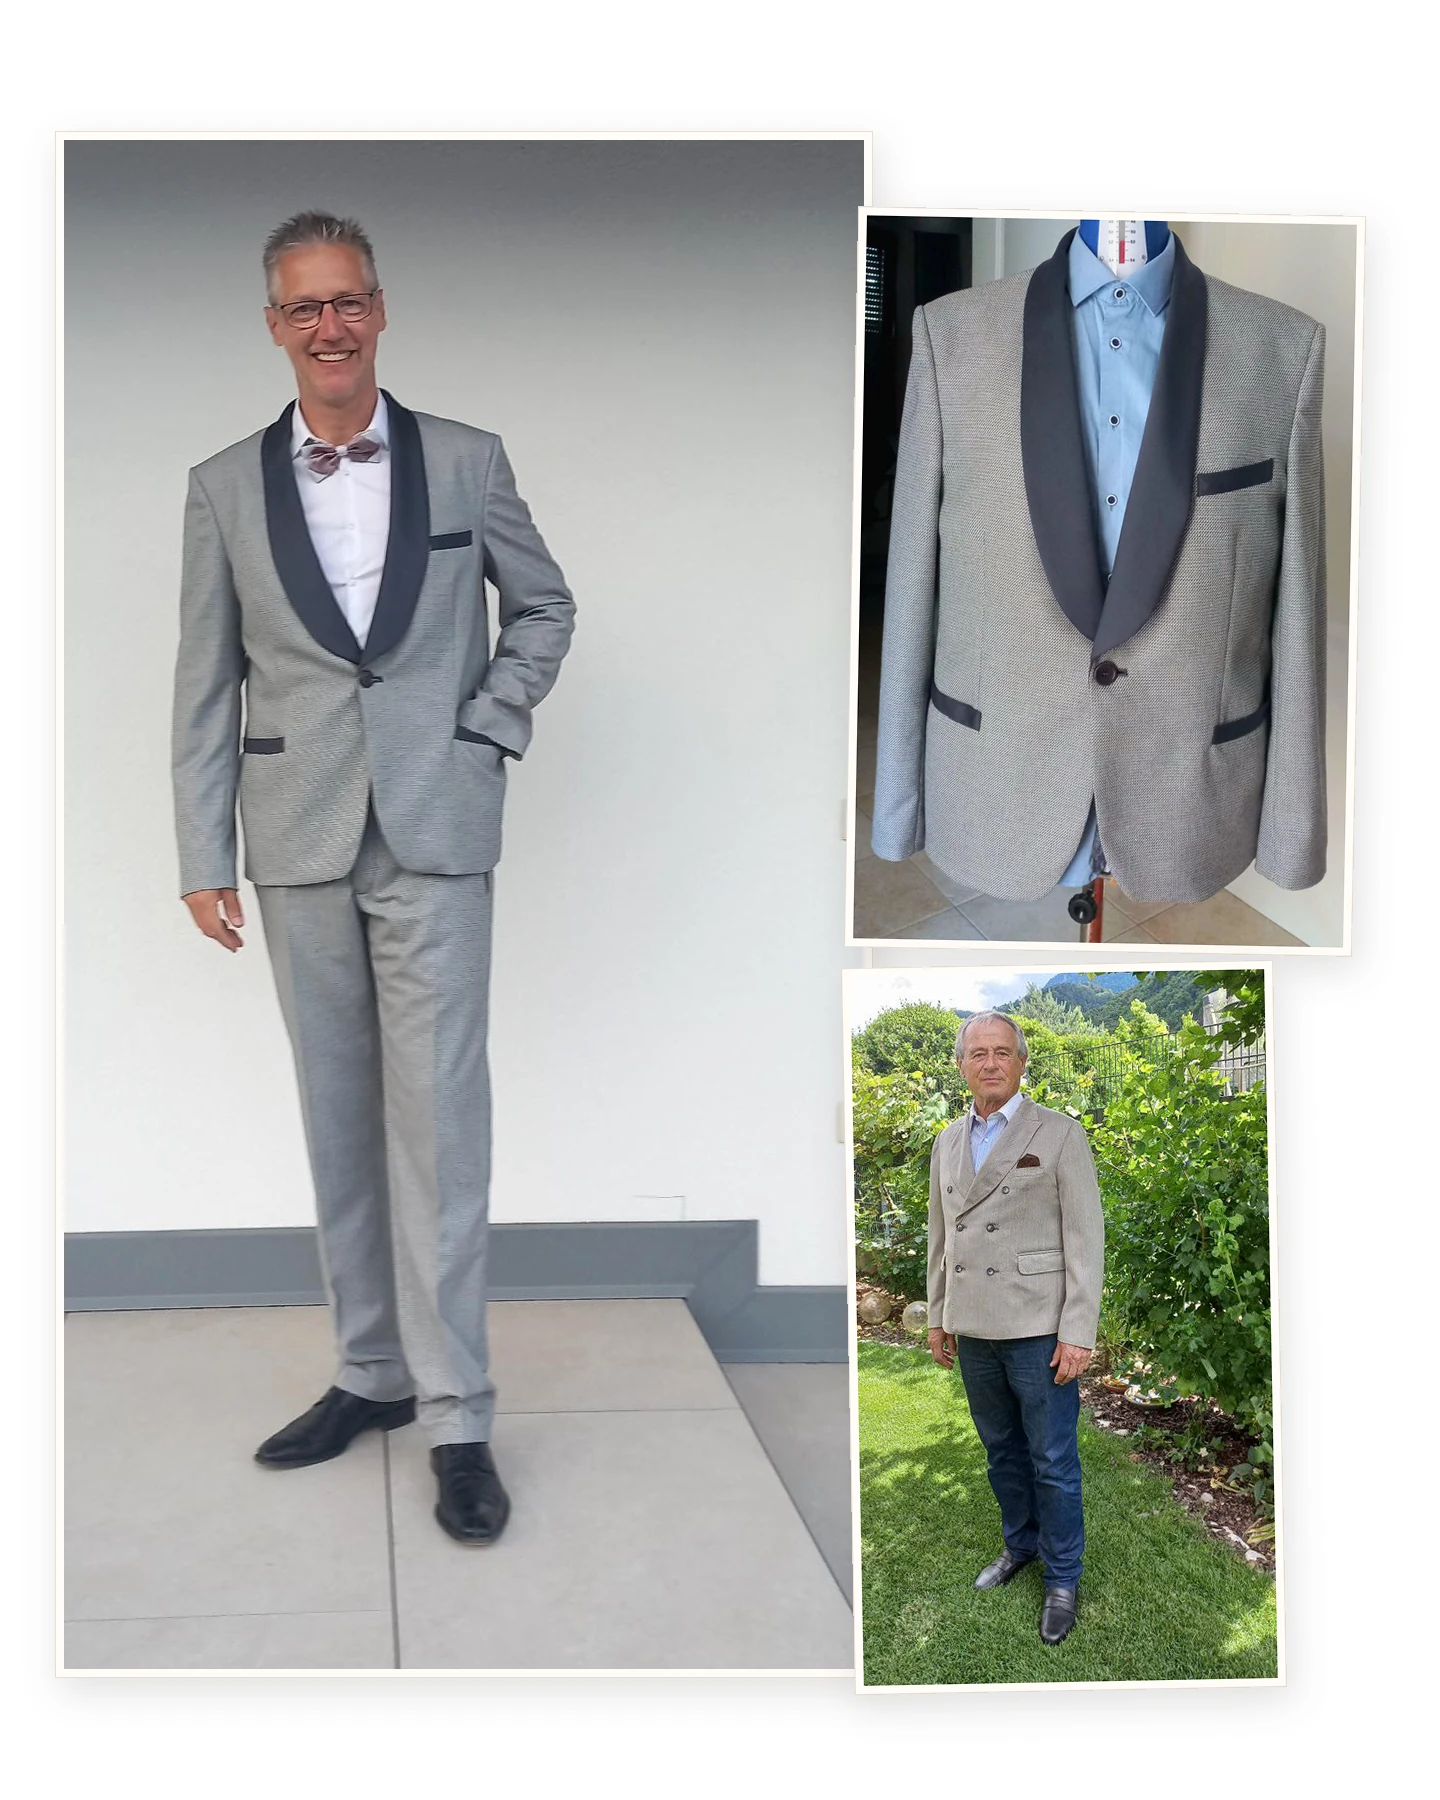
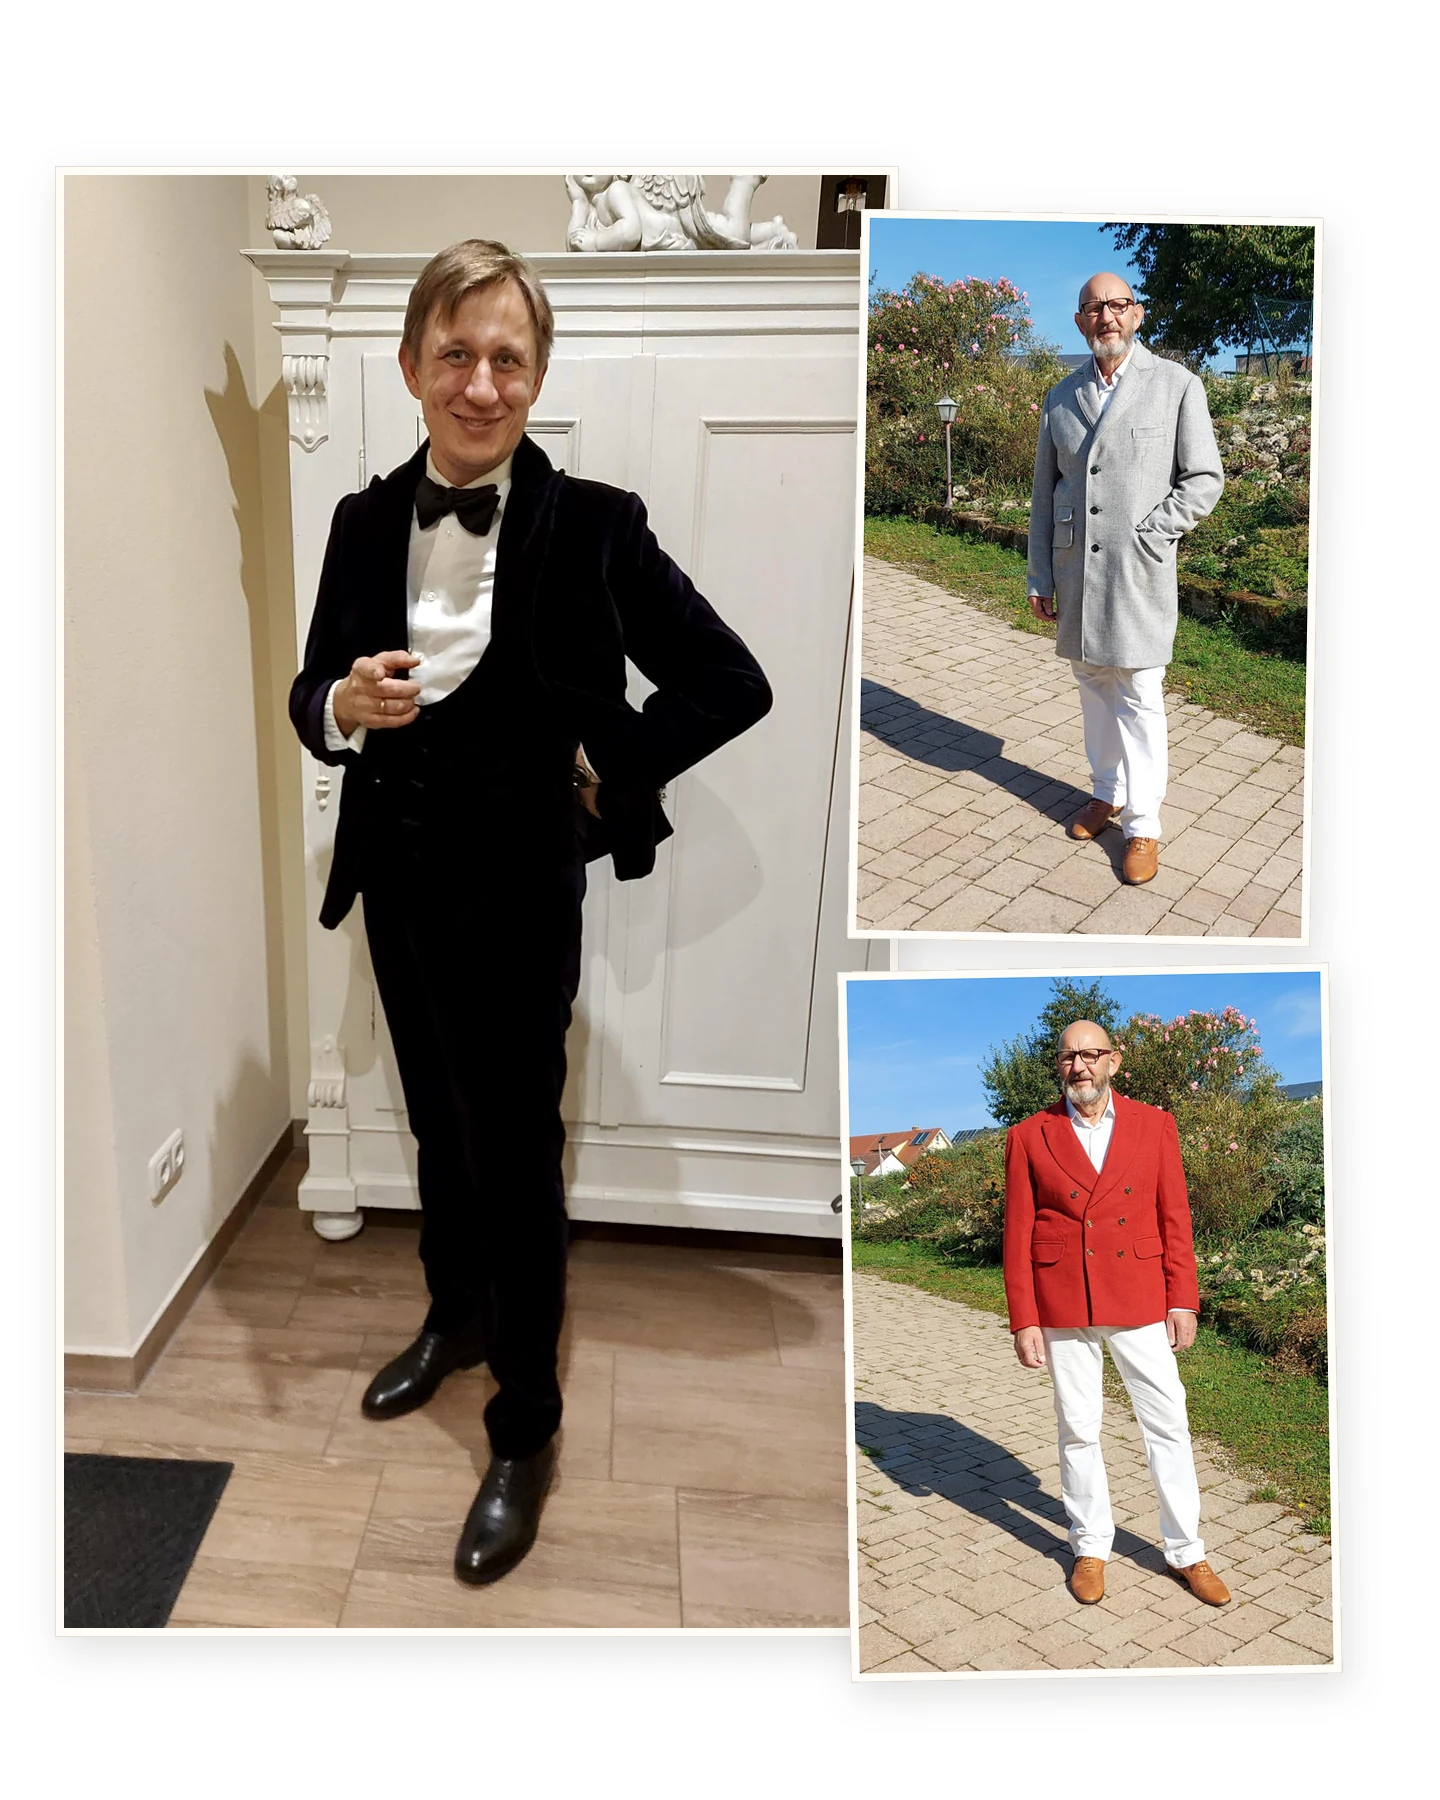
“Everyone was amazed that I had sewn the suit myself.”
I learned how to sew truly high-quality menswear and formal eveningwear, developed the right eye for the male figure, and raised my sewing level enormously.
My husband, son and son-in-law wear the clothes I make for them with pride and joy. My son-in-law now wears custom-made clothing professionally. He is very tall and slim and does not have a standard ready-to-wear figure.

Christine D. Jäger
Hobby sewist
Read full story
The Gentlemen’s Tailoring Program from Schneider Akademie is the best thing that could have happened to me as a hobby sewist. I learned how to sew truly high-quality menswear and formal eveningwear, developed the right eye for the male figure, and raised my sewing level enormously.
In the end, I sew for both men and women, and this training gave me the final refinement I was looking for. I don’t know any other platform that offers this kind of training in such a compact, professional and sympathetic way, with so many professional tips and techniques.
A good sewing machine, a good pair of tailoring scissors and a little sewing equipment are enough. It is the knowledge that makes a good tailor.
I am thrilled — and my husband, son and son-in-law wear the clothes I make for them with pride and joy. When I finished the dinner suit and it was worn to a special event, I was incredibly proud. Everyone was amazed that I had sewn the suit myself.
My son-in-law now wears custom-made clothing professionally. He is very tall and slim and does not have a standard ready-to-wear figure.
I can wholeheartedly recommend this course to all hobby sewists who truly want to raise their sewing skills to tailoring level. And it is a lot of fun to sew at this level.
“I can always return to the videos.”
At first, I was worried whether I would really be able to manage the units and whether I would have enough time. That quickly disappeared because I can always return to the videos.
The 13 units build on one another in level, with detailed videos that are very easy to follow. My family benefits greatly from it, and people cannot help but admire the beautiful pieces of wearable craftsmanship.

Kunigunde Herbstsommer-Bauer
Masterclass graduate · Sewing for her family
Read full story
My name is Kunigunde Herbstsommer-Bauer, and I have been sewing since childhood. I came to the Gentlemen’s Course through the Masterclass, which I completed five years ago, including the final examination.
The Gentlemen’s Course is unique. I don’t know of anything comparable if you want to perfect your skills and abilities in men’s tailoring. To manage the course well, it is advisable to have good sewing experience — for example through the Masterclass.
In my large, male-heavy family, I could and still can fully enjoy applying what I learn. The 13 units build on one another in level. You are introduced to the processing methods of English craftsmanship. Different approaches and clear methods are taught.
For each unit, you receive patterns in sizes 44–64, material lists and detailed videos that are very easy to follow. The wonderful thing is that you can access everything for life.
Coming to Schneider Akademie is the best thing that could have happened to me personally. My family benefits greatly from it, and people cannot help but admire the beautiful pieces of wearable craftsmanship.
At first, I was worried whether I would really be able to manage the units and whether I would have enough time. That quickly disappeared because I can always return to the videos. So don’t be afraid — just start. You have a lifelong gift in your hands.
“It fills you with pride when you have sewn a custom-tailored suit yourself.”
I have had my own atelier for some time and could no longer take time out for a traditional tailoring education. With the Gentlemen’s Course, you can challenge yourself again.
Since then, I have wanted to sew my own suits, jackets, trousers and much more. The course remains available to you, and you can continue whenever you are ready.

Marina Banze
Atelier owner
Read full story
This is a craft you rarely find today. I am grateful for a course like this because I can organize my own time, and the result is crowned with success.
I have had my own atelier for some time and could no longer take time out for a traditional tailoring education. At some point I discovered the Masterclass and was — and still am — thrilled. The tips were exactly what I was looking for to work faster and with more routine.
With the Gentlemen’s Course, you can challenge yourself again. It really makes an impression. I never thought I would want to take a course like this, but since then I have wanted to sew my own suits, jackets, trousers and much more.
It fills you with pride when you have sewn a custom-tailored suit yourself. This course has my full recommendation.
You don’t have to stress about the timing. The course remains available to you, and you can continue whenever you are ready.
Your Course, at a Glance
Video lessons, professional patterns and personal guidance — with permanent access as your skills grow.
A Monthly Learning Plan
Start immediately, with a new project every month. Follow the suggested learning plan or take longer. Your access to unlocked projects does not expire.
Professional Menswear Patterns
Includes design variations and A4, US Letter and A0 files.
Permanent Access
Revisit your videos and patterns whenever you need them.
Step-by-Step Videos
See techniques up close. Pause, replay and sew along.
Personal Expert Support
Ask our tailoring team for help with your sewing, construction and fitting questions.
Commercial License
Make and sell finished garments using the course patterns.
What You See Is Only Half the Craft
NEW SECTION · THE DETAILS MAKE THE DIFFERENCE
The character of exceptional menswear is built beneath the surface. Structure, balance and carefully constructed details work together to give each garment its shape.
Shape That Starts Within
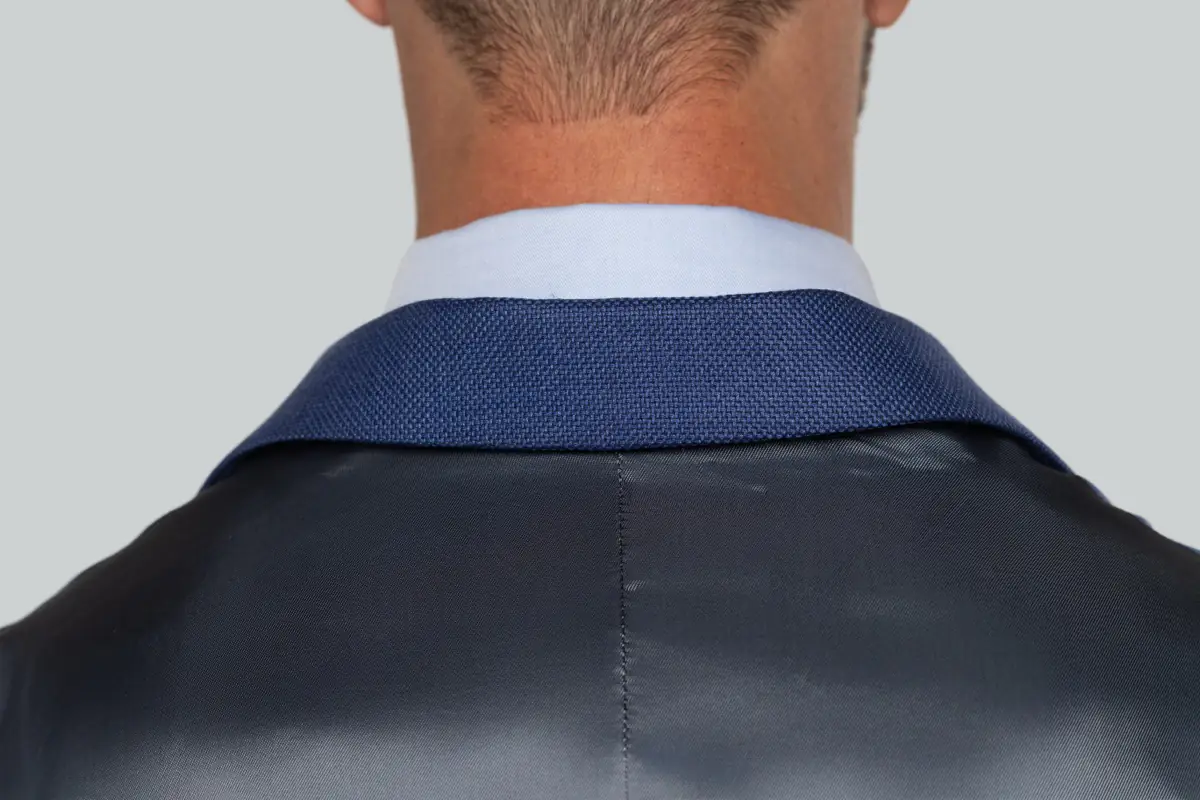
A jacket’s silhouette begins beneath the cloth. Canvas, chest pieces and careful shaping give it the structure and support you see in the finished garment.
Details Worth a Closer Look
A rolled lapel, a hand-sewn buttonhole, a neatly finished lining: thoughtful details give a garment character, inside and out.
Make the Craft Your Own
Understand how these details come together, then carry the techniques into the pieces you create for yourself, your family or your clients.
THE WIMMER METHOD
Learn the Craft by Making It
Build your skills through real garments, with Stefan and Leonhard’s work as your guide. Follow the making process from the first cut to the final hand-finished details.
01 / CUT
Begin With the Cloth
Choose your fabric, prepare the supplied pattern and cut with care. Learn how material, grain and accurate preparation influence the finished garment.
02 / CONSTRUCT
Build the Structure
Bring the pieces together and build the shape from within. Work with seams, interlinings and construction techniques suited to each garment.
03 / PREPARE
Prepare for Fitting
Prepare your garment for a fitting with careful basting and pressing. Learn how to shape the cloth as you build the garment.
04 / FINISH
Bring It All Together
Finish linings, edges and closures with care. Add the hand-finished details that give your garment its character, then carry those skills into your next project.
“The many examples, including international tailoring practices, helped me successfully recreate pieces for my own use.”
Dimitrios
Men’s Tailoring Course participant
★★★★★
Learn from Stefan
and Leonhard Wimmer
Learn from two generations of practicing tailors, combining the Wimmer family’s craft with experience from London’s Savile Row.
Stefan Wimmer
MASTER TAILOR · NINTH GENERATION
A ninth-generation master tailor, Stefan shows you how to execute each technique and explains why it works — helping you apply precise construction to your own garments.
Leonhard Wimmer
TAILOR · SAVILE ROW TRAINING
Trained in men’s and women’s tailoring, Leonhard refined his craft on Savile Row. He guides you through bespoke construction and the hand-sewing techniques that shape a tailored jacket.
A Craft Worth Sharing
FAMILY TRADITION SINCE 1741
A family tailoring tradition since 1741, shared by two generations working side by side. Bring their atelier knowledge into your own sewing.
MEN’S BESPOKE TAILORING COURSE
Take the Next Step in Your Tailoring
An in-depth online course for experienced sewists who want to make finely tailored menswear. Work through 13 complete garments, develop professional construction skills and get personal guidance from our tailoring team.
13 Complete Garments
Start with your first project immediately. A new project opens each month.
Patterns & Commercial License
Create garments for paying clients and sell your finished work, with no quantity limit.
Learn at Your Own Pace
Take the time you need, with permanent access to videos, patterns and course materials.
Personal Expert Guidance
Personal guidance on your sewing, construction and fitting questions.
$1,970 USD
Save $201 when you pay in full
Launch offer
Ends November 15
$970 USD in full
Or $79 USD/month with code
TAILORLAUNCH
Enter the code under “+ add voucher” at checkout.
- One payment for the complete course
- All 13 menswear projects included
- Professional patterns and design variations
- Step-by-step videos and bonus tutorials
- Personal guidance from tailoring experts
- Commercial pattern license — no quantity limit
- Permanent access to videos and patterns
6-week full money-back guarantee
Fabric and supplies are purchased separately. An additional fee applies if you choose the optional final exam.
Is This Tailoring Course Right for You?
For experienced sewists who want to create individually fitted menswear — for themselves, family or paying clients.
Work Confidently with Patterns
You can work independently with sewing patterns.
Bring Garment-Making Experience
You have already sewn garments, including jackets and trousers.
Go Deeper into Tailoring
You enjoy precise work and want to understand the construction, fitting preparation and hand-finishing behind bespoke menswear.
For Yourself, Family & Friends
Create individually fitted menswear for yourself, family and friends, with control over the fabric, style and finish.
For Professional Tailors
Deepen your menswear tailoring skills for client work. The included commercial pattern license lets you make and sell your finished garments.
New to Garment Sewing?
Start with the Masterclass. If you’re already enrolled, we recommend completing at least Unit 27 before this advanced course.
Talk to Our Tailoring Team
Tell us about your sewing experience — our tailoring team will help you decide whether this course is right for you.
Get personal advice via:
Get personal advice
“My husband receives many compliments for his new, elegant clothes, which of course makes me very happy.”
Hanna Obermeier-Liebl
Sewing menswear for her husband
★★★★★
What You’ll Learn in the Men’s Tailoring Course
Explore 13 complete menswear projects, from your first tailored waistcoat to a full-canvas jacket. Open each project to discover what you’ll make and learn.
13 garment projects · New project every month · Permanent access
00Introduction & ResourcesSupporting guidance throughout the course
Prepare for your tailoring projects with practical guidance on measurements, materials and preparing garments for a fitting. Supporting tutorials and reference materials are introduced at the relevant points in the course, so you can use them alongside the garment you’re making.
- Men’s body measurement chart and measuring tutorials
- Fabrics and specialist tailoring materials
- Preparing for a fitting and shaping with the iron
- Material lists for all 13 garment projects
- Material suppliers and course discount codes
01AlfordDouble-Breasted Waistcoat with Collar
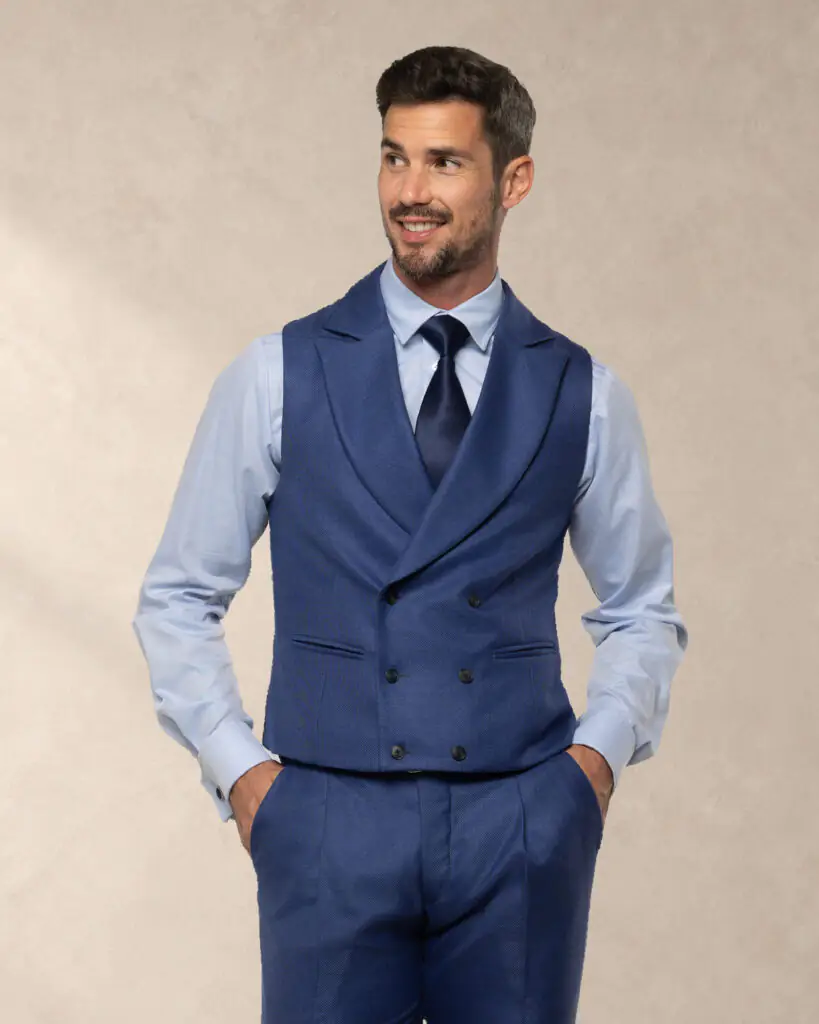
Begin with a tailored waistcoat and discover how careful cutting, a shaped collar and precise pocket construction come together. Then explore ways to adapt the design for a different look.
- Position the pattern correctly on the grain, including the angled double-breasted front.
- Construct the collar, lapels and overlapping front fastening.
- Choose interlining and pocket reinforcement for a crisp, stable finish.
- Make welt pockets with neatly finished openings and pocket bags.
- Construct the lining and finish the waistcoat edges.
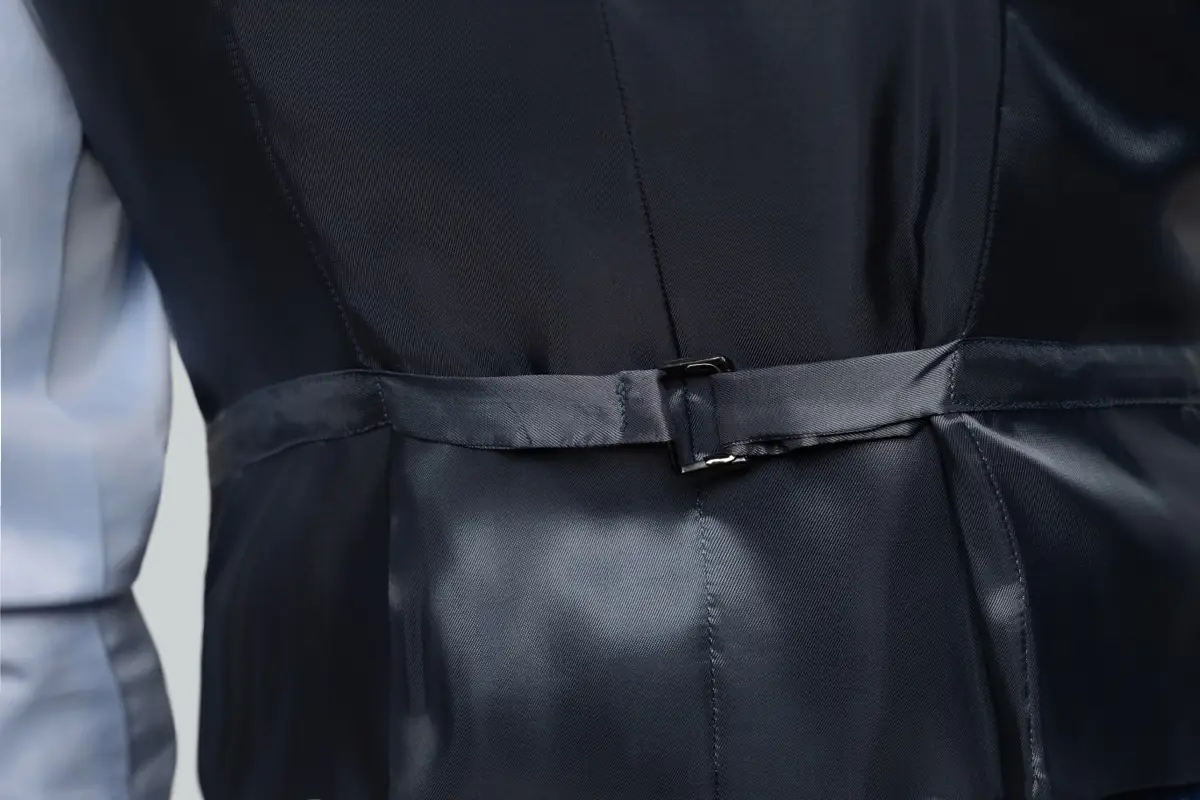
- Make the adjustable back strap and fit its buckle.
- Adapt the supplied pattern for a single-breasted front or a simpler V-neck without lapels.
02BradfordPleated Trousers with Turn-Ups
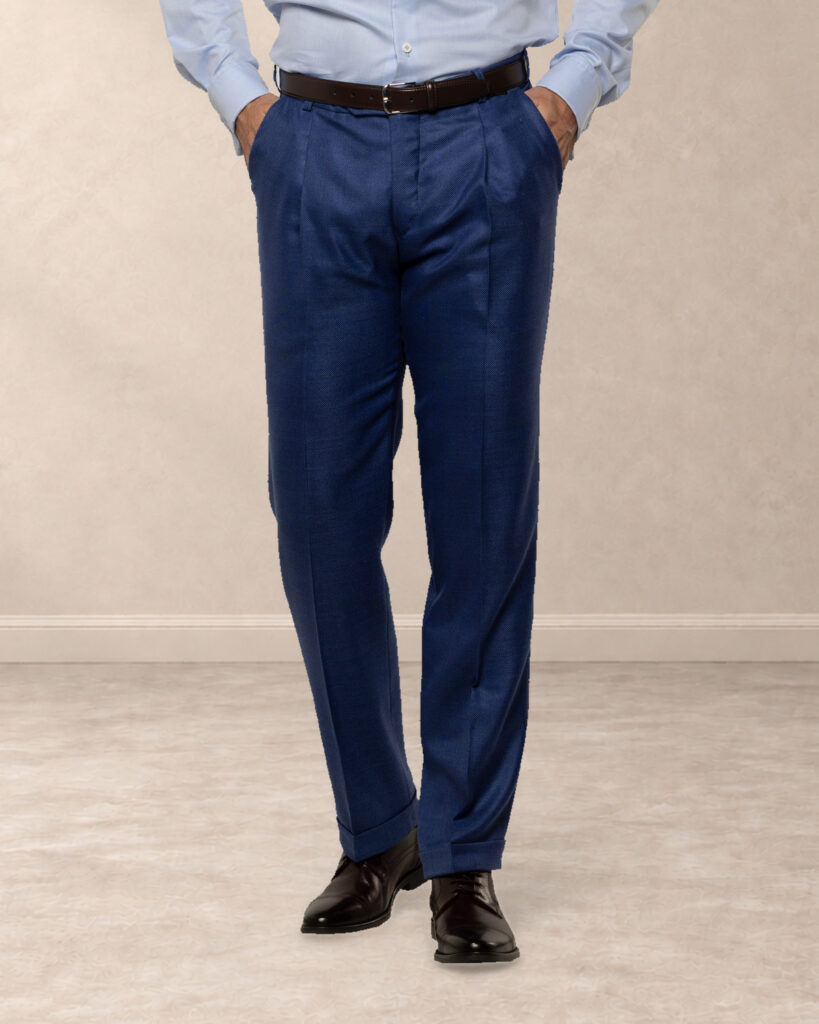
Make pleated trousers with a sharp crease and neatly finished turn-ups. Work through the details that give tailored trousers their shape, comfortable interior and durable finish.
- Form the front pleats and press the trouser crease accurately.
- Construct the slanted front pockets with their facings and pocket bags.
- Make back welt pockets and work the back darts.
- Sew the zip fly and finish the opening neatly inside.
- Construct the waistband with its lining, extension and belt loops.
- Add a partial front lining to help the trousers glide over the legs and reduce bagging at the knees.
- Finish the hems with turn-ups and protective hem tape.
03CambridgeShirt with Double Cuffs
Create a business shirt with French cuffs and explore how collar shape, fit and front fastening change its character. Learn details you can carry into future shirt projects.
- Choose the shirt size from the neck measurement and explore pattern adjustments at the side seams, back darts and sleeves.
- Construct the collar and collar stand for a clean neckline.
- Adapt the classic point collar into a wider cutaway collar.
- Compare a visible button placket with a concealed fastening, including the extra fabric needed at the cutting stage.
- Make double cuffs for cufflinks and position their buttonholes.
- Construct the sleeve plackets and attach the cuffs.
- Sew the double-layer back yoke with enclosed shoulder seams.
04DoverDouble-Breasted Suit Jacket
Build a double-breasted jacket with the shape and detail of classic tailoring. Discover how the chest piece, shoulder support and careful finishing influence the way the finished jacket sits.
- Construct the double-breasted front, collar and peaked lapels.
- Work with the chest piece and understand how its resilience supports the shape of the jacket front.
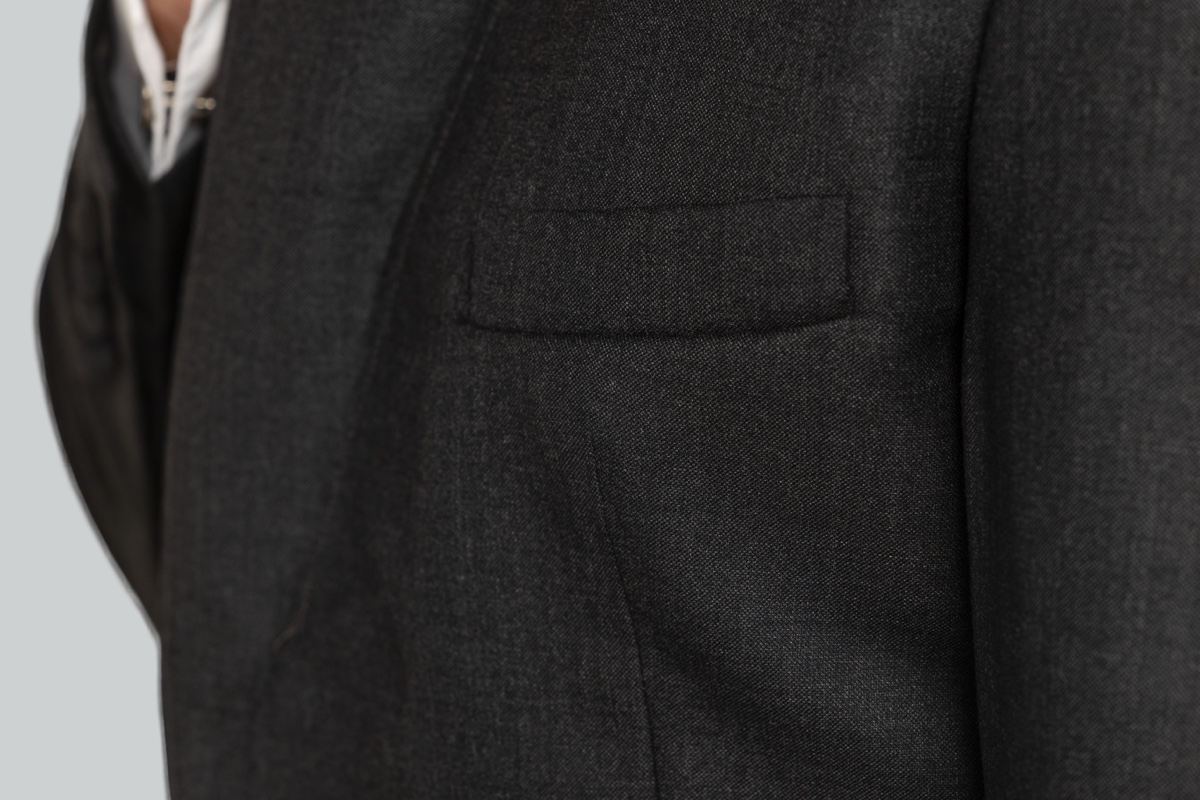
- Make flap pockets and a chest welt pocket.
- Construct two-piece sleeves with working vents and buttonholes.
- Position shoulder pads and sleeve-head support inside the jacket.
- Work the two side vents at the back.
- Construct the lining and inside pockets for a carefully finished interior.
05EastbourneTailored Overcoat
Take your jacket-making skills into an elegant overcoat. Learn what changes when you work with a napped coating fabric and make a garment that needs to accommodate the layers worn underneath.
- Plan the cutting layout so the fabric nap runs consistently in the right direction.
- Choose the size with the intended layers in mind, including whether the coat will be worn over a jacket.
- Construct the peaked lapels and explore the alternative lapel shape shown on the pattern.
- Make flap pockets and the additional ticket pocket.
- Construct the chest welt pocket and position the pocket details.
- Work the two-piece sleeves with opening cuff vents and functional buttonholes.
- Finish the coat with its lining and inside pockets.
06FolkestoneTuxedo Trousers
Make formal evening trousers with side braid and a raised waistband designed for braces. Explore several waistband and fastening options that you can also use in other tailored trousers.
- Construct the waistband with its raised back and V-shaped opening.
- Make a waistband lining to suit this shaped design.
- Create side adjusters and compare buckle, hook and button fastening options.
- Construct the front welt pockets and back pockets.
- Incorporate the side braid for the classic dinner-suit finish.
- Sew the zip fly, add the knee lining and finish the trouser hems.
- Explore a straight waistband, belt loops or a pleated front as alternative design choices.
07GuildfordShawl-Collar Tuxedo Jacket
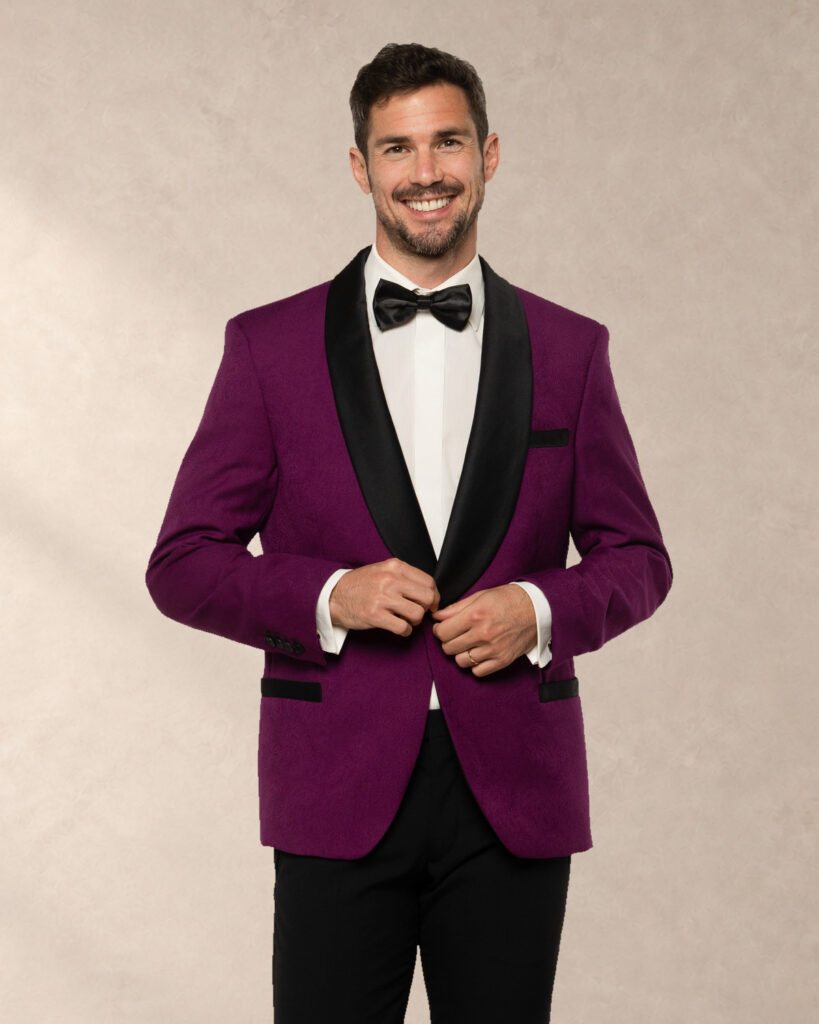
Create a dinner jacket — also known as a tuxedo jacket — with a flowing shawl collar and contrasting silk details. See how grain direction, collar shape and precise pocket work give this formal garment its character.
- Construct the shawl collar and its continuous front facing.
- Cut the collar and facing on the bias to help the collar roll smoothly.
- Explore a broader or narrower shawl-collar shape.
- Make contrasting welt pockets and the chest pocket in the chosen facing fabric.
- Plan an economical cutting layout and learn where the facing fabric can be pieced.
- Construct working sleeve vents and compare three- and four-button arrangements.
- Finish the jacket lining and explore traditional dinner-jacket buttons or fabric-covered alternatives.
08HaverhillClassic Trench Coat
Bring the many distinctive details of a classic trench coat together in one complete project. Build your confidence with raglan construction, layered storm flaps and adjustable straps.
- Construct the double-breasted front and generous collar with its stand.
- Work the raglan sleeves and the neckline and facing pieces that meet them.
- Make the front storm flap and the layered storm flap across the back.
- Construct shoulder straps, sleeve straps and their retaining loops.
- Make a buckled belt or choose a tie-belt variation; explore buttoned sleeve straps as an alternative to buckles.
- Construct the outer welt pockets and the inside pockets.
- Prepare the lining from the garment pattern pieces and finish the coat’s long back vent.
09IpswichEvening Tailcoat
Build on the earlier jacket projects to create an evening tailcoat. Focus on the distinctive waist seam, tails and back pleats that set this formal garment apart.
- Construct the short, open front and silk-faced peaked lapels.
- Join the fitted upper body to the separate tail sections at the waist.
- Shape and press the back pleats, taking account of the curved pattern pieces.
- Construct the long center-back vent between the tails.
- Adapt the lining to the tails, pleats and back vent.
- Finish the working sleeve vents and position the decorative front and back buttons.
10JarrowMorning Coat (Cutaway)
Carry the techniques from the tailcoat into a morning coat with its sweeping cutaway front. Compare the differences in shape, back construction and fastening as you build on what you have already learned.
- Construct the curved cutaway front and peaked lapels.
- Join the upper body to the lower sections and work the transition towards the tails.
- Make the back with a seam in place of the tailcoat’s pleats, and understand the alternative pleated version.
- Work the long center-back vent using the construction introduced in Ipswich.
- Make a linked pair of buttons to fasten through a buttonhole on each front.
- Compare this link-button fastening with a conventional button-and-buttonhole closure.
11KentHooded Jacket
Create a versatile jacket that moves between a classic and a more casual look. Learn to handle checked fabric, add quilting and make a removable hooded insert within the same project.
- Plan the cutting layout and match checks across the fronts, sides and back.
- Position the pockets with the fabric pattern in mind.
- Add wadding and quilt the fabric, using the checks or marked lines as a guide.
- Compare quilted, pre-quilted and unpadded versions, including the different reinforcement they need.
- Construct the hood and inner front section with its zip fastening.
- Make the insert detachable with buttons so the outer jacket can also be worn on its own.
- Explore both single-breasted and double-breasted fronts.
12LondonFrock Coat
Make a fitted frock coat with an elongated silhouette. Explore how shaped seams, reinforcement and collar variations influence its appearance and construction.
- Work the divided back and shaped body seams to create the fitted silhouette.
- Reinforce vulnerable seams to help prevent the fabric threads from pulling apart under strain.
- Construct the collar with its stand and turn-down section.
- Explore a standing-collar version without the turn-down section.
- Make the flap pockets and chest welt pocket, with placement suited to the longer garment.
- Construct working sleeve vents and functional buttonholes.
- Finish the lining, inside pockets and front button arrangement.
13ManchesterClassic Full-Canvas Suit Jacket
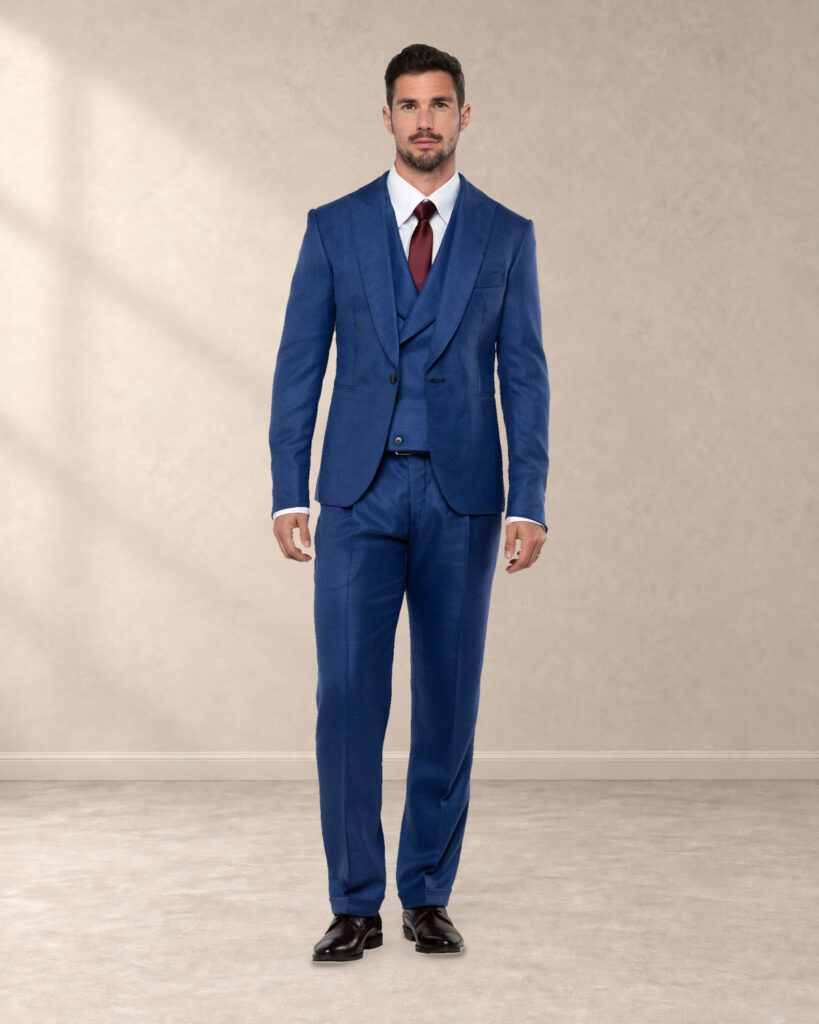
Bring the course together in a traditionally constructed full-canvas jacket. See how floating canvas and fine hand-stitching give the jacket its shape and feel.
- Understand the differences between full-canvas, half-canvas and fused construction.
- Choose canvas weight and firmness to suit the cloth and the structure you want.
- Build the floating canvas through the jacket front and combine it with the chest piece.
- Pad-stitch the lapels by hand, shaping their roll as you work.
- Pad-stitch and shape the collar for a close, controlled fit around the neck.
- Work hand-sewn buttonholes.
- Add pick stitching along the garment edges.
- Construct and finish the lining using traditional hand-sewing methods.
14Bonus Projects & TechniquesExtra projects and traditional hand-sewing
Complete your eveningwear and develop additional tailoring skills with these bonus tutorials. They are introduced throughout the course and become available alongside the relevant projects, so you can put them into practice at the right stage.
- Bow tie with an adjustable neckband
- Cummerbund to complete your eveningwear
- Pattern adjustments for shorter and taller figures
- Hand-sewn buttonholes and making your own gimp thread
- Pick stitching for tailored edges and pocket flaps
GOOD TO KNOW
Your questions,
answered.
The details that matter before you enroll.
Still have a question?
Ask us your question →
What level of sewing experience do I need?
This course is for experienced sewists who want to develop their skills in high-quality menswear. You should already be comfortable making garments, including jackets and trousers.
If you are following our Masterclass, we recommend completing at least Unit 27 before starting. If you are new to sewing, the Masterclass will help you build the foundations first.
Can I learn bespoke tailoring online?
Detailed, step-by-step videos guide you through the construction of each garment, including the techniques and finishing details that make the difference in tailored menswear. You can pause, replay and revisit the demonstrations while you sew.
The 13 projects build on one another, and our tailoring team is available for personal guidance when you have questions about your work.
Which pattern sizes and printing formats are included?
Choose by your measurements, not your usual clothing size. Professional patterns for all 13 garments are included, together with design variations. The patterns use European size numbers 44–64.
If you usually buy UK or US sizes, use the course body measurement chart to choose your starting size. You can measure in inches or centimeters: 1 inch equals 2.54 cm. The course guides you through taking measurements and adapting the patterns to the person you are sewing for.
Print the downloadable PDFs at home on A4 or US Letter paper, or have the A0 files plotted at a print shop.
What support will I receive during the course?
You receive personal guidance from our experienced tailoring team. Email your questions about sewing, construction or fit and receive practical advice for the step you are working on.
You can include photos of your work to help us understand your question. Your written reply stays available for you to refer to as you sew.
How long does the course take, and when do lessons unlock?
You can start with the first project immediately. A new project unlocks each month, and we email you when it is ready.
With uninterrupted monthly payments, or when you pay in full, the final project unlocks 12 months after you start. This is a release schedule, not a completion deadline. You can take longer, and you do not need to finish one garment before the next project opens.
Your access to unlocked videos, patterns and course materials does not expire.
How long will I have access to the course?
You keep permanent access to the course videos, patterns and accompanying materials. Once a unit is unlocked, you can return to it whenever you like, including after you have completed the course.
Learn at your own pace and revisit individual techniques when you need them for a new project.
What tools and materials will I need?
You can start with a reliable household sewing machine and your basic sewing tools. A professional industrial machine is optional; it is not a requirement for joining the course.
Each project includes a material list to help you plan your fabric and supplies. The materials tutorial and supplier resources help you choose specialist tailoring materials. A professional steam ironing station can be a useful addition if you plan to develop your atelier further.
Is there a money-back guarantee?
Yes. You have a 6-week money-back guarantee from the start of your course. Take time to explore the lessons and see whether the training is right for you.
If you are not satisfied, contact us within those six weeks for a full refund.
Can I use the patterns for client work or sell the garments I make?
Yes. Your commercial pattern license lets you use the included patterns to make garments for paying clients and sell your finished work, with no quantity limit. This applies to the patterns from your unlocked course units.
The patterns themselves may not be shared, distributed or resold. See the pattern license terms for full details.
Can I take a final assessment and earn a certificate?
Yes. Once the final unit is unlocked, you can register for an optional final assessment for an additional fee. It includes multiple-choice theory questions and an assessment of photographs of three specified garments.
If you pass, you receive a certificate from our academy. This is not a state-recognized qualification. The assessment tests the skills taught in the course; passing is not automatic.
Taking the assessment is optional and does not affect your permanent access to the course.
Still have a question?
Send us your question — our team will be happy to help.
Enroll in Men’s Bespoke Tailoring
Make menswear you’re proud to put your name to. Start with a tailored waistcoat and build your skills project by project, working towards a full-canvas suit jacket finished by hand.
- 6-week money-back guarantee
- 13 Menswear Garments
- Professional Patterns
- Personal Expert Support